4. Sample mode
Specifying the start location
Start | 0...3145727 |
The highest place (underlined) will not be displayed.
Use the cursor keys to make the parameter select LED indicate Start. Rotate the dial to change the start location. The display will indicate the lower three places, but you can see the next higher three places by pressing the Shift key.
As you make adjustments, press the Play/Pause key to hear the difference caused by changing the actual start location.
The Start value will always be less than the End value.
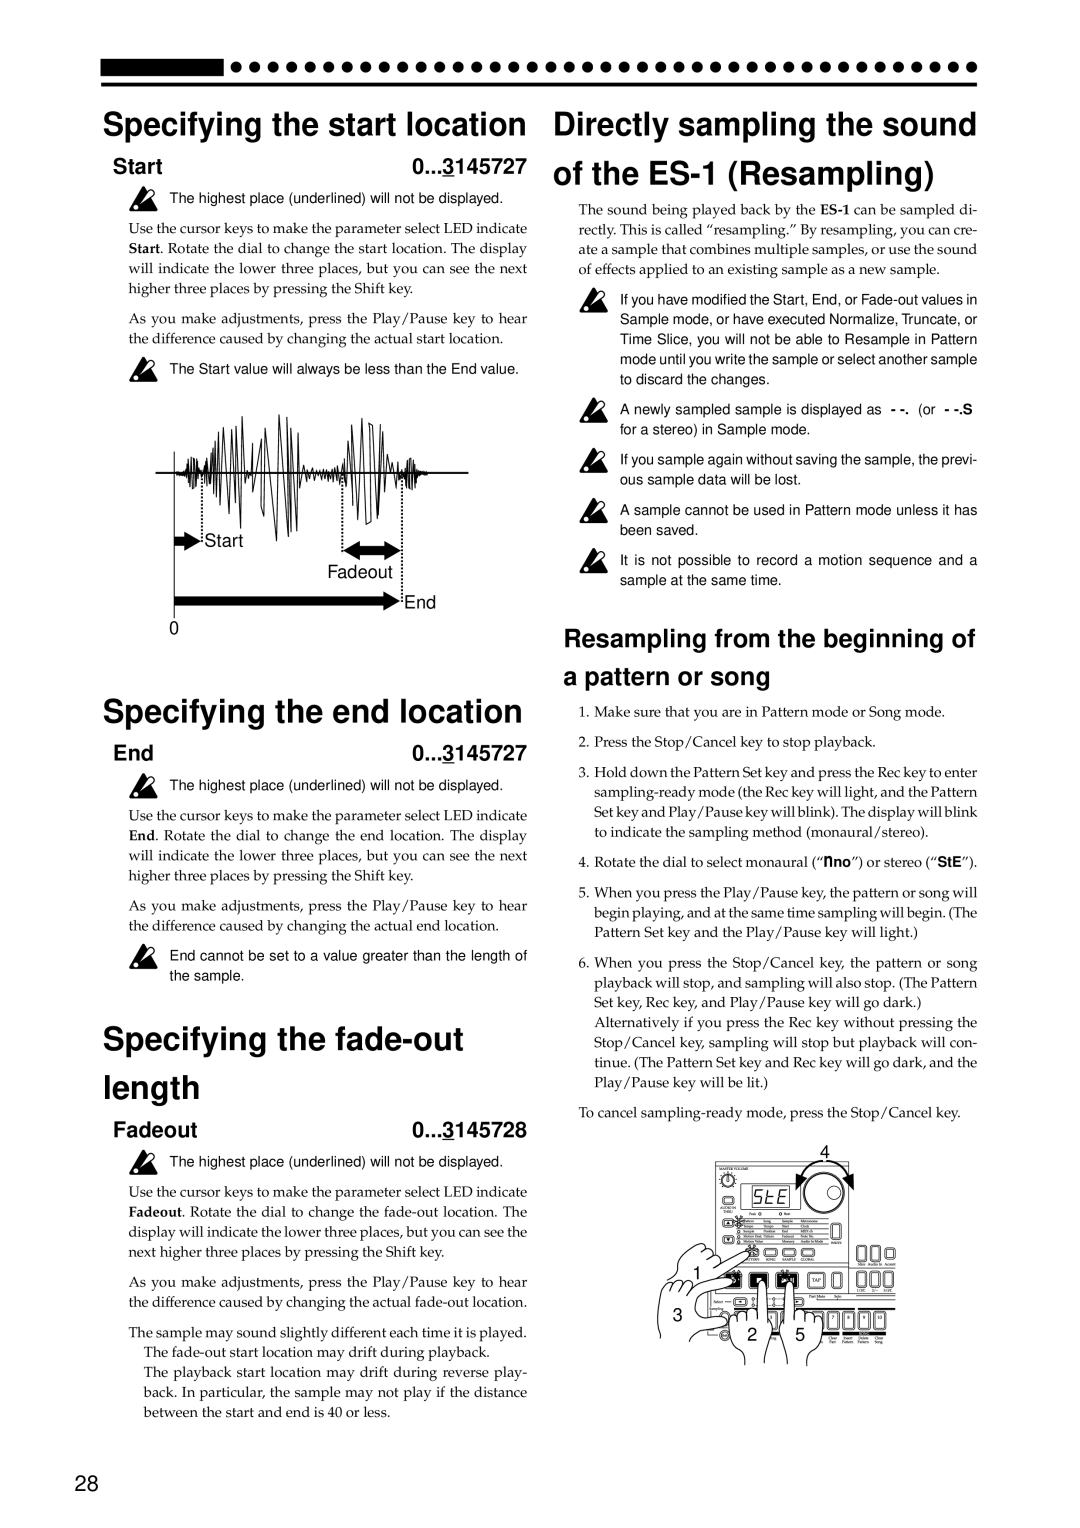
Start
Fadeout
End
0
Specifying the end location
End | 0...3145727 |
The highest place (underlined) will not be displayed.
Use the cursor keys to make the parameter select LED indicate End. Rotate the dial to change the end location. The display will indicate the lower three places, but you can see the next higher three places by pressing the Shift key.
As you make adjustments, press the Play/Pause key to hear the difference caused by changing the actual end location.
End cannot be set to a value greater than the length of the sample.
Specifying the fade-out
length
Fadeout0...3145728
The highest place (underlined) will not be displayed.
Use the cursor keys to make the parameter select LED indicate Fadeout. Rotate the dial to change the
As you make adjustments, press the Play/Pause key to hear the difference caused by changing the actual
The sample may sound slightly different each time it is played.
•The
•The playback start location may drift during reverse play- back. In particular, the sample may not play if the distance between the start and end is 40 or less.
Directly sampling the sound
of the ES-1 (Resampling)
The sound being played back by the
If you have modified the Start, End, or
A newly sampled sample is displayed as “-
If you sample again without saving the sample, the previ- ous sample data will be lost.
A sample cannot be used in Pattern mode unless it has been saved.
It is not possible to record a motion sequence and a sample at the same time.
Resampling from the beginning of
a pattern or song
1.Make sure that you are in Pattern mode or Song mode.
2.Press the Stop/Cancel key to stop playback.
3.Hold down the Pattern Set key and press the Rec key to enter
4.Rotate the dial to select monaural (“nno”) or stereo (“StE”).
5.When you press the Play/Pause key, the pattern or song will begin playing, and at the same time sampling will begin. (The Pattern Set key and the Play/Pause key will light.)
6.When you press the Stop/Cancel key, the pattern or song playback will stop, and sampling will also stop. (The Pattern Set key, Rec key, and Play/Pause key will go dark.)
Alternatively if you press the Rec key without pressing the Stop/Cancel key, sampling will stop but playback will con- tinue. (The Pattern Set key and Rec key will go dark, and the Play/Pause key will be lit.)
To cancel
4
1
3
![]()
![]()
![]()
![]()
![]() 2
2![]()
![]()
![]()
![]()
![]()
![]()
![]()
![]() 5
5![]()
![]()
![]()
![]()
![]()
![]()
![]()
![]()
![]()
![]()
![]()
![]()
![]()
28