7. Global mode
Loading only a single sample
from SmartMedia (Sample Load)
1.Insert the SmartMedia into the SmartMedia slot.
2.Hold down the shift key, and press step key 15 (Card). (Key 15 will blink.)
3.The display will indicate “Lod.” Press key 15.
4.A file number will blink in the display. Use the dial to select the desired file number. If you wish to load a WAVE file or AIFF file that you created on your computer, select file “[E].” After you select a file, press key 15.
5.The display will indicate “ALL” (if you selected file “[E],” the number will blink). Rotate the dial toward the right and the sample number will blink. At this time you can press the Play/Pause key to play back the sample and audition it.
6.After selecting the sample, press key 15. (Key 15 will light, and the Write key will blink.)
7.The load destination sample number will blink in the dis- play. Use the dial to select the sample number. In the case of a monaural sample (or slice sample) you can select from “00.” through “99.” In the case of a stereo sample you can select from “00.S” through “49.S”.
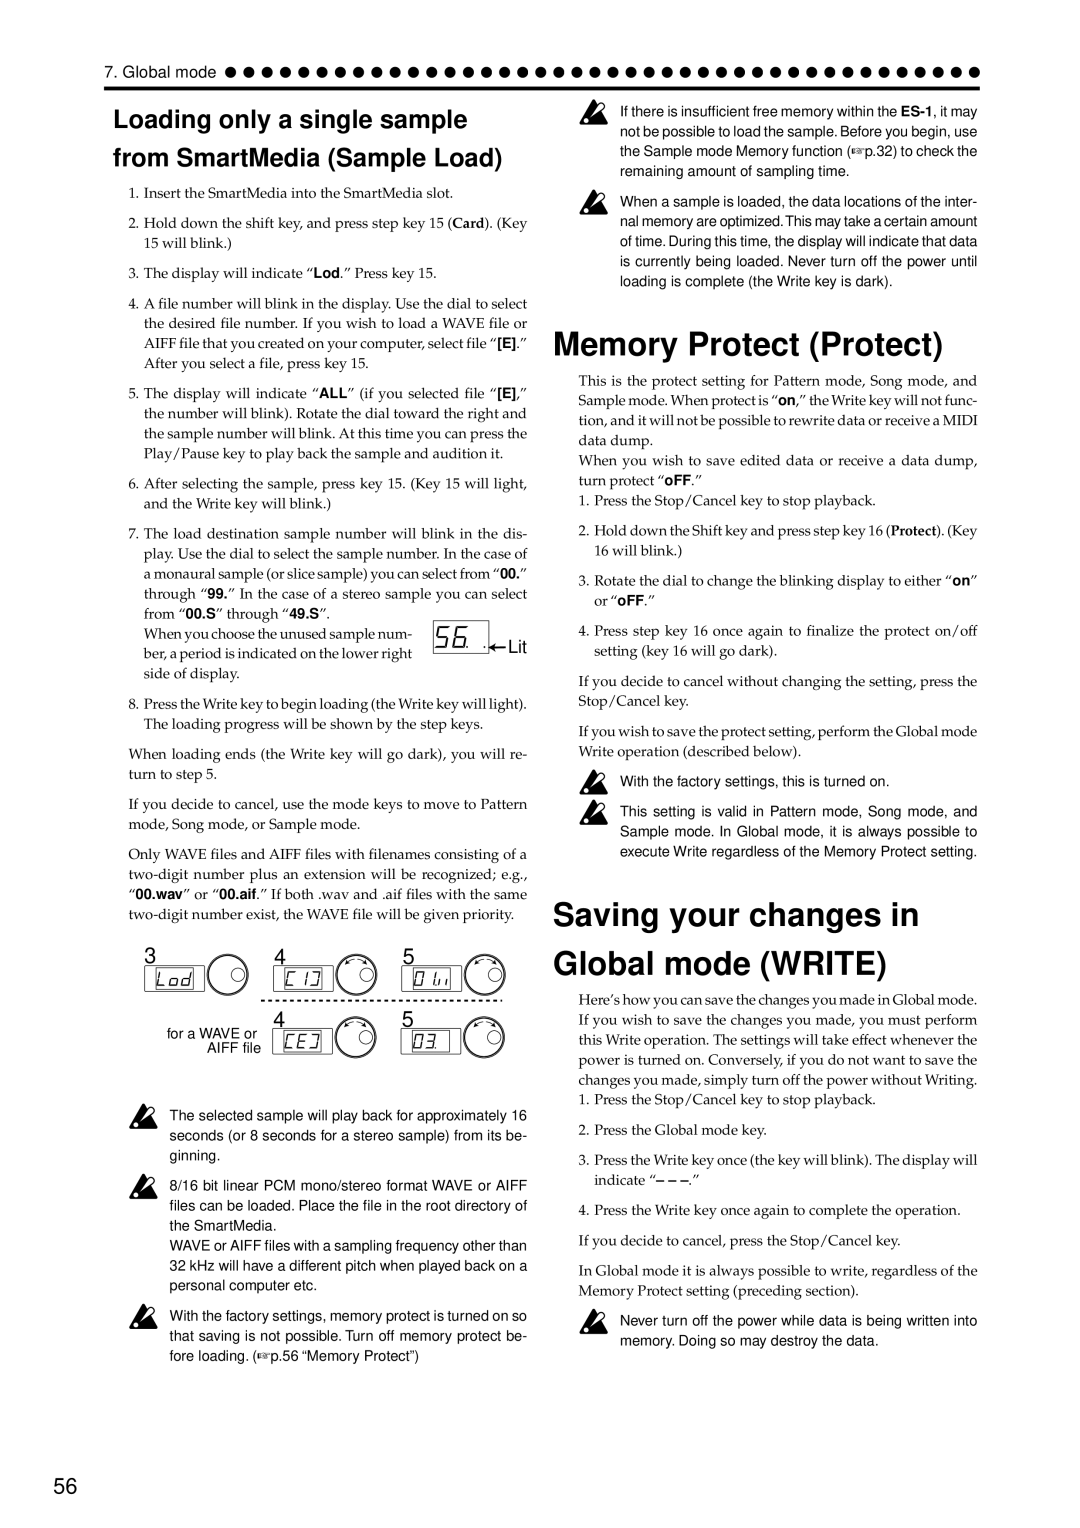
When you choose the unused sample num- |
|
|
| Lit |
ber, a period is indicated on the lower right |
|
|
| |
|
|
| ||
|
|
|
| |
side of display. |
|
|
|
|
8.Press the Write key to begin loading (the Write key will light). The loading progress will be shown by the step keys.
When loading ends (the Write key will go dark), you will re- turn to step 5.
If you decide to cancel, use the mode keys to move to Pattern mode, Song mode, or Sample mode.
Only WAVE files and AIFF files with filenames consisting of a
3 | 4 | 5 |
45
for a WAVE or AIFF file
The selected sample will play back for approximately 16 seconds (or 8 seconds for a stereo sample) from its be- ginning.
8/16 bit linear PCM mono/stereo format WAVE or AIFF files can be loaded. Place the file in the root directory of the SmartMedia.
WAVE or AIFF files with a sampling frequency other than 32 kHz will have a different pitch when played back on a personal computer etc.
With the factory settings, memory protect is turned on so that saving is not possible. Turn off memory protect be- fore loading. (☞p.56 “Memory Protect”)
If there is insufficient free memory within the
When a sample is loaded, the data locations of the inter- nal memory are optimized.This may take a certain amount of time. During this time, the display will indicate that data is currently being loaded. Never turn off the power until loading is complete (the Write key is dark).
Memory Protect (Protect)
This is the protect setting for Pattern mode, Song mode, and Sample mode. When protect is “on,” the Write key will not func- tion, and it will not be possible to rewrite data or receive a MIDI data dump.
When you wish to save edited data or receive a data dump, turn protect “oFF.”
1.Press the Stop/Cancel key to stop playback.
2.Hold down the Shift key and press step key 16 (Protect). (Key 16 will blink.)
3.Rotate the dial to change the blinking display to either “on” or “oFF.”
4.Press step key 16 once again to finalize the protect on/off setting (key 16 will go dark).
If you decide to cancel without changing the setting, press the Stop/Cancel key.
If you wish to save the protect setting, perform the Global mode Write operation (described below).
With the factory settings, this is turned on.
This setting is valid in Pattern mode, Song mode, and Sample mode. In Global mode, it is always possible to execute Write regardless of the Memory Protect setting.
Saving your changes in
Global mode (WRITE)
Here’s how you can save the changes you made in Global mode. If you wish to save the changes you made, you must perform this Write operation. The settings will take effect whenever the power is turned on. Conversely, if you do not want to save the changes you made, simply turn off the power without Writing.
1.Press the Stop/Cancel key to stop playback.
2.Press the Global mode key.
3.Press the Write key once (the key will blink). The display will indicate “– –
4.Press the Write key once again to complete the operation.
If you decide to cancel, press the Stop/Cancel key.
In Global mode it is always possible to write, regardless of the Memory Protect setting (preceding section).
Never turn off the power while data is being written into
memory. Doing so may destroy the data.
56