LANIER – 1/3rd Scale Laser 200 ARF -INSTRUCTIONS
23.Tem porarily installthehorizontalstabilizer. Youm ayneedtosandtheopeningslightlytobe ableto slideitin,butbecarefulto keep the stabilizeraligned parallelto thewing.
24.Alignthestabilizerbym easuringfrom eachside to thecenterand equalizing thedistance,then m easurefrom thestabilizertipsto thetrailing edgeofthewing and seteach sideequal.
25.M ark thejointwith afeltm arkeron thetop and bottom . Slidethestabilizerback out,then rem ovethecoveringfrom insidethem arks,1/8” insidethelinesyou m arked.Useasharp hobby bladeto cutthecovering. Bevery carefulto notcutthebalsa underthecovering.
Slidethestabilizerback in thefuselagejustuntil theexposedbalsaisatthetailopening.Applya thin coatof30 m inuteepoxy to theexposed balsa,then slidethestabilizerback in thetail.
26.Tem porarily installtheverticalstabilizerin the horizontalslotattherearofthefuse. M ark the
jointwith afelttip m arker.M akesurethe stabilizerisaligned at90° to thehorizontal
stabilizer,thenrem ovethestabilizerandrem ove thecovering aswasdonewith thehorizontal stabilizer.
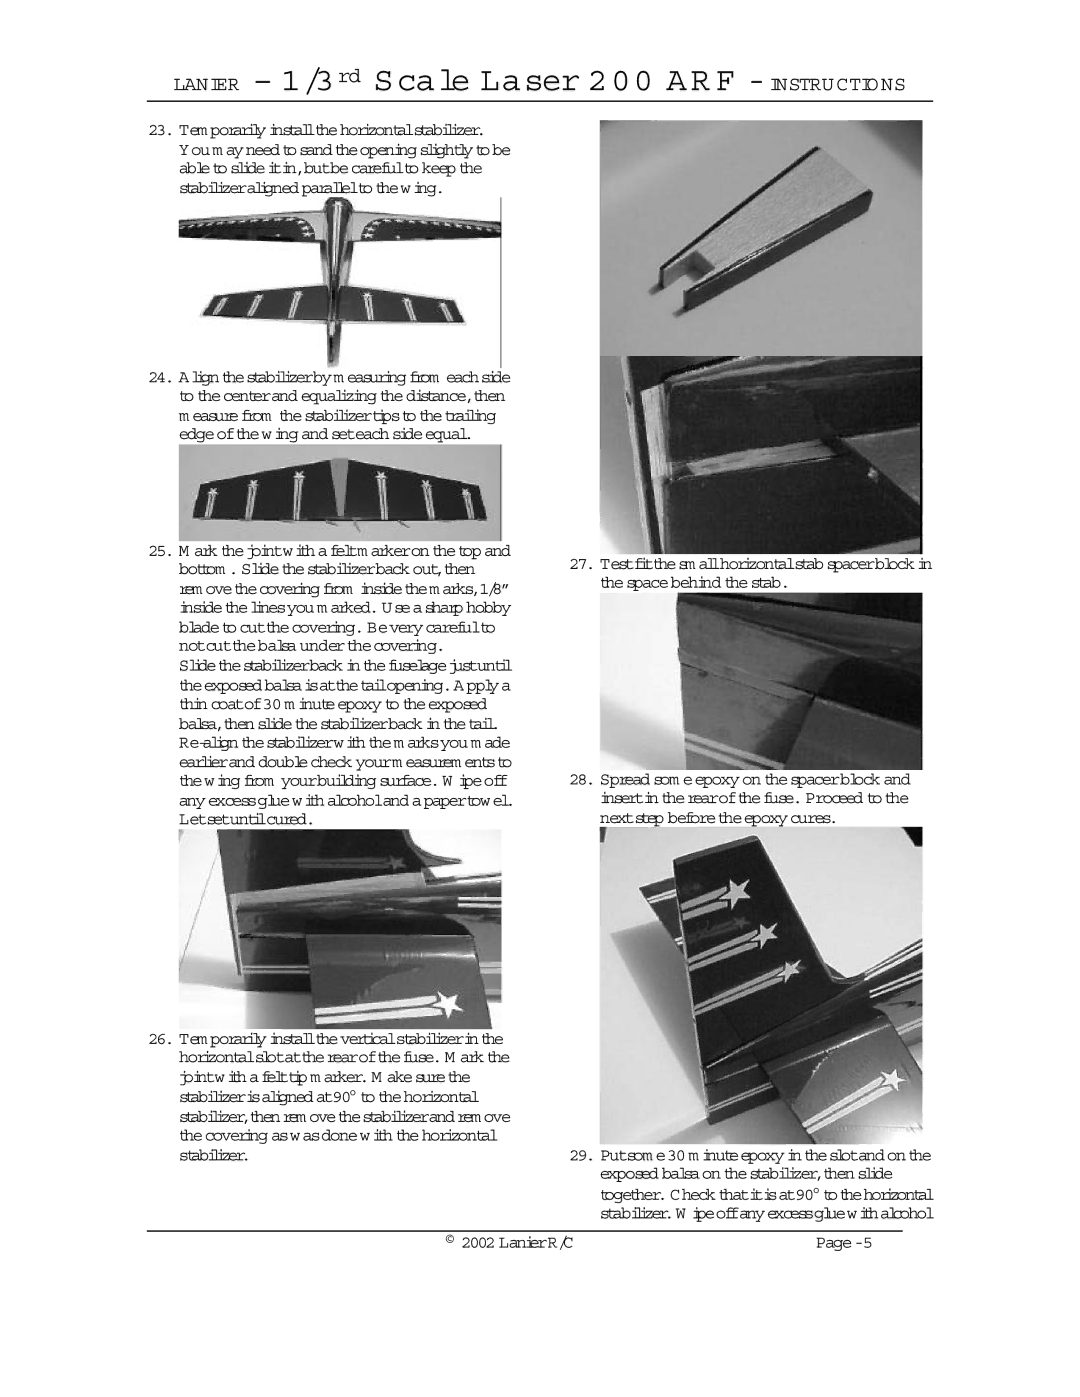
27.Testfitthesm allhorizontalstab spacerblock in thespacebehind thestab.
28.Spread som eepoxy on thespacerblock and insertin therearofthefuse. Proceed tothe nextstep beforetheepoxy cures.
29.Putsom e30 m inuteepoxy in theslotand on the
exposed balsaon thestabilizer,then slide together. Check thatitisat90° tothehorizontal stabilizer.W ipeoffanyexcessgluewithalcohol
© 2002 LanierR/C |