LANIER – 1/3rd Scale Laser 200 ARF -INSTRUCTIONS
88.Securethetank in thefusewith cableties through holesin thefusefloor.
89.Installyourfuellineon theend ofthetank lines to them ufflerpressureand carburetorfittings. M akesureto allow enough extralineto the needlevalvelineto giveaccessforfilling.
90.Locatetheholesfortheccockpitscrewsand rem oveany covering with asharp knife.
91.Testfitthecockpitcoverand 4 m m flathead screws.
92.Trim theclearplasticcanopy ¼”from the scribedline,thentestfitonthefuselage.Trim if needed.W ash thecanopy outwith coolwater and dish detergent,then dry with apapertowel.
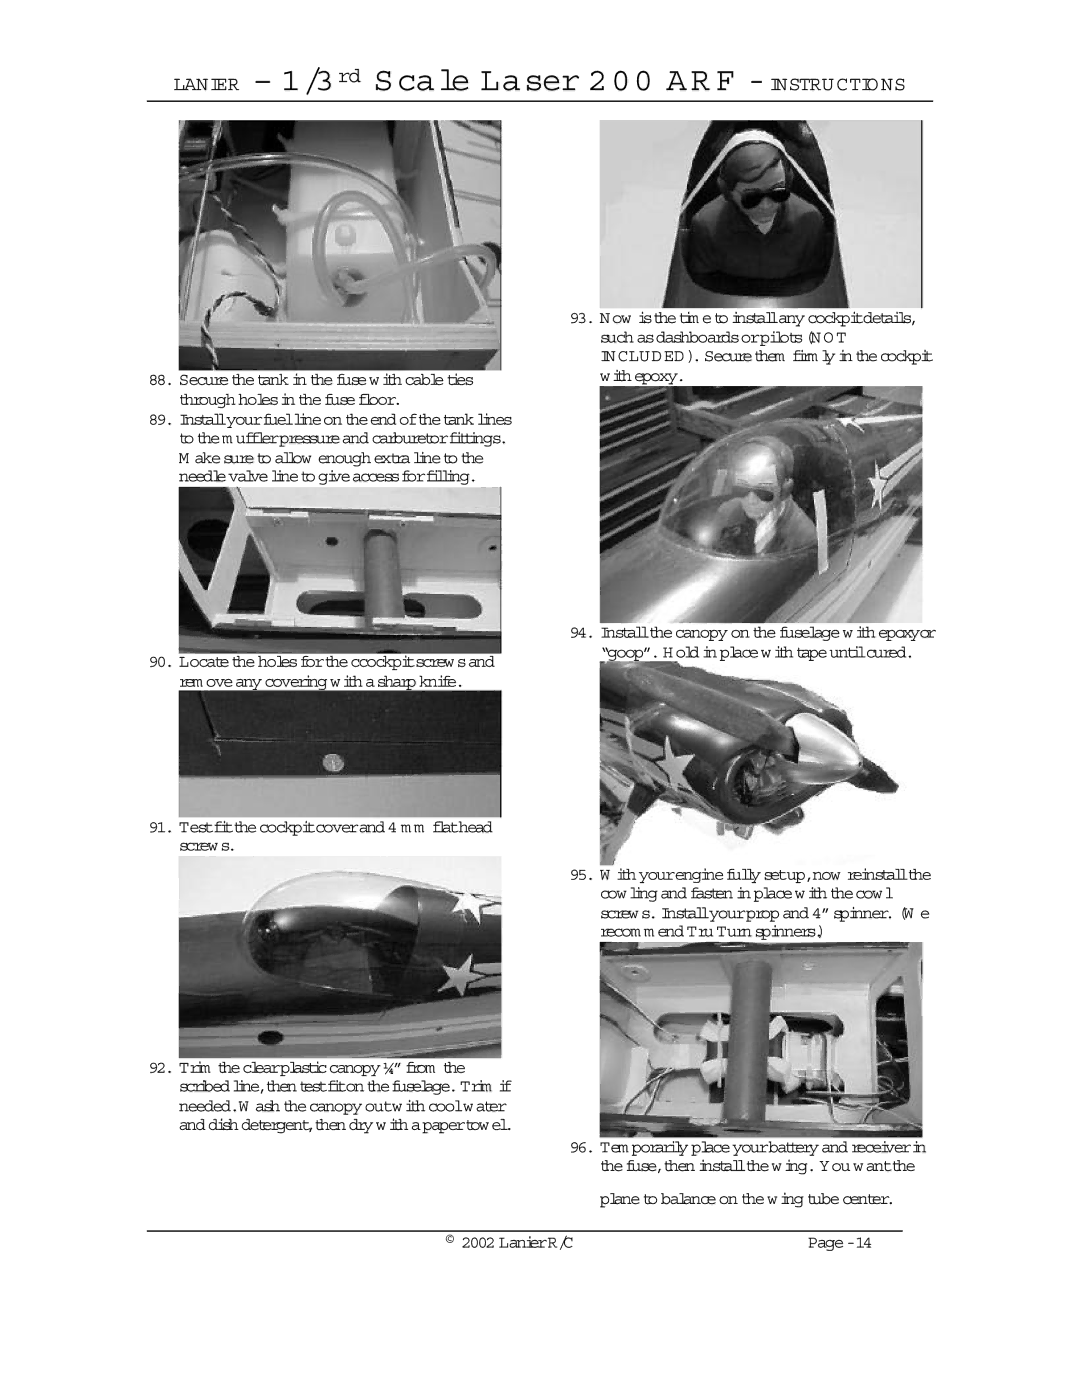
93.Now isthetim eto installany cockpitdetails, such asdashboardsorpilots(NOT INCLUDED). Securethem firm ly in thecockpit with epoxy.
94.Installthecanopy on thefuselagewith epoxyor “goop”. Hold in placewith tapeuntilcured.
95.W ith yourenginefully setup,now reinstallthe cowling and fasten in placewith thecowl screws. Installyourprop and 4”spinner. (W e recom m end Tru Turn spinners.)
96.Tem porarily placeyourbattery and receiverin thefuse,then installthewing. You wantthe
planeto balanceon thewing tubecenter.
© 2002 LanierR/C |