LANIER – 1/3rd Scale Laser 200 ARF -INSTRUCTIONS
and apapertowel. Letsetuntilcured.
30.Locatethe(4)hingeholesineachoftheelevator halves,(5)in therudder,and corresponding holeson thestabilizers,then open thecovering with asharp hobby blade. Testfitoneofthe (13)hingesin each oftheholes.Putasm all drop ofoilon each ofthehinges. Installthe hingesin thecontrolsurfacesonly,using 30 m inuteepoxy,thenalignthem bypressingontoa flatsurface. Clean up any excessgluewith alcohol.Do notinstallthesurfaceson the stabilizersuntiltheepoxy hascured.
31.Installthesurfaceson therearofthefuselage using 30 m inuteepoxy.Pressin placeand leave a1/32”gap. W ipeoffany excessgluewith alcoholand apapertowel. Letsetuntilcured.
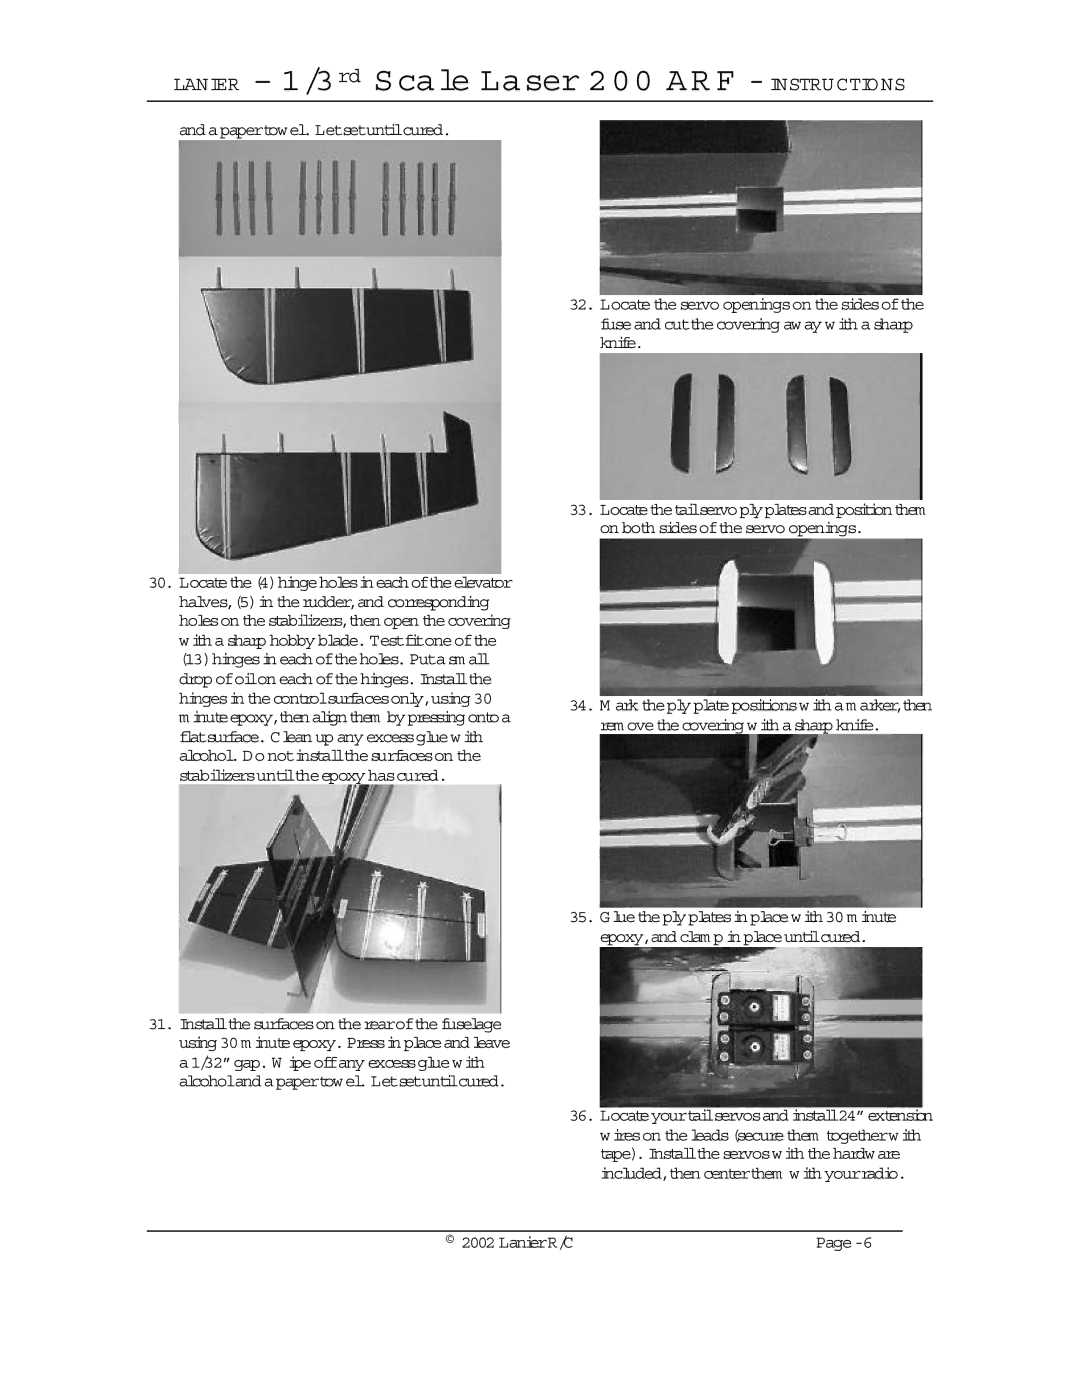
32.Locatetheservo openingson thesidesofthe fuseand cutthecovering away with asharp knife.
33.Locatethetailservoplyplatesandpositionthem on both sidesoftheservo openings.
34.M ark theply platepositionswith am arker,then rem ovethecovering with asharp knife.
35.Gluetheply platesin placewith 30 m inute epoxy,and clam p in placeuntilcured.
36.Locateyourtailservosand install24”extension wireson theleads(securethem togetherwith tape). Installtheservoswith thehardware included,then centerthem with yourradio.
© 2002 LanierR/C |