4: Configuration
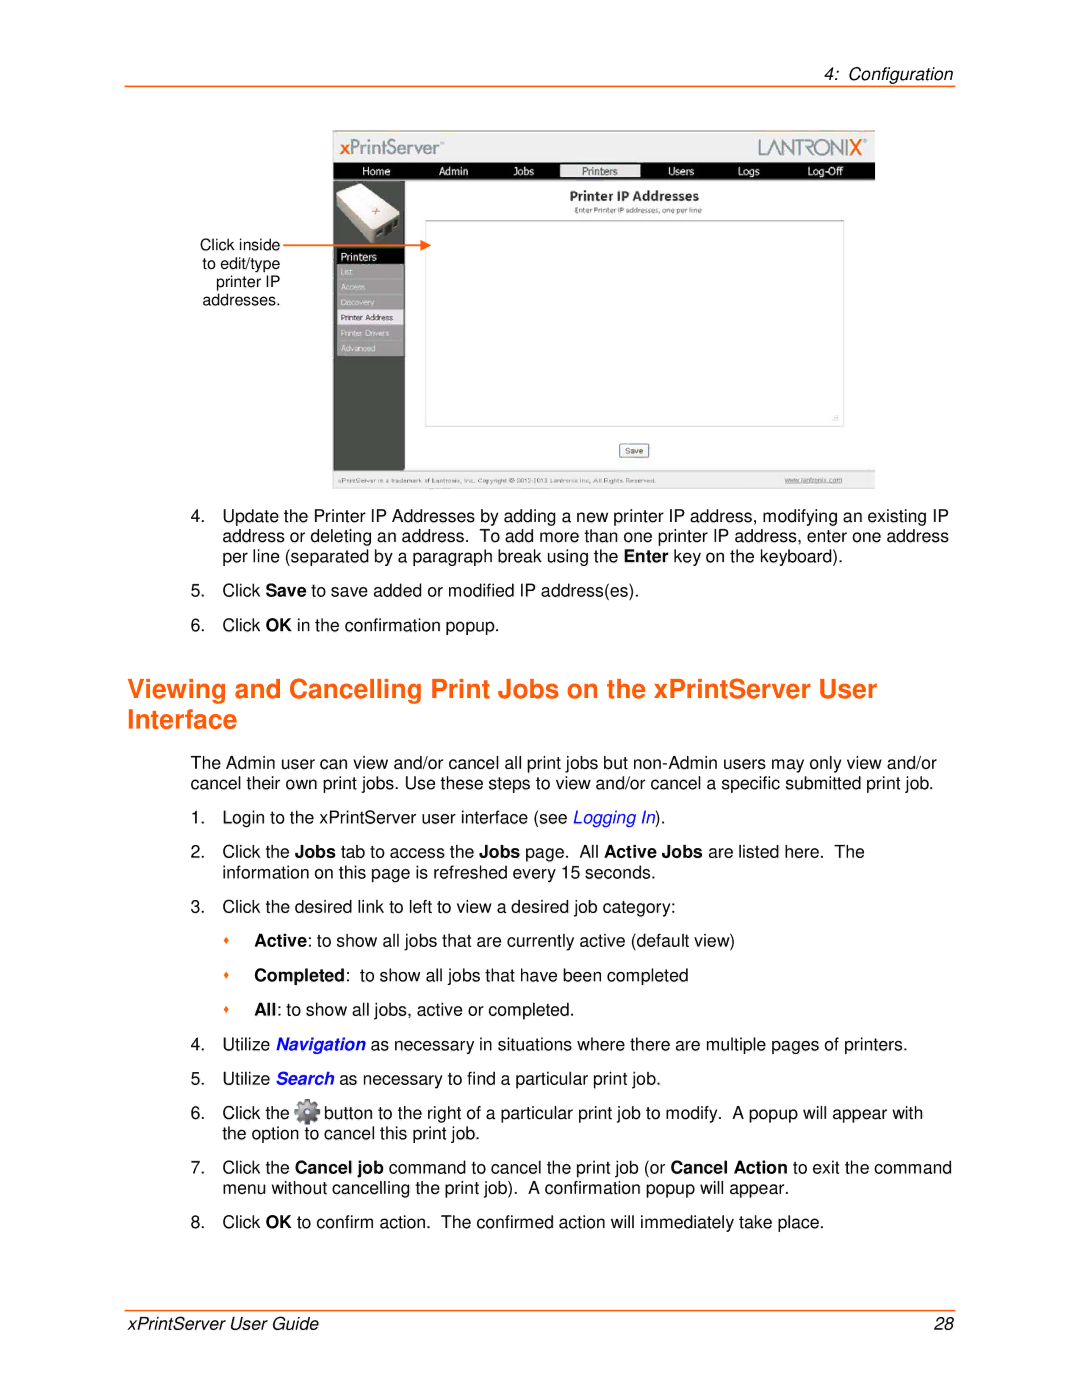
Click inside to edit/type printer IP addresses.
4.Update the Printer IP Addresses by adding a new printer IP address, modifying an existing IP address or deleting an address. To add more than one printer IP address, enter one address per line (separated by a paragraph break using the Enter key on the keyboard).
5.Click Save to save added or modified IP address(es).
6.Click OK in the confirmation popup.
Viewing and Cancelling Print Jobs on the xPrintServer User Interface
The Admin user can view and/or cancel all print jobs but
1.Login to the xPrintServer user interface (see Logging In).
2.Click the Jobs tab to access the Jobs page. All Active Jobs are listed here. The information on this page is refreshed every 15 seconds.
3.Click the desired link to left to view a desired job category:
Active: to show all jobs that are currently active (default view)
Completed: to show all jobs that have been completed
All: to show all jobs, active or completed.
4.Utilize Navigation as necessary in situations where there are multiple pages of printers.
5.Utilize Search as necessary to find a particular print job.
6. Click the button to the right of a particular print job to modify. A popup will appear with the option to cancel this print job.
7.Click the Cancel job command to cancel the print job (or Cancel Action to exit the command menu without cancelling the print job). A confirmation popup will appear.
8.Click OK to confirm action. The confirmed action will immediately take place.
xPrintServer User Guide | 28 |