4: Configuration
Setting Real Time Clock
Real Time Clock is a
To modify the Time-zone
1.Login to the xPrintServer user interface (see Logging In) as the Admin user.
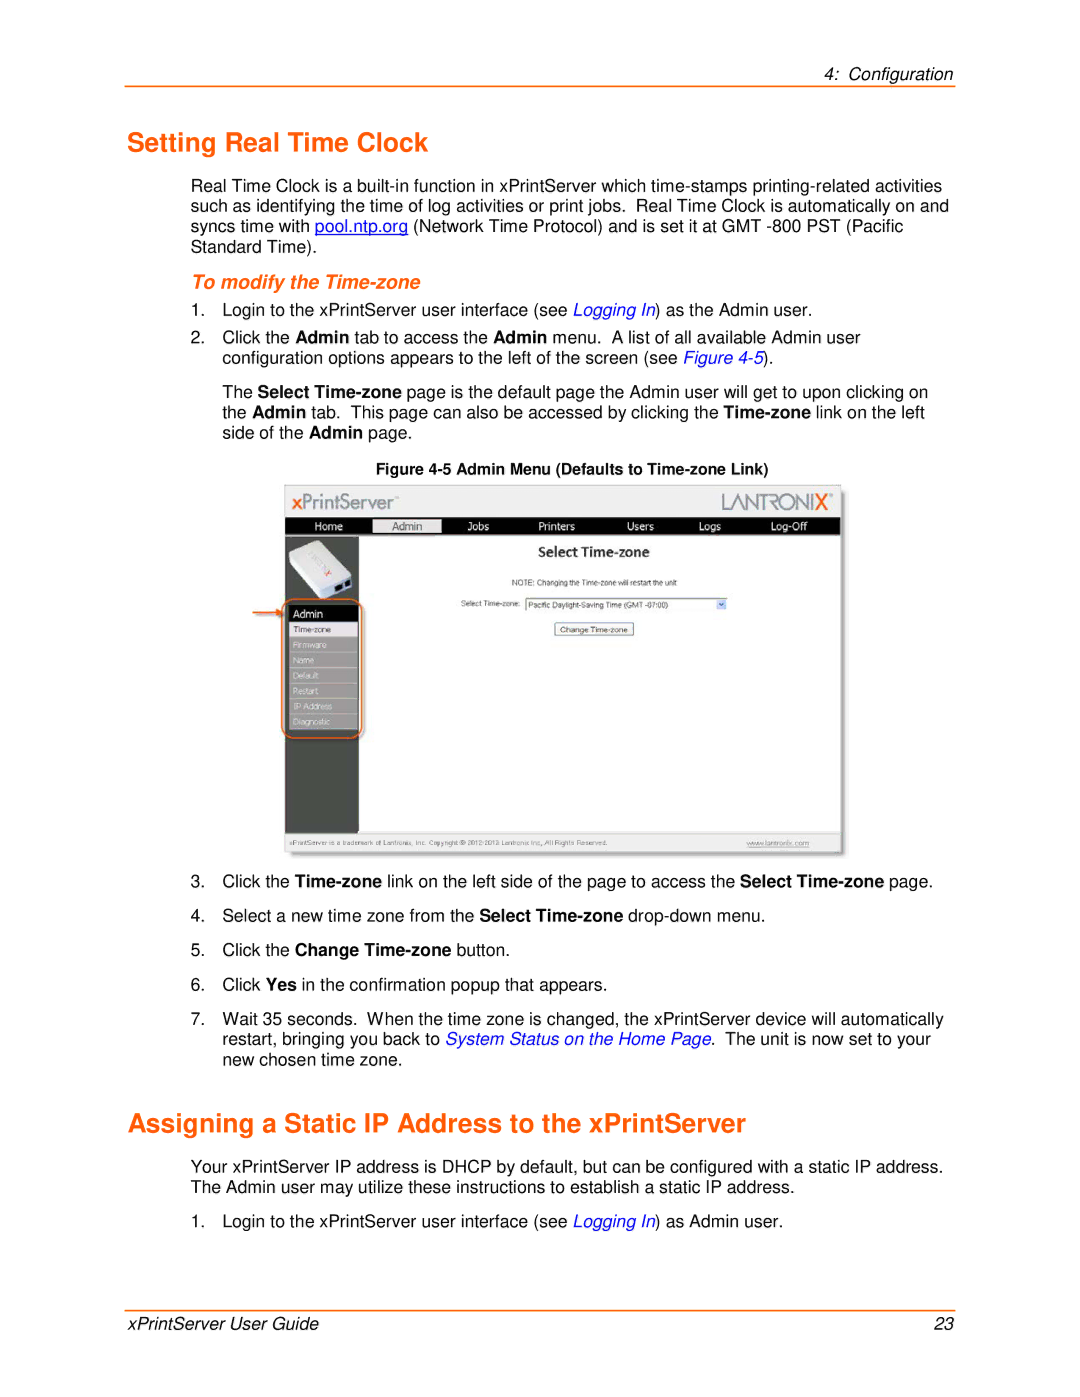
2.Click the Admin tab to access the Admin menu. A list of all available Admin user configuration options appears to the left of the screen (see Figure
The Select
will get to upon clicking on
Figure 4-5 Admin Menu (Defaults to Time-zone Link)
3.Click the
4.Select a new time zone from the Select
5.Click the Change
6.Click Yes in the confirmation popup that appears.
7.Wait 35 seconds. When the time zone is changed, the xPrintServer device will automatically restart, bringing you back to System Status on the Home Page. The unit is now set to your new chosen time zone.
Assigning a Static IP Address to the xPrintServer
Your xPrintServer IP address is DHCP by default, but can be configured with a static IP address. The Admin user may utilize these instructions to establish a static IP address.
1. Login to the xPrintServer user interface (see Logging In) as Admin user.
xPrintServer User Guide | 23 |