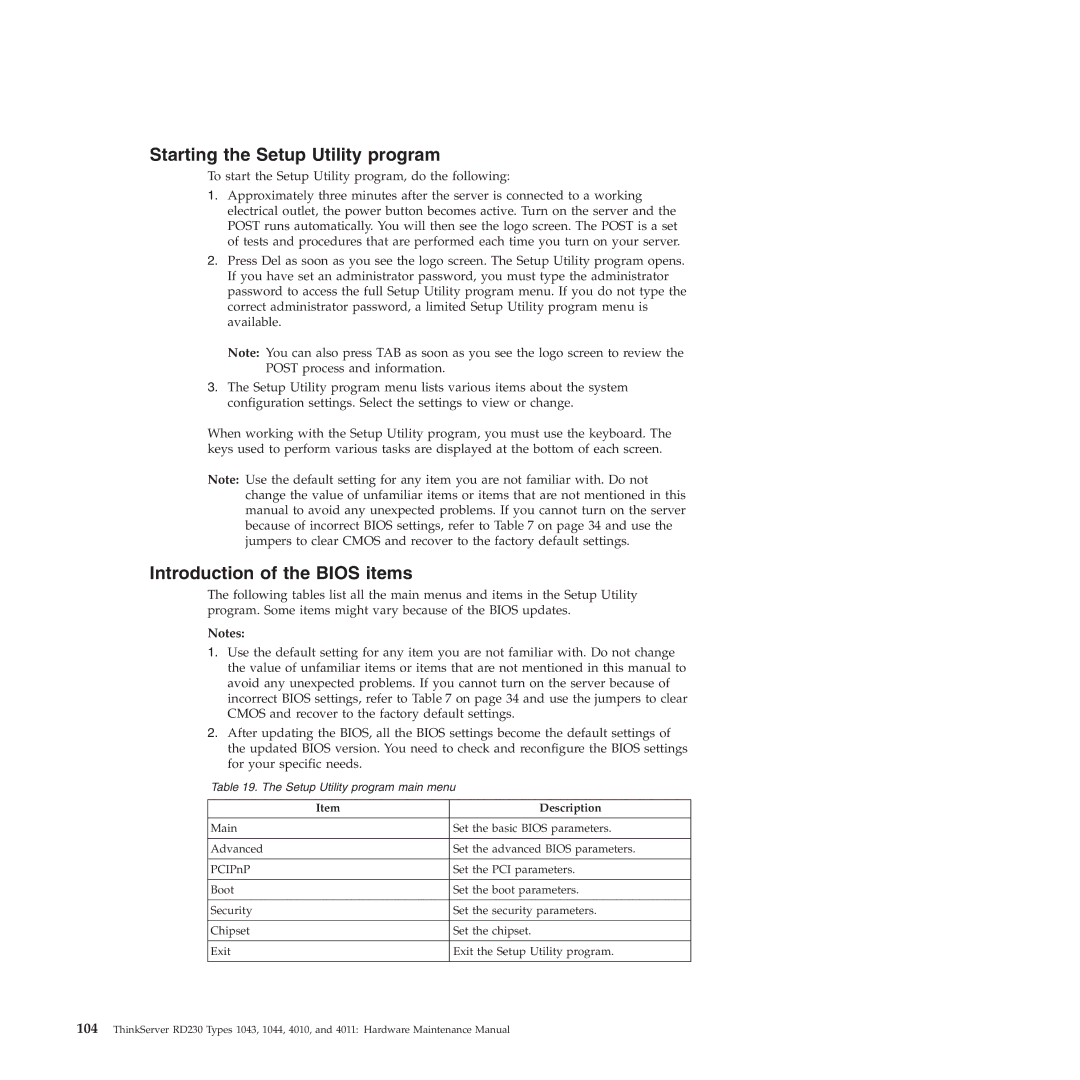
Starting the Setup Utility program

To start the Setup Utility program, do the following:

1.Approximately three minutes after the server is connected to a working electrical outlet, the power button becomes active. Turn on the server and the POST runs automatically. You will then see the logo screen. The POST is a set of tests and procedures that are performed each time you turn on your server.

2.Press Del as soon as you see the logo screen. The Setup Utility program opens. If you have set an administrator password, you must type the administrator password to access the full Setup Utility program menu. If you do not type the correct administrator password, a limited Setup Utility program menu is available.

Note: You can also press TAB as soon as you see the logo screen to review the POST process and information.

3.The Setup Utility program menu lists various items about the system configuration settings. Select the settings to view or change.

When working with the Setup Utility program, you must use the keyboard. The keys used to perform various tasks are displayed at the bottom of each screen.

Note: Use the default setting for any item you are not familiar with. Do not change the value of unfamiliar items or items that are not mentioned in this manual to avoid any unexpected problems. If you cannot turn on the server because of incorrect BIOS settings, refer to Table 7 on page 34 and use the jumpers to clear CMOS and recover to the factory default settings.

Introduction of the BIOS items

The following tables list all the main menus and items in the Setup Utility program. Some items might vary because of the BIOS updates.

Notes:

1.Use the default setting for any item you are not familiar with. Do not change the value of unfamiliar items or items that are not mentioned in this manual to avoid any unexpected problems. If you cannot turn on the server because of incorrect BIOS settings, refer to Table 7 on page 34 and use the jumpers to clear CMOS and recover to the factory default settings.

2.After updating the BIOS, all the BIOS settings become the default settings of the updated BIOS version. You need to check and reconfigure the BIOS settings for your specific needs.

Table 19. The Setup Utility program main menu

Item

Description


Main

Set the basic BIOS parameters.


Advanced

Set the advanced BIOS parameters.


PCIPnP

Set the PCI parameters.


Boot

Set the boot parameters.


Security

Set the security parameters.


Chipset

Set the chipset.


Exit

Exit the Setup Utility program.


104ThinkServer RD230 Types 1043, 1044, 4010, and 4011: Hardware Maintenance Manual

Page 110
Image 110
Lenovo RD230 manual Starting the Setup Utility program, Introduction of the Bios items

RD230 specifications

The Lenovo RD240 and RD230 are key players in the realm of enterprise-class servers, leveraging advanced technologies to deliver efficiency, reliability, and performance. These servers are designed to cater to the demands of small to medium-sized businesses, providing robust solutions for various workloads.

The Lenovo RD240 is a 2U rack server that features dual-socket support for Intel Xeon processors. This capability allows it to handle intensive computational tasks seamlessly, making it ideal for virtualized environments and database management. Equipped with up to 512GB of DDR3 memory, the RD240 ensures high memory bandwidth and reduced latency, improving overall system responsiveness.

In terms of storage, the RD240 supports a versatile range of options, with configurations allowing for up to twelve 3.5-inch hard drives or a combination of SSDs and HDDs. This flexibility enables businesses to tailor their storage solutions based on performance and capacity needs. Additionally, the server includes integrated RAID options, which enhance data protection and availability.

On the other hand, the RD230 is a compact 1U rack server that prioritizes space efficiency without compromising on performance. Like its larger counterpart, the RD230 supports dual Intel Xeon processors, but its design focuses on providing a more streamlined solution for environments with limited rack space. With support for up to 128GB of RAM, the RD230 can efficiently handle various applications, from web hosting to application serving.

Both servers are equipped with advanced management tools, such as the Lenovo XClarity Controller, which simplifies system monitoring and maintenance. This allows IT administrators to deploy updates, monitor hardware health, and manage resources with ease, leading to minimized downtime and optimized performance.

Furthermore, Lenovo places a strong emphasis on energy efficiency, ensuring that both the RD240 and RD230 have features like power management and cooling technologies. These innovations reduce their carbon footprint while lowering operating expenses, making them attractive choices for environmentally-conscious businesses.

In summary, the Lenovo RD240 and RD230 servers offer a blend of performance, flexibility, and efficient management, catering to the diverse needs of modern enterprises. With their robust features and reliable characteristics, they stand as dependable solutions for businesses looking to enhance their IT infrastructure while supporting future scalability.