Using a
Connect a
1Insert one end of the USB cable into the camera.
Note: Use only the USB cable that came with the digital camera.
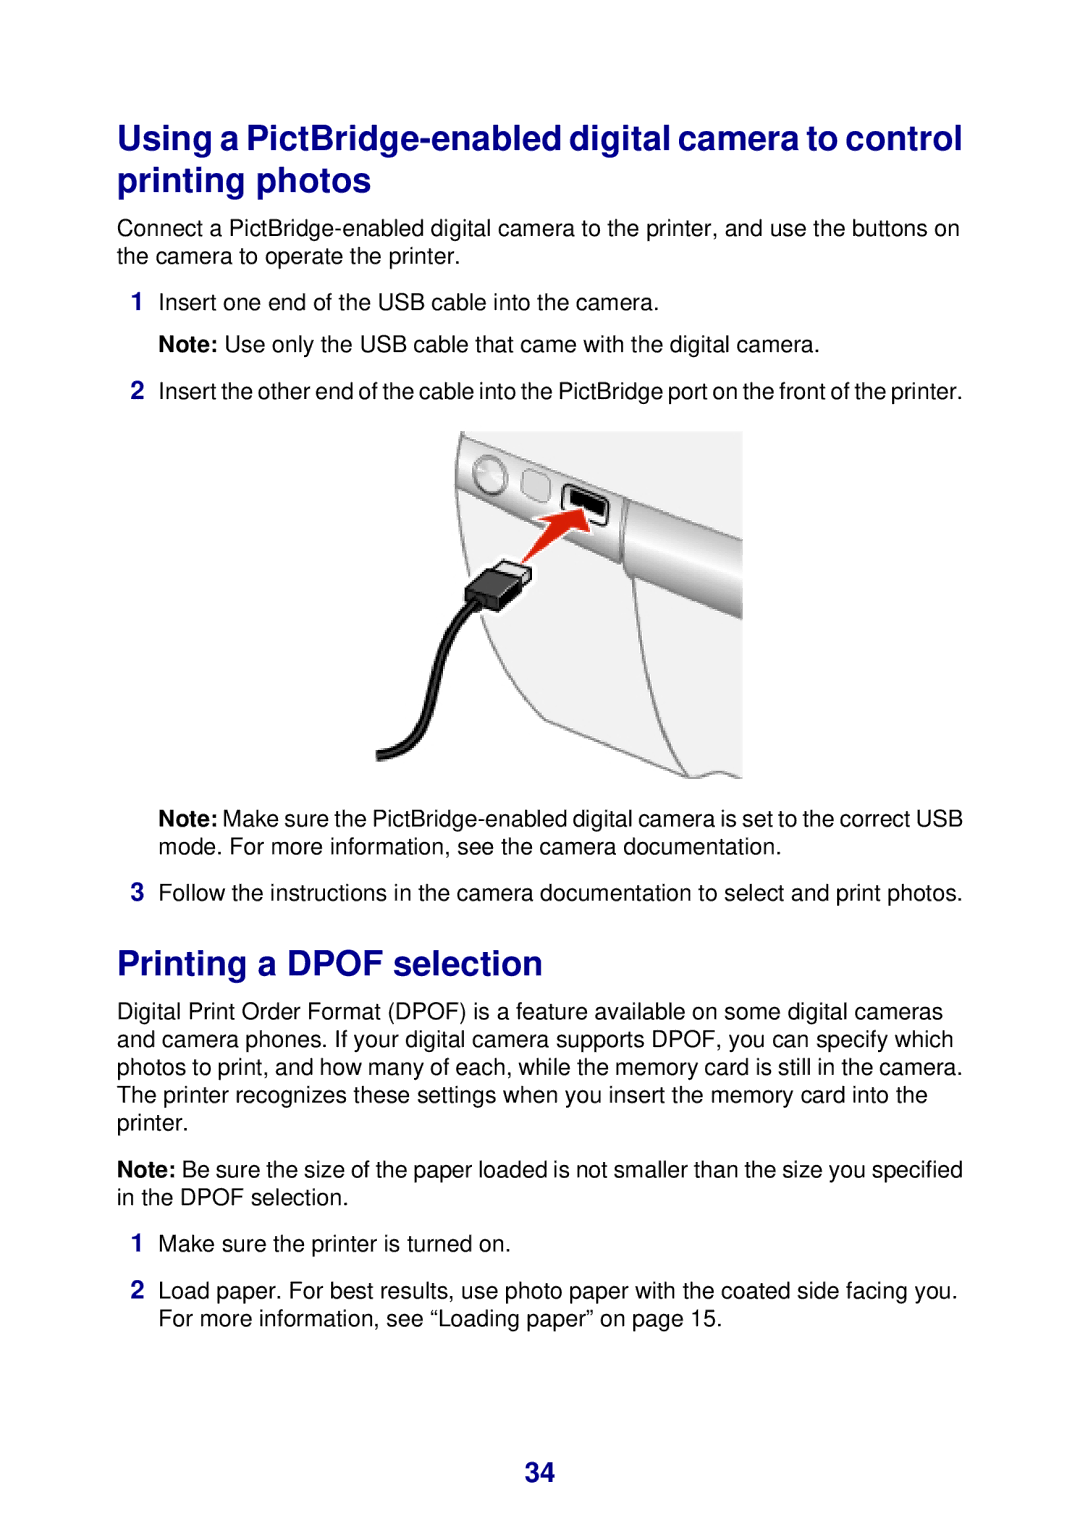
2Insert the other end of the cable into the PictBridge port on the front of the printer.
Note: Make sure the
3Follow the instructions in the camera documentation to select and print photos.
Printing a DPOF selection
Digital Print Order Format (DPOF) is a feature available on some digital cameras and camera phones. If your digital camera supports DPOF, you can specify which photos to print, and how many of each, while the memory card is still in the camera. The printer recognizes these settings when you insert the memory card into the printer.
Note: Be sure the size of the paper loaded is not smaller than the size you specified in the DPOF selection.
1Make sure the printer is turned on.
2Load paper. For best results, use photo paper with the coated side facing you. For more information, see “Loading paper” on page 15.
34
