Function
Using Keystone Function
*Use this function when the screen is not at a right angle to the projector and the image is a trapezoid shape.
*Only use the Keystone function when you can’t get the best angle of projection.
1.Press the KEYSTONE button of remote control.
2.Move to a desired item with the ![]() ,
, ![]() buttons and then press the
buttons and then press the ![]() button.
button.
3.Press the ![]() ,
, ![]() ,
, ![]() ,
, ![]() button to adjust the screen condition as you want and then press the
button to adjust the screen condition as you want and then press the ![]() OK button.
OK button.
●Keystone can be adjusted from
●Execute Reset to restore back to default factory settings.
●You can use this function through the MENU button.
●To exit the menu display, press the EXIT button.
Keystone |
| Move | MENU Prev. |
Top Left | G |
|
|
Top Right |
|
|
|
Bottom Left |
|
|
|
Bottom Right | H : | 0 |
|
Reset | V : | 0 |
|
|
|
|
Test Pattern Function
*Execute this function when installing the projector to adjust the screen size and focus.
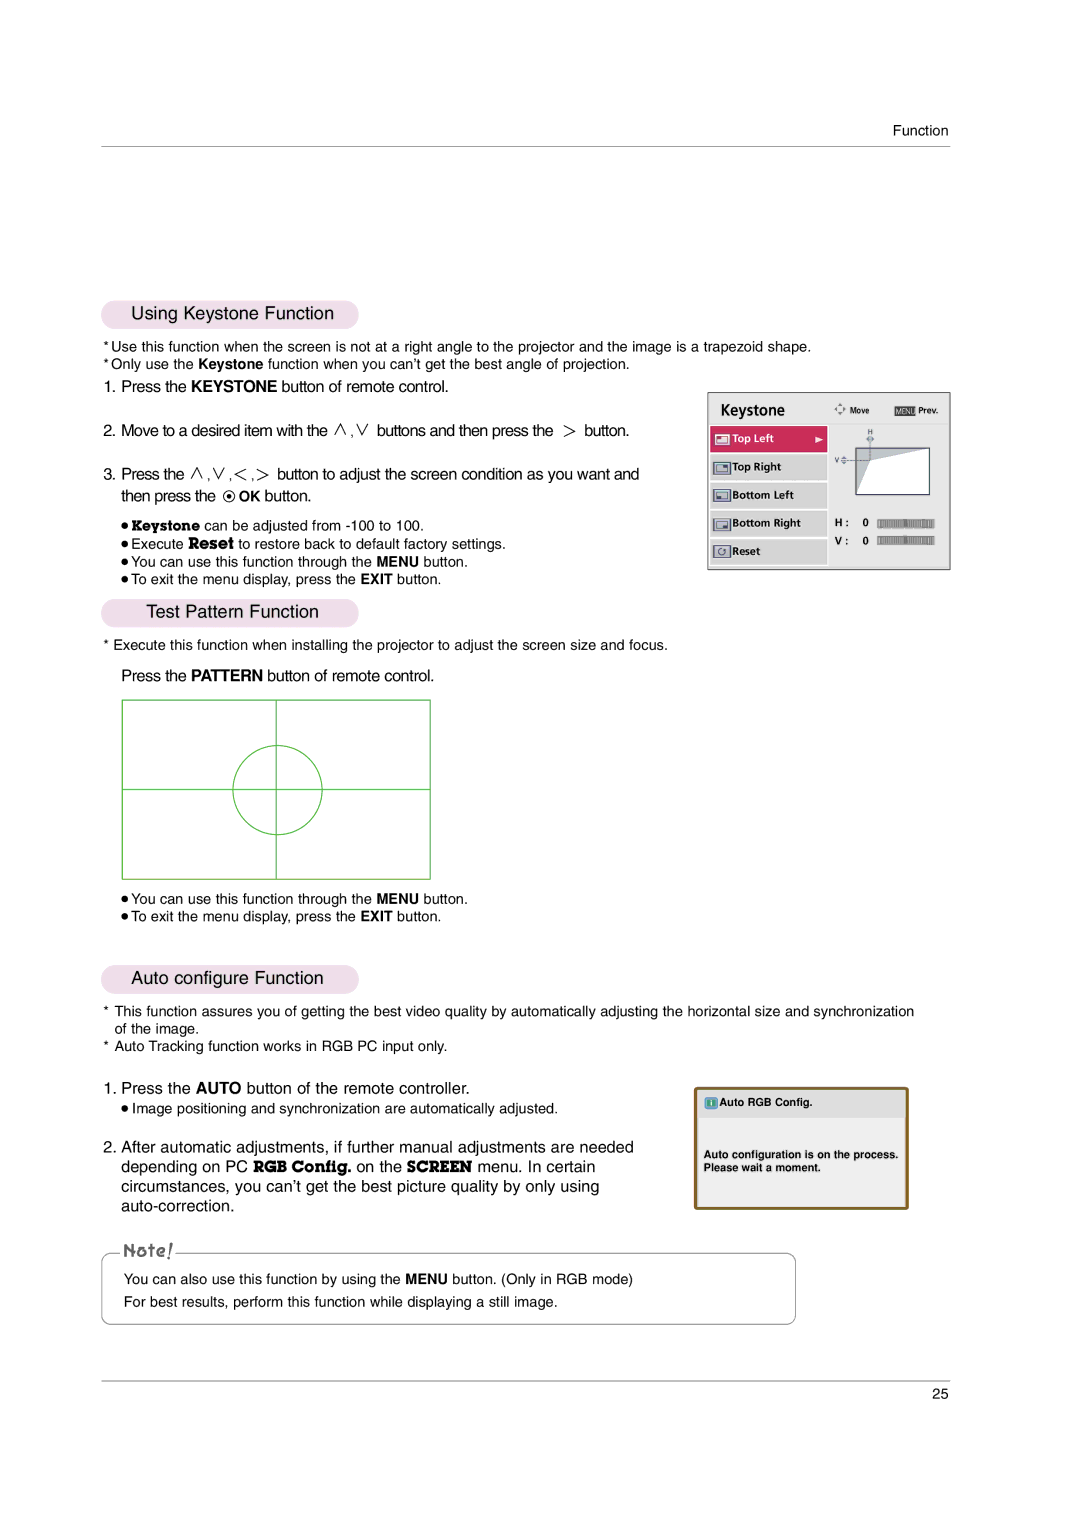
Press the PATTERN button of remote control.
●You can use this function through the MENU button.
●To exit the menu display, press the EXIT button.
Auto configure Function
*This function assures you of getting the best video quality by automatically adjusting the horizontal size and synchronization of the image.
*Auto Tracking function works in RGB PC input only.
1.Press the AUTO button of the remote controller.
● Image positioning and synchronization are automatically adjusted.
2.After automatic adjustments, if further manual adjustments are needed depending on PC RGB Config. on the SCREEN menu. In certain circumstances, you can’t get the best picture quality by only using
You can also use this function by using the MENU button. (Only in RGB mode)
For best results, perform this function while displaying a still image.
![]() Auto RGB Config.
Auto RGB Config.
Auto configuration is on the process. Please wait a moment.
25