Function
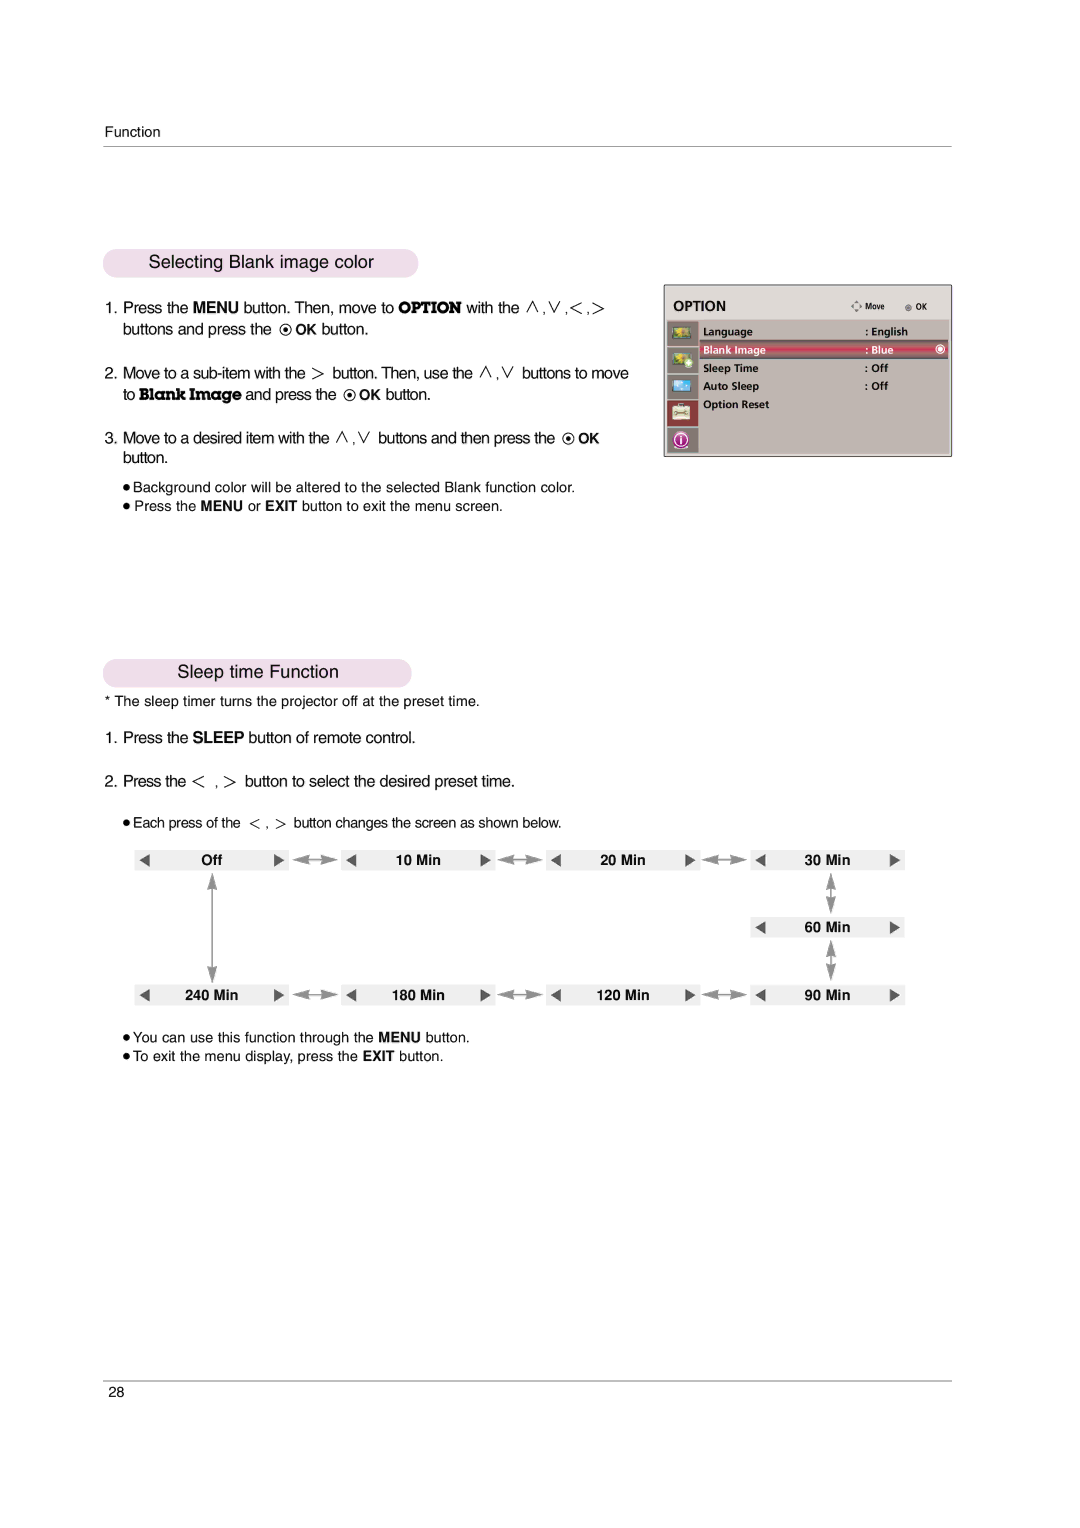
Selecting Blank image color
1.Press the MENU button. Then, move to OPTION with the ![]() ,
, ![]() ,
, ![]() ,
, ![]() buttons and press the
buttons and press the ![]() OK button.
OK button.
2.Move to a ![]() button. Then, use the
button. Then, use the ![]() ,
, ![]() buttons to move to Blank Image and press the
buttons to move to Blank Image and press the ![]() OK button.
OK button.
3.Move to a desired item with the ![]() ,
, ![]() buttons and then press the
buttons and then press the ![]() OK button.
OK button.
●Background color will be altered to the selected Blank function color.
●Press the MENU or EXIT button to exit the menu screen.
OPTION | Move | OK |
Language | : English |
|
Blank Image | : Blue |
|
Sleep Time | : Off |
|
Auto Sleep | : Off |
|
Option Reset |
|
|
Sleep time Function
* The sleep timer turns the projector off at the preset time.
1.Press the SLEEP button of remote control.
2.Press the ![]() ,
, ![]() button to select the desired preset time.
button to select the desired preset time.
●Each press of the ![]() ,
, ![]() button changes the screen as shown below.
button changes the screen as shown below.
F | Off | G |
| F | 10 Min | G |
| F | 20 Min | G |
| F | 30 Min | G | ||
|
|
| ||||||||||||||
|
|
|
|
|
|
|
|
|
|
|
|
|
|
|
|
|
|
|
|
|
|
|
|
|
|
|
|
|
|
|
|
|
|
|
|
|
|
|
|
|
|
|
|
|
|
| F | 60 Min | G | |
|
|
|
|
|
|
|
|
|
|
|
|
|
|
|
|
|
|
|
|
|
|
|
|
|
|
|
|
|
|
|
|
|
|
F | 240 Min | G |
| F | 180 Min | G |
| F | 120 Min | G |
| F | 90 Min | G | ||
|
|
| ||||||||||||||
●You can use this function through the MENU button.
●To exit the menu display, press the EXIT button.
28