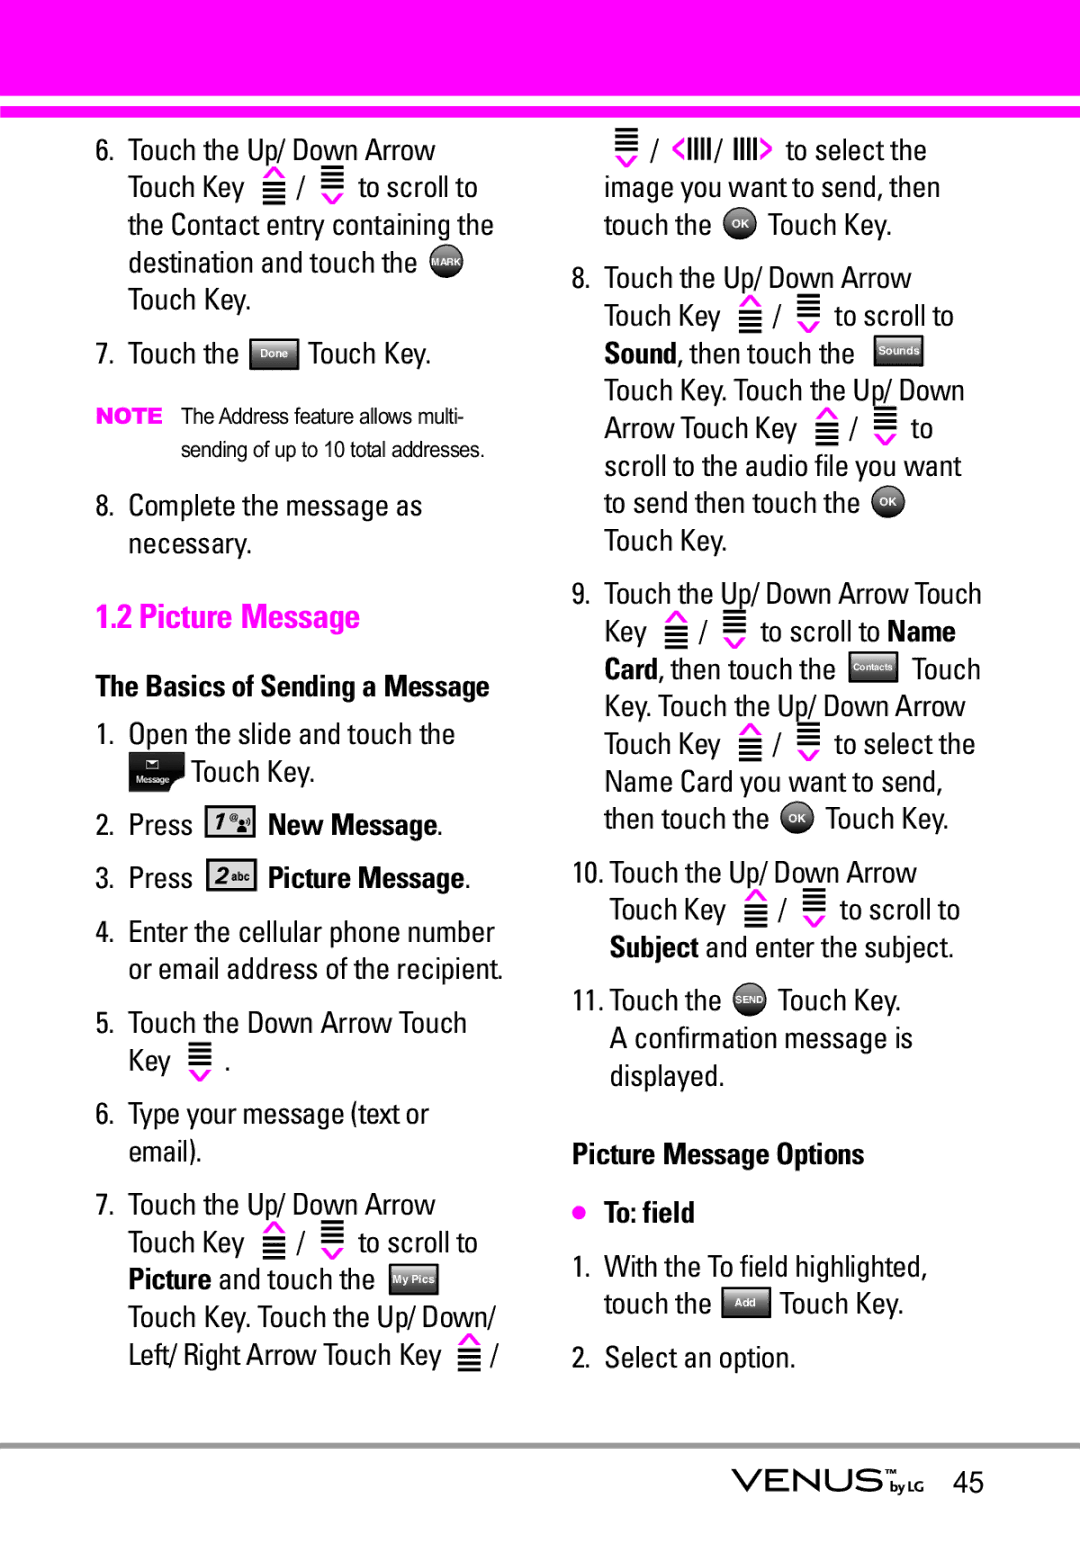
6.Touch the Up/ Down Arrow Touch Key  /
/  to scroll to the Contact entry containing the destination and touch the MARK Touch Key.
7.Touch the Done Touch Key.
NOTE The Address feature allows multi-
sending of up to 10 total addresses.
8.Complete the message as necessary.
1.2 Picture Message
The Basics of Sending a Message
1.Open the slide and touch the  Touch Key.
2.Press 


 New Message.
3.Press 


 Picture Message.
4.Enter the cellular phone number or email address of the recipient.
5.Touch the Down Arrow Touch
Key  .
.
6.Type your message (text or email).
7.Touch the Up/ Down Arrow
Touch Key  /
/  to scroll to
Picture and touch the My Pics Touch Key. Touch the Up/ Down/
Left/ Right Arrow Touch Key |
| / |
| ||
| ||
|
|
|
 /
/ 


 /
/ 


 to select the image you want to send, then touch the OK Touch Key.
8.Touch the Up/ Down Arrow
Touch Key  /
/  to scroll to
Sound, then touch the | Sounds | |||
Touch Key. Touch the Up/ Down | ||||
Arrow Touch Key |
| / |
| to |
| ||||
|
| |||
|
| |||
|
|
|
|
|
scroll to the audio file you want to send then touch the OK Touch Key.
9.Touch the Up/ Down Arrow Touch
Key  /
/  to scroll to Name Card, then touch the Contacts Touch Key. Touch the Up/ Down Arrow
Touch Key  /
/  to select the Name Card you want to send, then touch the OK Touch Key.
10.Touch the Up/ Down Arrow
Touch Key  /
/  to scroll to Subject and enter the subject.
11.Touch the SEND Touch Key. A confirmation message is displayed.
Picture Message Options
●To: field
1.With the To field highlighted, touch the Add Touch Key.
2.Select an option.
45