Web-Based Configuration
This section will guide you through the
NOTE: You must complete the appropriate Setup Procedures before proceeding with the
The Ethernet cable is connected to the iSwitch and the iSwitch is on.
1.Startup a Web browser.
2.Type in your IP Address.
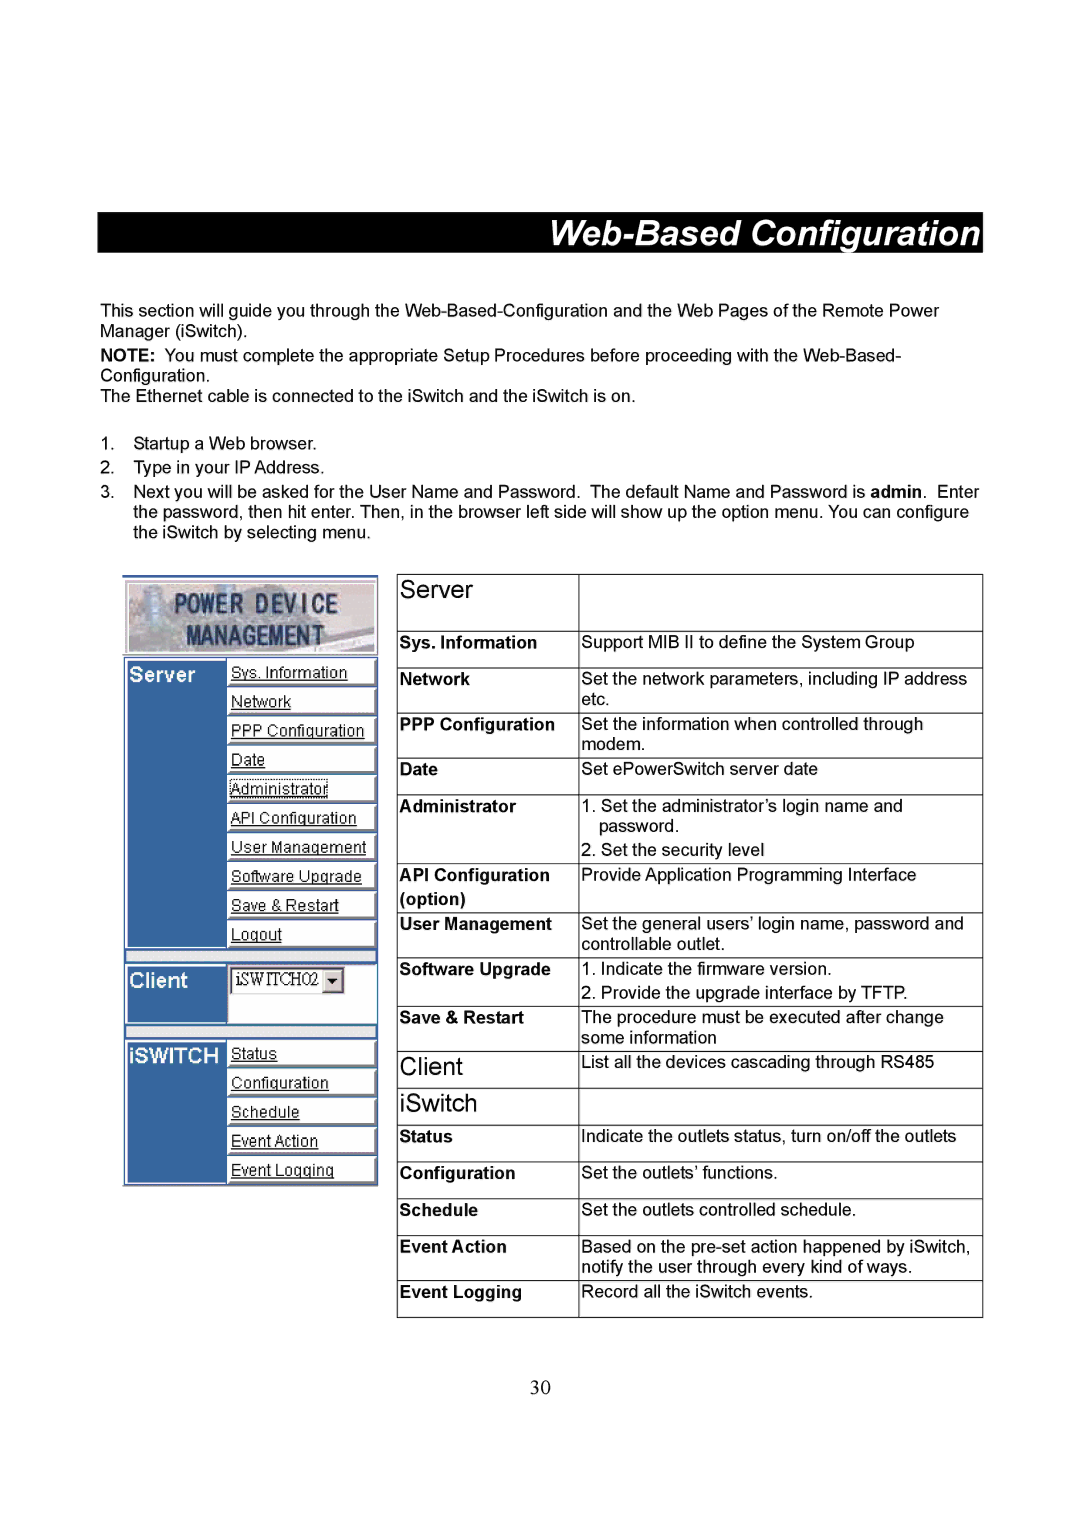
3.Next you will be asked for the User Name and Password. The default Name and Password is admin. Enter the password, then hit enter. Then, in the browser left side will show up the option menu. You can configure the iSwitch by selecting menu.
Server |
|
|
|
Sys. Information | Support MIB II to define the System Group |
|
|
Network | Set the network parameters, including IP address |
| etc. |
PPP Configuration | Set the information when controlled through |
| modem. |
Date | Set ePowerSwitch server date |
|
|
Administrator | 1. Set the administrator’s login name and |
| password. |
| 2. Set the security level |
API Configuration | Provide Application Programming Interface |
(option) |
|
User Management | Set the general users’ login name, password and |
| controllable outlet. |
Software Upgrade | 1. Indicate the firmware version. |
| 2. Provide the upgrade interface by TFTP. |
Save & Restart | The procedure must be executed after change |
| some information |
Client | List all the devices cascading through RS485 |
|
|
iSwitch |
|
|
|
Status | Indicate the outlets status, turn on/off the outlets |
|
|
Configuration | Set the outlets’ functions. |
|
|
Schedule | Set the outlets controlled schedule. |
|
|
Event Action | Based on the |
| notify the user through every kind of ways. |
Event Logging | Record all the iSwitch events. |
|
|
30