Chapter 4 | Configuration Using the |
Reactivate Suspended Port If the port has been suspended, select this checkbox to reactivate the port.
Operational Status
Admin Speed Use this to manually set the port’s configured transmission rate in Mbps. You can select 10M, 100M, or 1000M (Gigabit ports only). Before you change this setting, make sure that Auto Negotiation is disabled.
Current Port Speed
Admin Duplex The port’s duplex mode, either Full or Half.
Current Duplex Mode
Auto Negotiation Select Enable (default) or Disable to enable or disable
Current Auto Negotiation
Admin Advertisement Select the speed(s) and duplex mode(s) that the port will advertise. The available speeds are determined by the port type. The following capabilities are supported.
•Max Capability The port advertises all speeds and duplex mode settings.
•10 Half The port advertises 10 Mbps
•10 Full The port advertises 10 Mbps
•100 Half The port advertises 100 Mbps
•100 Full The port advertises 100 Mbps
•1000 Full (Gigabit ports only) The port advertises
1000 Mbps
Current Advertisement
Neighbor Advertisement
Back Pressure Select Enable or Disable (default) to enable or disable Back Pressure mode on the port.
Current Back Pressure
Flow Control Select Enable or Disable to manually enable or disable flow control, or select
Current Flow Control
MDI/MDIX Select the port’s MDI/MDIX type, either MDI, MDIX, or Auto (automatically detect type). The MDI setting is used if the port is connected to an end station. The MDIX setting is used if the port is connected to a hub or another switch.
Current MDI/MDIX
LAG
Click Save to save the settings and leave the screen open. Click Save & Close to save the settings and close the screen. Click Close to close the screen without saving the settings.
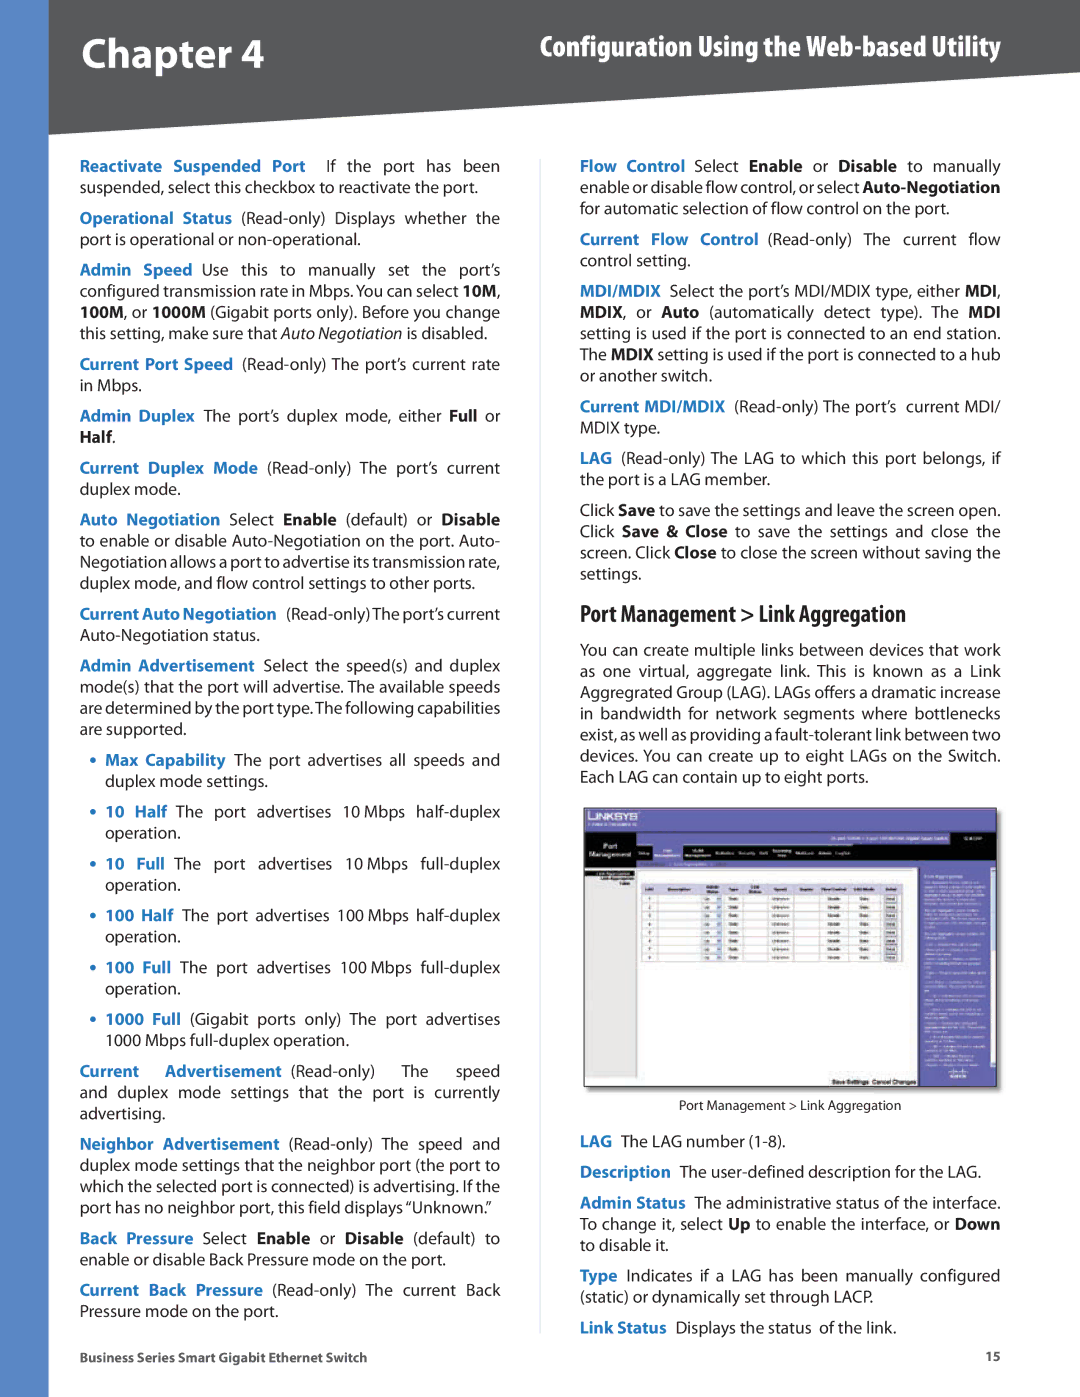
Port Management > Link Aggregation
You can create multiple links between devices that work as one virtual, aggregate link. This is known as a Link Aggregrated Group (LAG). LAGs offers a dramatic increase in bandwidth for network segments where bottlenecks exist, as well as providing a
Port Management > Link Aggregation
LAG The LAG number
Description The
Admin Status The administrative status of the interface. To change it, select Up to enable the interface, or Down to disable it.
Type Indicates if a LAG has been manually configured (static) or dynamically set through LACP.
Link Status Displays the status of the link.
Business Series Smart Gigabit Ethernet Switch | 15 |