Chapter 5 | Advanced Configuration |
DNS Server Enter the primary DNS Server information.
Click the Save Settings button to save your changes or click Cancel Changes to discard the information.
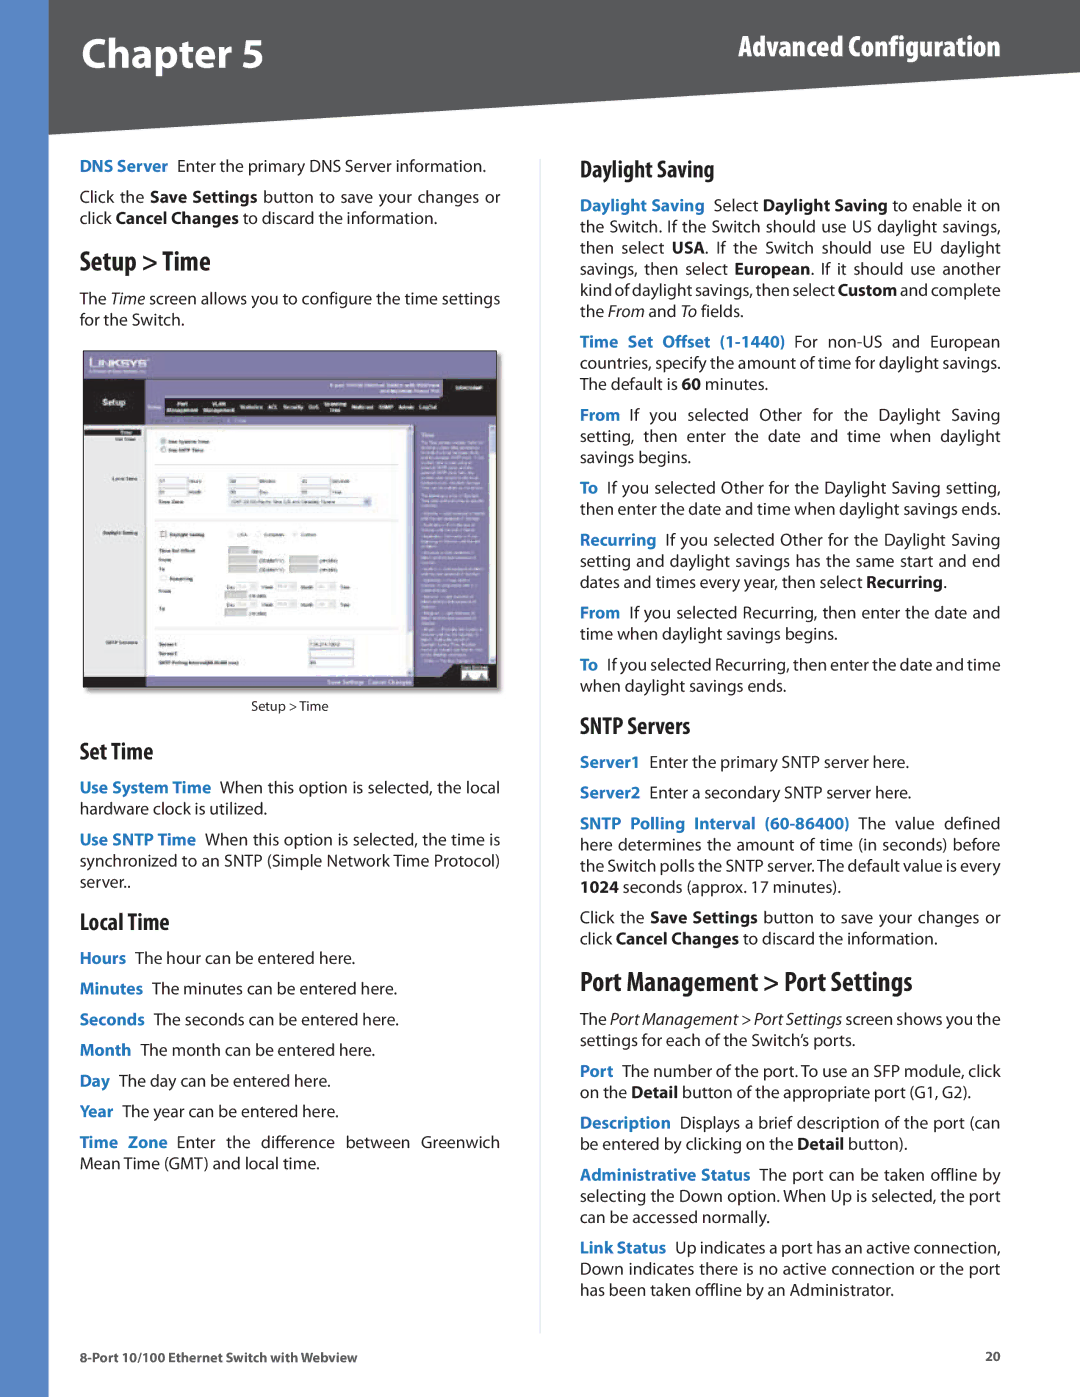
Setup > Time
The Time screen allows you to configure the time settings for the Switch.
Setup > Time
Set Time
Use System Time When this option is selected, the local hardware clock is utilized.
Use SNTP Time When this option is selected, the time is synchronized to an SNTP (Simple Network Time Protocol) server..
Local Time
Hours The hour can be entered here. Minutes The minutes can be entered here. Seconds The seconds can be entered here. Month The month can be entered here. Day The day can be entered here.
Year The year can be entered here.
Time Zone Enter the difference between Greenwich Mean Time (GMT) and local time.
Daylight Saving
Daylight Saving Select Daylight Saving to enable it on the Switch. If the Switch should use US daylight savings, then select USA. If the Switch should use EU daylight savings, then select European. If it should use another kind of daylight savings, then select Custom and complete the From and To fields.
Time Set Offset
From If you selected Other for the Daylight Saving setting, then enter the date and time when daylight savings begins.
To If you selected Other for the Daylight Saving setting, then enter the date and time when daylight savings ends.
Recurring If you selected Other for the Daylight Saving setting and daylight savings has the same start and end dates and times every year, then select Recurring.
From If you selected Recurring, then enter the date and time when daylight savings begins.
To If you selected Recurring, then enter the date and time when daylight savings ends.
SNTP Servers
Server1 Enter the primary SNTP server here. Server2 Enter a secondary SNTP server here.
SNTP Polling Interval
Click the Save Settings button to save your changes or click Cancel Changes to discard the information.
Port Management > Port Settings
The Port Management > Port Settings screen shows you the settings for each of the Switch’s ports.
Port The number of the port. To use an SFP module, click on the Detail button of the appropriate port (G1, G2).
Description Displays a brief description of the port (can be entered by clicking on the Detail button).
Administrative Status The port can be taken offline by selecting the Down option. When Up is selected, the port can be accessed normally.
Link Status Up indicates a port has an active connection, Down indicates there is no active connection or the port has been taken offline by an Administrator.
20 |