Chapter 4: Connecting the Wireless-G Access Point
Overview
This chapter explains how to place and connect the Access Point.
Depending on your application, you might want to set up the device first before mounting the device. Refer to “Chapter 5: Setting Up the
hardware: the physical aspect of computers, telecommunications, and other information technology devices.
Connection
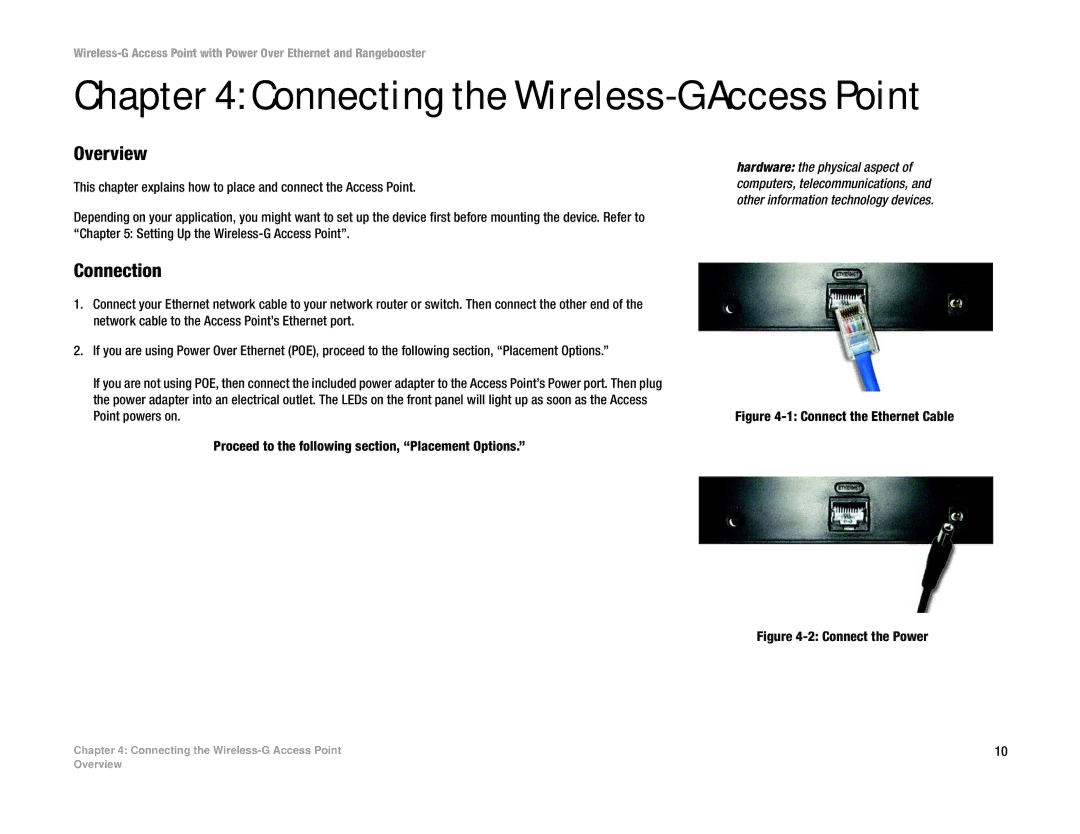
1. | Connect your Ethernet network cable to your network router or switch. Then connect the other end of the |
|
|
| network cable to the Access Point’s Ethernet port. |
|
|
2. | If you are using Power Over Ethernet (POE), proceed to the following section, “Placement Options.” |
|
|
| If you are not using POE, then connect the included power adapter to the Access Point’s Power port. Then plug |
|
|
| the power adapter into an electrical outlet. The LEDs on the front panel will light up as soon as the Access |
|
|
| Figure | ||
| Point powers on. | ||
Proceed to the following section, “Placement Options.”
Figure 4-2: Connect the Power
Chapter 4: Connecting the | 10 |
Overview