Wireless-B Ethernet Bridge

Chapter 4: Connecting the Wireless-B Ethernet Bridge for Setup

1.Attach the Bridge’s antenna.

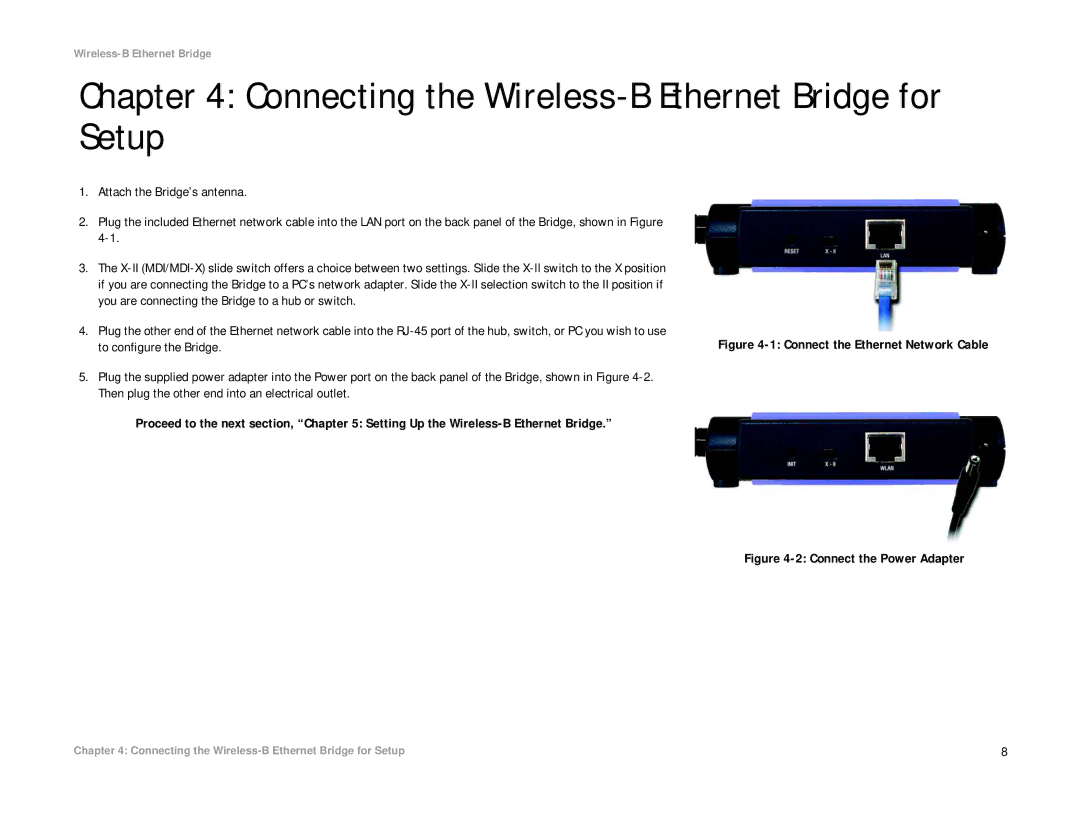
2.Plug the included Ethernet network cable into the LAN port on the back panel of the Bridge, shown in Figure 4-1.

3.The X-II (MDI/MDI-X) slide switch offers a choice between two settings. Slide the X-II switch to the X position if you are connecting the Bridge to a PC’s network adapter. Slide the X-II selection switch to the II position if you are connecting the Bridge to a hub or switch.

4.Plug the other end of the Ethernet network cable into the RJ-45 port of the hub, switch, or PC you wish to use

to configure the Bridge.

Figure 4-1: Connect the Ethernet Network Cable

5.Plug the supplied power adapter into the Power port on the back panel of the Bridge, shown in Figure 4-2. Then plug the other end into an electrical outlet.

Proceed to the next section, “Chapter 5: Setting Up the Wireless-B Ethernet Bridge.”

Figure 4-2: Connect the Power Adapter

Chapter 4: Connecting the Wireless-B Ethernet Bridge for Setup

8

Page 13
Image 13
Linksys WET11 manual Connecting the Wireless-B Ethernet Bridge for Setup, Connect the Ethernet Network Cable