Linksys WET11 manual WEP Key

Models: WET11

1 51
Download 51 pages 62.75 Kb
Page 17
Image 17

Wireless-B Ethernet Bridge

or fewer alphanumeric characters. It must match the passphrase of your wireless network and is compatible with Linksys wireless products only. (You will have to enter the WEP key(s) manually on any non-Linksys wireless products.)

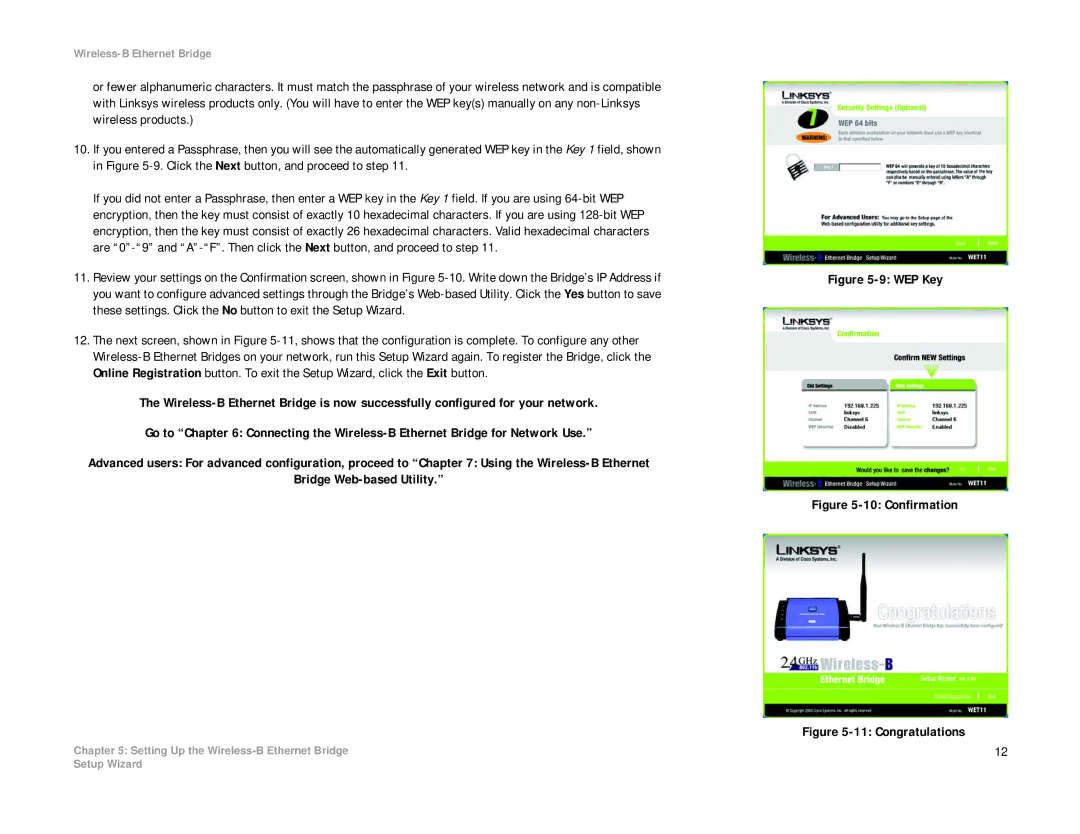
10.If you entered a Passphrase, then you will see the automatically generated WEP key in the Key 1 field, shown in Figure 5-9. Click the Next button, and proceed to step 11.

If you did not enter a Passphrase, then enter a WEP key in the Key 1 field. If you are using 64-bit WEP encryption, then the key must consist of exactly 10 hexadecimal characters. If you are using 128-bit WEP encryption, then the key must consist of exactly 26 hexadecimal characters. Valid hexadecimal characters are “0”-“9” and “A”-“F”. Then click the Next button, and proceed to step 11.

11.Review your settings on the Confirmation screen, shown in Figure 5-10. Write down the Bridge’s IP Address if you want to configure advanced settings through the Bridge’s Web-based Utility. Click the Yes button to save these settings. Click the No button to exit the Setup Wizard.

12.The next screen, shown in Figure 5-11, shows that the configuration is complete. To configure any other Wireless-B Ethernet Bridges on your network, run this Setup Wizard again. To register the Bridge, click the Online Registration button. To exit the Setup Wizard, click the Exit button.

The Wireless-B Ethernet Bridge is now successfully configured for your network.

Go to “Chapter 6: Connecting the Wireless-B Ethernet Bridge for Network Use.”

Advanced users: For advanced configuration, proceed to “Chapter 7: Using the Wireless-B Ethernet

Bridge Web-based Utility.”

Chapter 5: Setting Up the Wireless-B Ethernet Bridge

Figure 5-9: WEP Key

Figure 5-10: Confirmation

Figure 5-11: Congratulations

12

Setup Wizard

Page 17
Image 17
Linksys WET11 manual WEP Key