7.When the WARNING and STANDBY indicators go out, color temperature adjustment is complete. Adjustment takes about 4 to 5 minutes. When the color temperature sensor is detached from the lens, the below message appears on the screen.
Complete
Press "Enter" to exit
8.Press the ENTER button to return to the menu and disconnect the cable of the color temperature sensor from the projector.
Note:
If color temperature adjustment is not correctly processed or if adjustment processing is interrupted in course by pressing the MENU button or for some other reason, the below message appears on the screen.
Quit
Press "Enter" to exit
Also, adjustment processing can be interrupted by pressing the MENU button.
❖Color Temperature Sensor Protection
If no operations are performed for approximately 10 minutes from the moment color temperature adjustment processing ends, power to the projector shuts OFF automatically in order to protect the color temperature sensor. If power is shut OFF to protect the color temperature sensor, do the following.
•If the WARNING indicator does not light
When color temperature adjustment ends successfully and the sensor protection feature trips, the projector goes on standby. As usual, activate power by pressing either the POWER ON button on the remote control or the POWER button on the projector.
•If the WARNING indicator lights
If color temperature adjustment does not end successfully and the sensor protection feature trips, the projector's WARNING and STANDBY indicators light simultaneously to indicate the error mode. Unplug the power cable and then plug it back in. Then, press either the POWER ON button on the remote control or the POWER button on the projector to reactivate power.
Cleaning the Lens
If the lens becomes dirty or smudged, clean it with a soft dry cloth only. Use optical lens cleaners that are approved for eyeglasses or cameras. Do not use a dampen cloth, detergent solution, or thinner. It may damage the lens and remain as stains.
Replacement Parts
When replacement parts are required, be sure to inform a Marantz authorized service center. Use only replacement parts specified by Marantz. Unauthorized substitutions may result in fire, electric shock, or other hazards. And, the warranty may not be guaranteed.
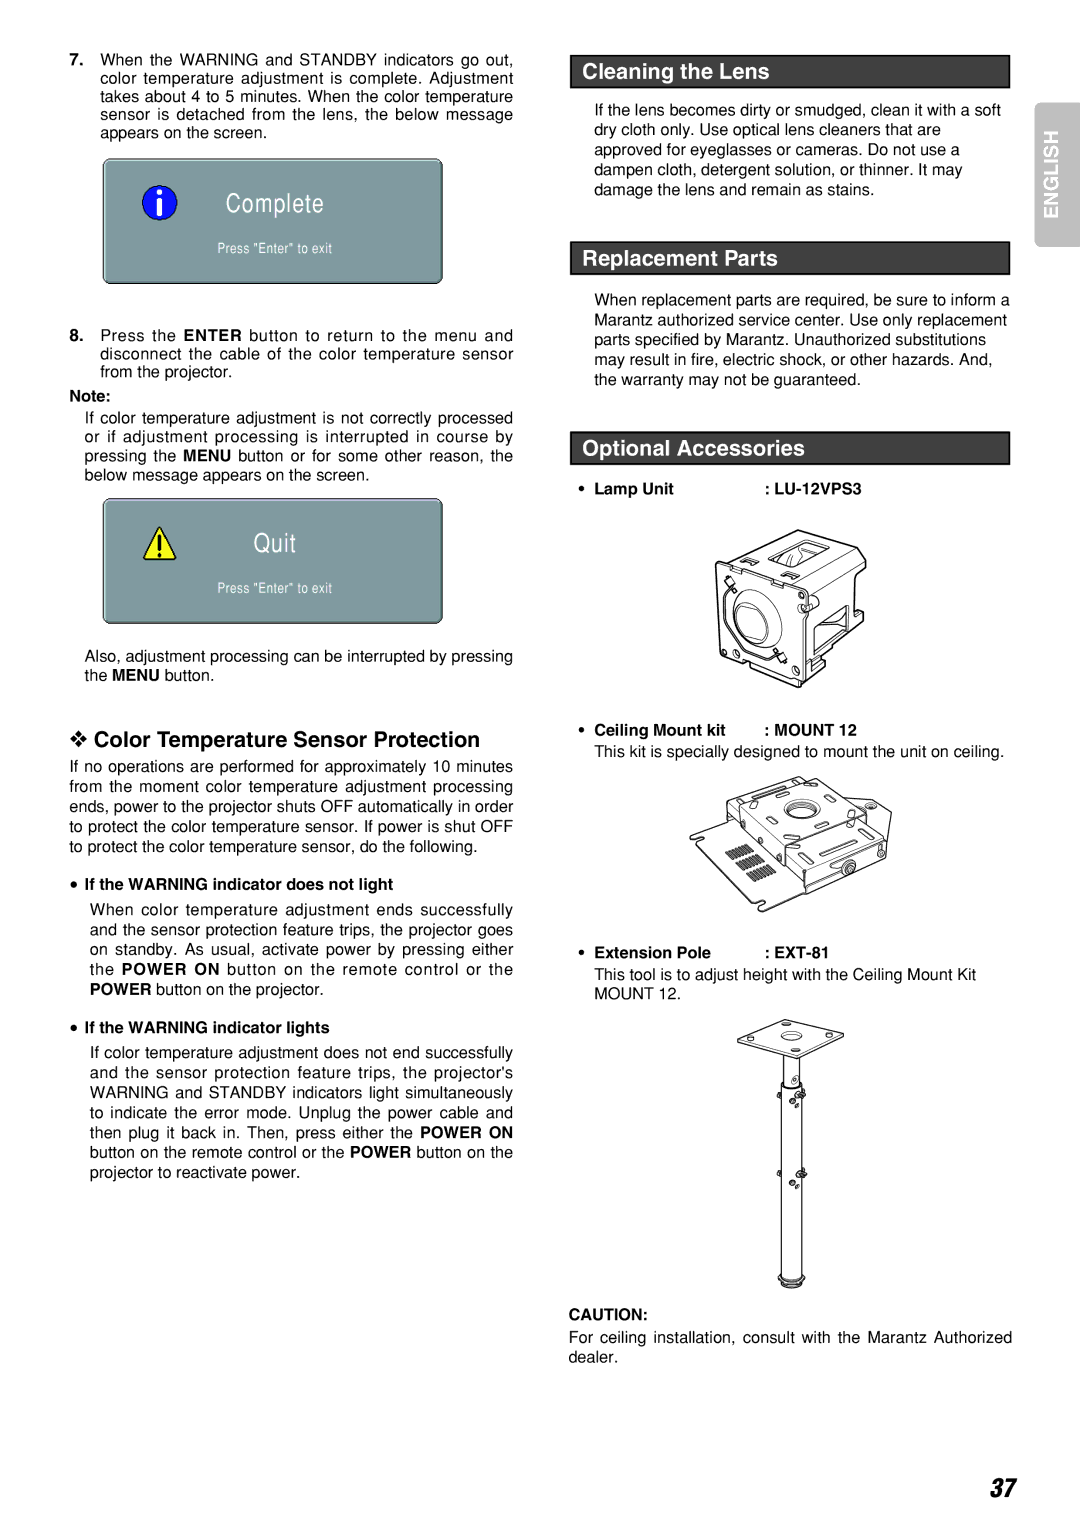
Optional Accessories
• Lamp Unit | : |
|
|
|
|
• Ceiling Mount kit | : MOUNT 12 |
This kit is specially designed to mount the unit on ceiling.
• Extension Pole | : |
This tool is to adjust height with the Ceiling Mount Kit MOUNT 12.
CAUTION:
For ceiling installation, consult with the Marantz Authorized dealer.
ENGLISH
37