|
| Color Temperature Adjustment |
|
|
|
|
|
| After replacing the lamp or in other cases where the lighting | ||
ENGLISH | changes, color temperature can be adjusted using the included | ||
the projector is activated for the lamp’s brightness to stabilize. | |||
| color temperature sensor. In the adjustment procedure, you | ||
| must first initialize the sensor itself before adjusting color | ||
| temperature. It takes about 10 minutes from when the power to | ||
| Wait for lamp brightness to stabilize before adjusting color | ||
| temperature. | ||
| 1. Connect the cable of the color temperature sensor to the | ||
|
|
| |
2.Press the MENU button and select “Color Temp. Calibration” from the MENU screen. Press the 2 button. The below message appears on the screen.
Calibration
Press "Enter" to exit
3.Use the 1 and 2 buttons to select “Yes” and press the ENTER button. The below message appears on the screen.
Initialize
Press "Enter" to start
Before pressing the ENTER button, turn the color temperature sensor over on its dark side as shown in the below figure, to prevent outside light from penetrating to the sensor’s condenser.
Condenser
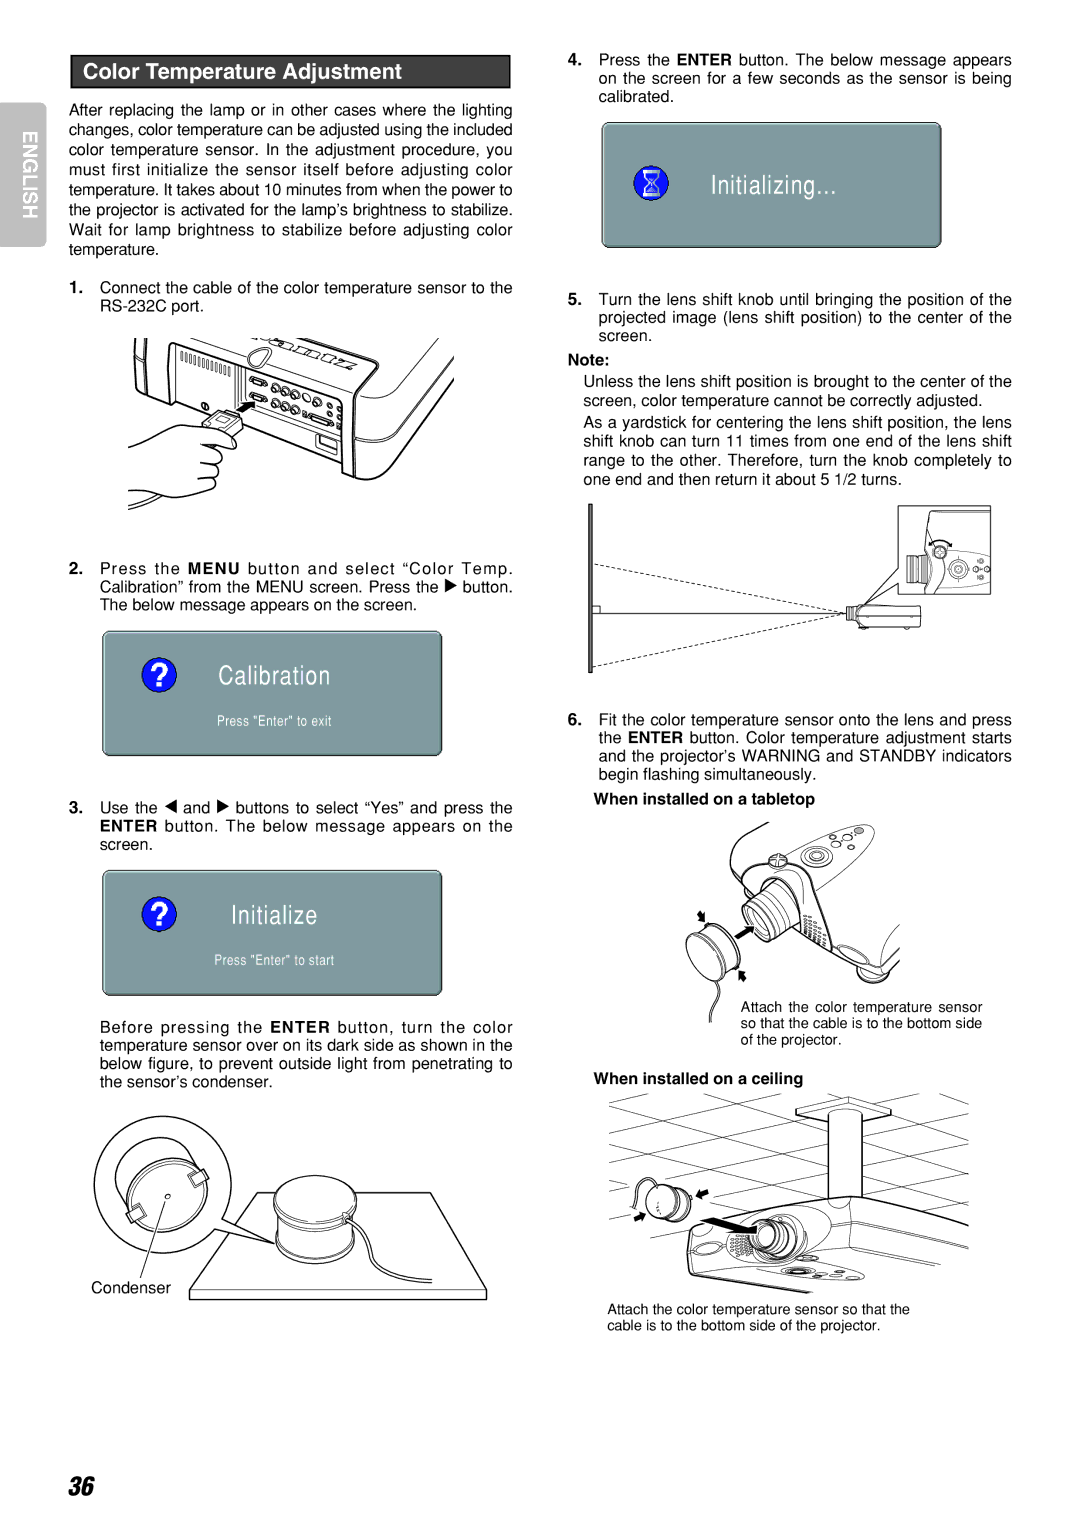
4.Press the ENTER button. The below message appears on the screen for a few seconds as the sensor is being calibrated.
Initializing...
5.Turn the lens shift knob until bringing the position of the projected image (lens shift position) to the center of the screen.
Note:
Unless the lens shift position is brought to the center of the screen, color temperature cannot be correctly adjusted.
As a yardstick for centering the lens shift position, the lens shift knob can turn 11 times from one end of the lens shift range to the other. Therefore, turn the knob completely to one end and then return it about 5 1/2 turns.
6.Fit the color temperature sensor onto the lens and press the ENTER button. Color temperature adjustment starts and the projector’s WARNING and STANDBY indicators begin flashing simultaneously.
When installed on a tabletop
Attach the color temperature sensor so that the cable is to the bottom side of the projector.
When installed on a ceiling
Attach the color temperature sensor so that the cable is to the bottom side of the projector.
36