
JS48FBDBDA, JS42SEFXFA, JS48CSDBDA, JS48FBFXDA, JS48CSFXFA specifications
The Maytag RJRS4280C, RJRS4270B, RJRS4270C, RJRS4271A, and RJRS4881A represent a series of high-performance refrigerators designed to meet the needs of modern households. These models feature sleek, functional designs that seamlessly blend into any kitchen decor while providing ample storage solutions and advanced cooling technologies.One of the standout features of these Maytag refrigerators is their spacious interior. With multiple shelves and compartments, they offer plenty of room for groceries, leftovers, and beverages. The adjustable shelves allow users to customize their storage configurations, accommodating taller items with ease. Additionally, the dedicated crisper drawers are perfect for keeping fruits and vegetables fresh for longer periods.
In terms of cooling technologies, these models are equipped with Maytag's Advanced Cooling System. This technology ensures consistent temperature control and minimizes fluctuations, which is crucial for preserving the freshness of food. The refrigerators also feature a strong compressor and adequate insulation, enhancing energy efficiency and reducing noise levels.
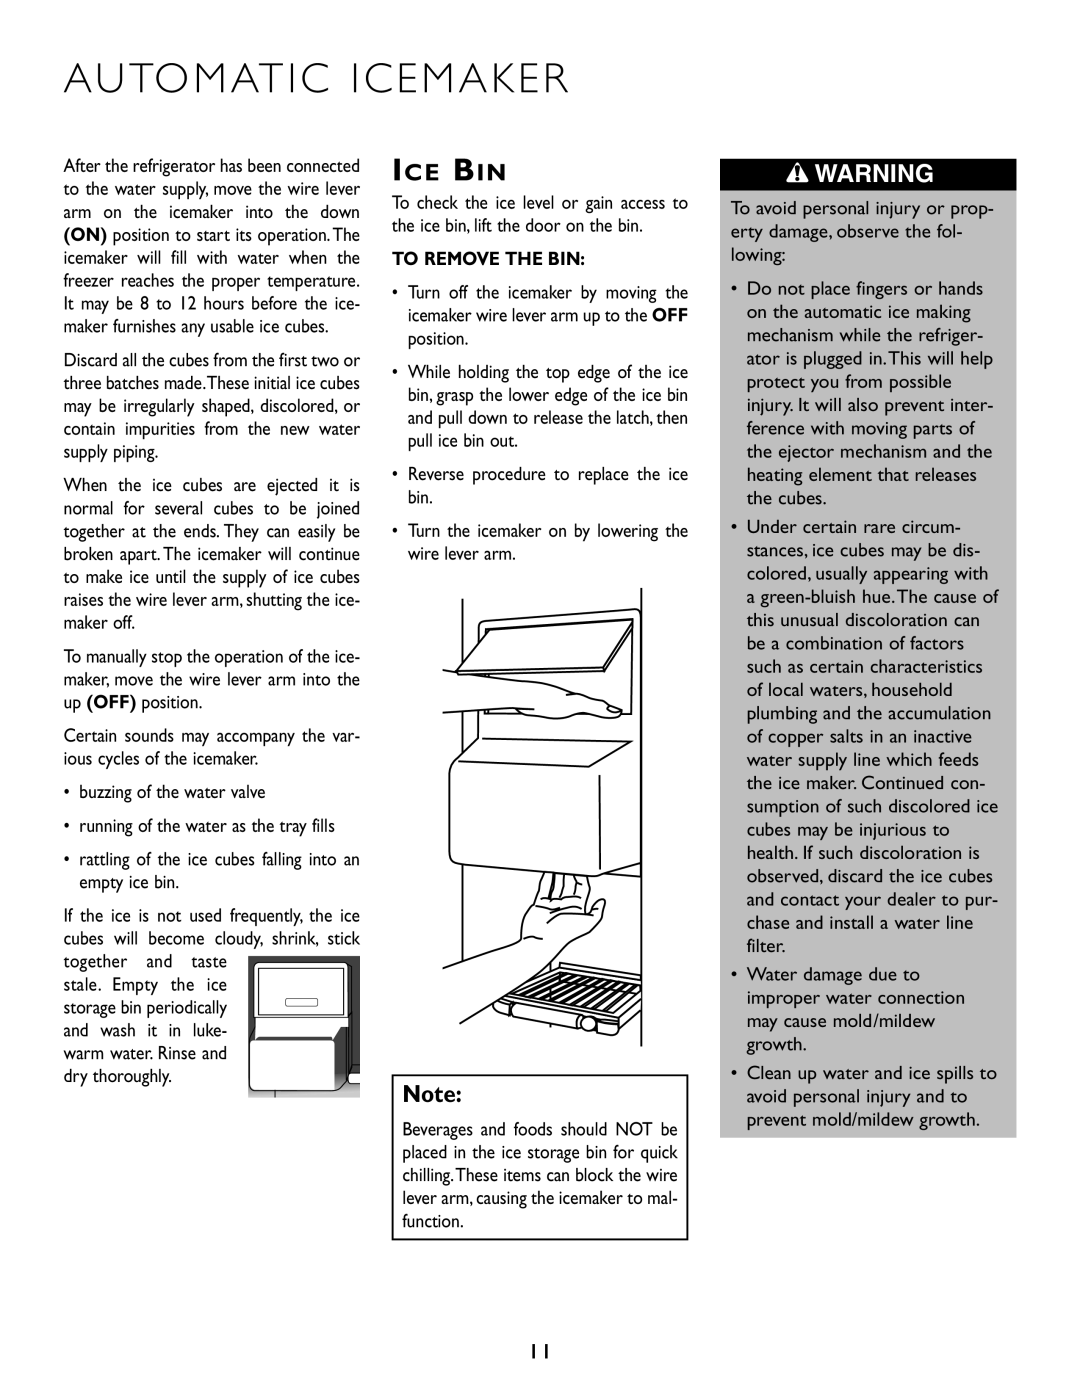
Another notable characteristic of the RJRS series is the Ice Maker feature available in certain models, such as the RJRS4881A. This built-in ice maker produces a steady supply of ice, perfect for entertaining guests or enjoying cold beverages. Furthermore, these refrigerators include a water dispenser option, offering easy access to chilled water without the need to open the refrigerator door.
Energy efficiency is a key consideration in the design of these Maytag refrigerators. Many of the RJRS models are ENERGY STAR qualified, meaning they meet strict energy efficiency guidelines set by the U.S. Environmental Protection Agency. This not only helps reduce household energy bills but also contributes to environmental sustainability.
The exterior of these refrigerators is designed for durability, featuring a fingerprint-resistant stainless steel finish that keeps the surface looking clean and sleek. The easy-to-use controls and LED lighting enhance usability and visibility, making it easy to find items inside, even in dim lighting conditions.
Overall, the Maytag RJRS4280C, RJRS4270B, RJRS4270C, RJRS4271A, and RJRS4881A offer a combination of style, functionality, and advanced technology. With their spacious interiors, innovative cooling systems, and energy-saving features, they are an excellent choice for those looking to upgrade their kitchen appliances. Whether you are a home cook or a busy parent, these refrigerators provide the reliability and performance needed for everyday life.