Connecting the LP Cylinder:
1)Fill empty OPD LP Cylinder at your local LP gas supplier.
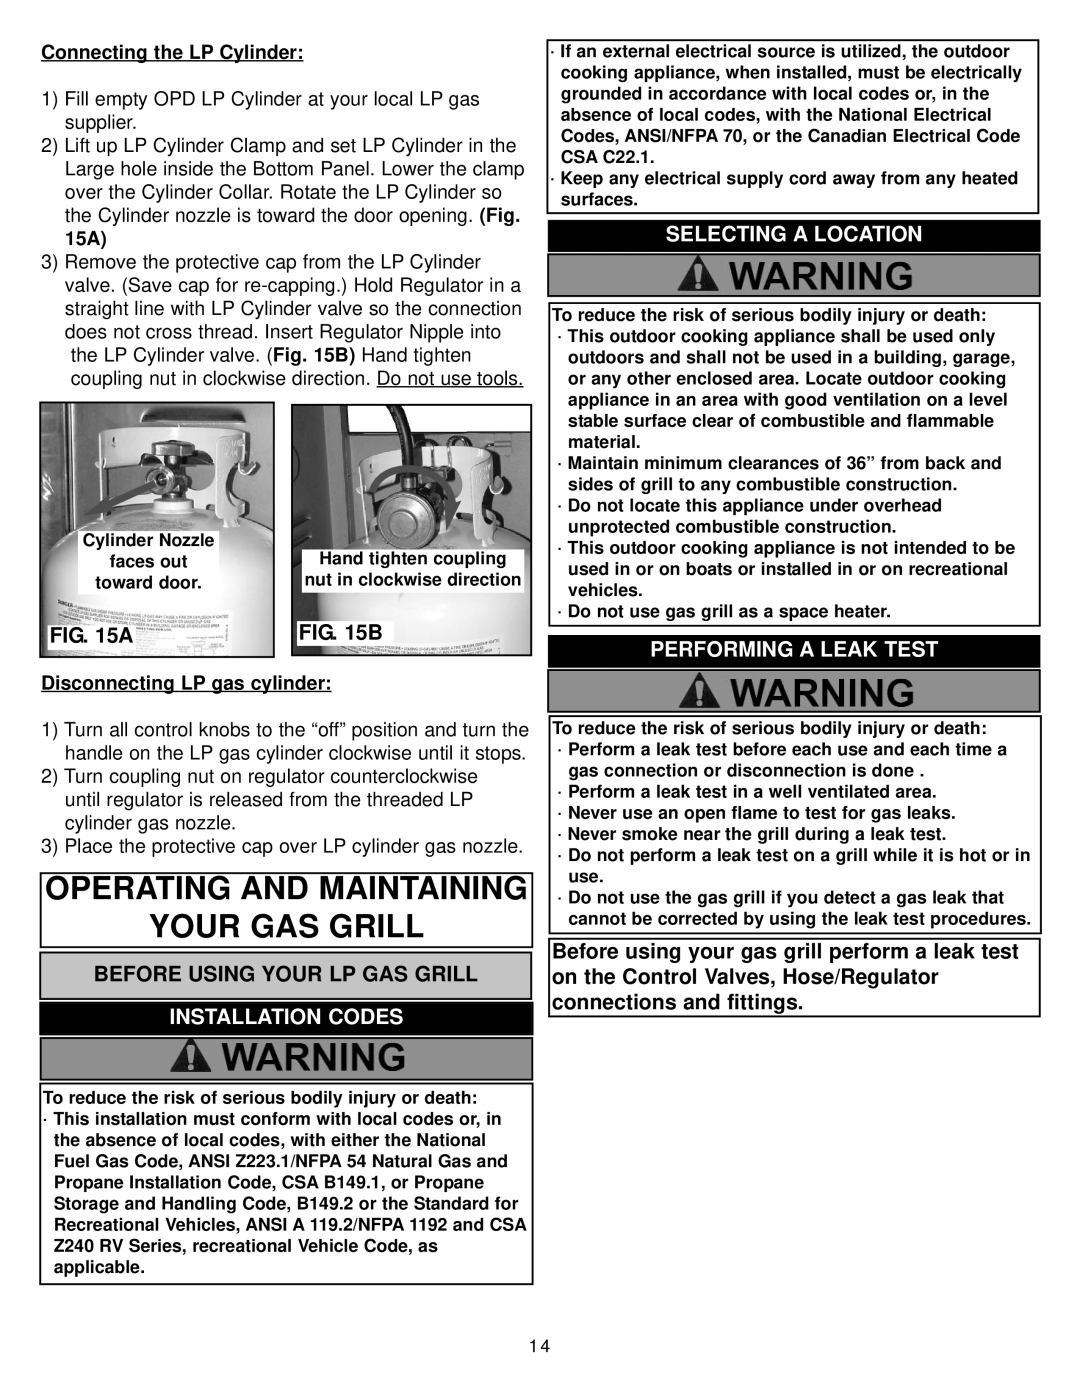
2)Lift up LP Cylinder Clamp and set LP Cylinder in the Large hole inside the Bottom Panel. Lower the clamp over the Cylinder Collar. Rotate the LP Cylinder so the Cylinder nozzle is toward the door opening. (Fig. 15A)
3)Remove the protective cap from the LP Cylinder valve. (Save cap for
|
|
|
|
|
|
|
|
|
|
|
|
| Cylinder Nozzle |
|
|
|
|
|
| ||
|
| faces out |
|
|
|
| Hand tighten coupling |
| ||
|
| toward door. |
|
|
|
| nut in clockwise direction |
| ||
|
|
|
|
|
|
|
|
|
|
|
|
|
|
|
| FIG. 15B | |||||
| FIG. 15A |
|
|
|
| |||||
|
|
|
|
|
|
|
|
|
|
|
|
|
|
|
|
|
|
|
|
|
|
Disconnecting LP gas cylinder:
·If an external electrical source is utilized, the outdoor cooking appliance, when installed, must be electrically grounded in accordance with local codes or, in the absence of local codes, with the National Electrical Codes, ANSI/NFPA 70, or the Canadian Electrical Code CSA C22.1.
·Keep any electrical supply cord away from any heated surfaces.
SELECTING A LOCATION
To reduce the risk of serious bodily injury or death:
·This outdoor cooking appliance shall be used only outdoors and shall not be used in a building, garage, or any other enclosed area. Locate outdoor cooking appliance in an area with good ventilation on a level stable surface clear of combustible and flammable material.
·Maintain minimum clearances of 36” from back and sides of grill to any combustible construction.
·Do not locate this appliance under overhead unprotected combustible construction.
·This outdoor cooking appliance is not intended to be used in or on boats or installed in or on recreational vehicles.
·Do not use gas grill as a space heater.
PERFORMING A LEAK TEST
1)Turn all control knobs to the “off” position and turn the handle on the LP gas cylinder clockwise until it stops.
2)Turn coupling nut on regulator counterclockwise until regulator is released from the threaded LP cylinder gas nozzle.
3)Place the protective cap over LP cylinder gas nozzle.
OPERATING AND MAINTAINING
YOUR GAS GRILL
BEFORE USING YOUR LP GAS GRILL
INSTALLATION CODES
To reduce the risk of serious bodily injury or death:
·Perform a leak test before each use and each time a gas connection or disconnection is done .
·Perform a leak test in a well ventilated area.
·Never use an open flame to test for gas leaks.
·Never smoke near the grill during a leak test.
·Do not perform a leak test on a grill while it is hot or in use.
·Do not use the gas grill if you detect a gas leak that cannot be corrected by using the leak test procedures.
Before using your gas grill perform a leak test on the Control Valves, Hose/Regulator connections and fittings.
To reduce the risk of serious bodily injury or death:
·This installation must conform with local codes or, in the absence of local codes, with either the National Fuel Gas Code, ANSI Z223.1/NFPA 54 Natural Gas and Propane Installation Code, CSA B149.1, or Propane Storage and Handling Code, B149.2 or the Standard for Recreational Vehicles, ANSI A 119.2/NFPA 1192 and CSA Z240 RV Series, recreational Vehicle Code, as applicable.
14
