Operating and installation instructions
en - GB
Contents
Warning and safety instructions Caring for the environment
Contents
Cleaning and care Programming Problem solving guide
Optional accessories Safety instructions for installation
After sales service, data plate
Guide to the appliance
KM 5942 / KM 5943 / KM
Guide to the appliance
Guide to the appliance
KM 5946 / KM 5947 / KM
e Timer control and display see “Timer control and display”
f Safety lock indicator lamp g Safety lock sensor switch
h Hob ON/OFF sensor switch
KM 5951 / KM 5952 / KM
Guide to the appliance
Guide to the appliance
KM 5955 / KM 5956 / KM
Guide to the appliance
Guide to the appliance
Guide to the appliance
KM 5975 / KM
Guide to the appliance
Cooking zone sensors and displays
Guide to the appliance
Timer control and display
Guide to the appliance
Cooking zones
Cooking
KM 5941 / KM 5951 / KM 5952 / KM
zone
KM 5945 / KM 5955 / KM
Cooking zone
KM 5946 / KM 5947 / KM
Guide to the appliance
Guide to the appliance
Cooking
zone
Rating in watts for
Special feature
KM
Guide to the appliance
Cooking zone
Warning and safety instructions
Correct application
Safety with children
Warning and safety instructions
Technical safety
Warning and safety instructions
Correct use
Warning and safety instructions
Warning and safety instructions
~ Do not use the appliance as a
Warning and safety instructions
~ Do not allow either solid or liquid sugar, or pieces of plastic or aluminium foil to get onto the cooking zones when they are hot. If this should occur, switch off the appliance, and carefully scrape off all the sugar, plastic or aluminium residues from the hob whilst they are still hot, using a shielded scaper blade. Take care not to burn yourself
Disposal of your old appliance
Caring for the environment
Disposal of the packing material
Before using for the first time
Before using for the first time
Cleaning for the first time
Induction
The induction principle
Noises
Induction
Pans
Suitable pans include
Unsuitable pans
Pan size
Sensor switches
Switching on
To switch the hob on
To switch a cooking zone on
Settings
Settings
Standard
Extended
cooking setting
Auto heat-up
Continued
Heat-up time
Booster function
To deactivate the booster function
To activate Booster l
To activate Booster
Keeping warm
Useful tips
Switching off the hob
Switching off and residual heat indicators
Switching off a cooking zone
Timer
Minute minder
To set the minute minder time
To delete the minute minder time
To switch a cooking zone off automatically
Timer
To use both timer functions at the same time
Timer
Safety features
Safety lock/System lock
To activate the locks
To deactivate the locks
Stop and Go
To activate Stop and Go
To deactivate Stop and Go
Safety features
Safety switch-off
Safety switch-off with an over-long cooking time
Power setting
Safety switch-off if the sensors are covered
Overheating protection
Safety features
Cleaning and care
To avoid damaging the outer surfaces of your appliance, do not use
Ceramic surface
Cleaning and care
Programming
Setting
Programme
Status
Programming
Programming
Setting
Programme
Status
ß appears in the display for a cooking zone
Problem solving guide
What to do if the hob or cooking zones cannot be switched on
one of the following has occurred
Problem solving guide
Optional accessories
Mielehome system
XKM 2000 KM
InfoControl
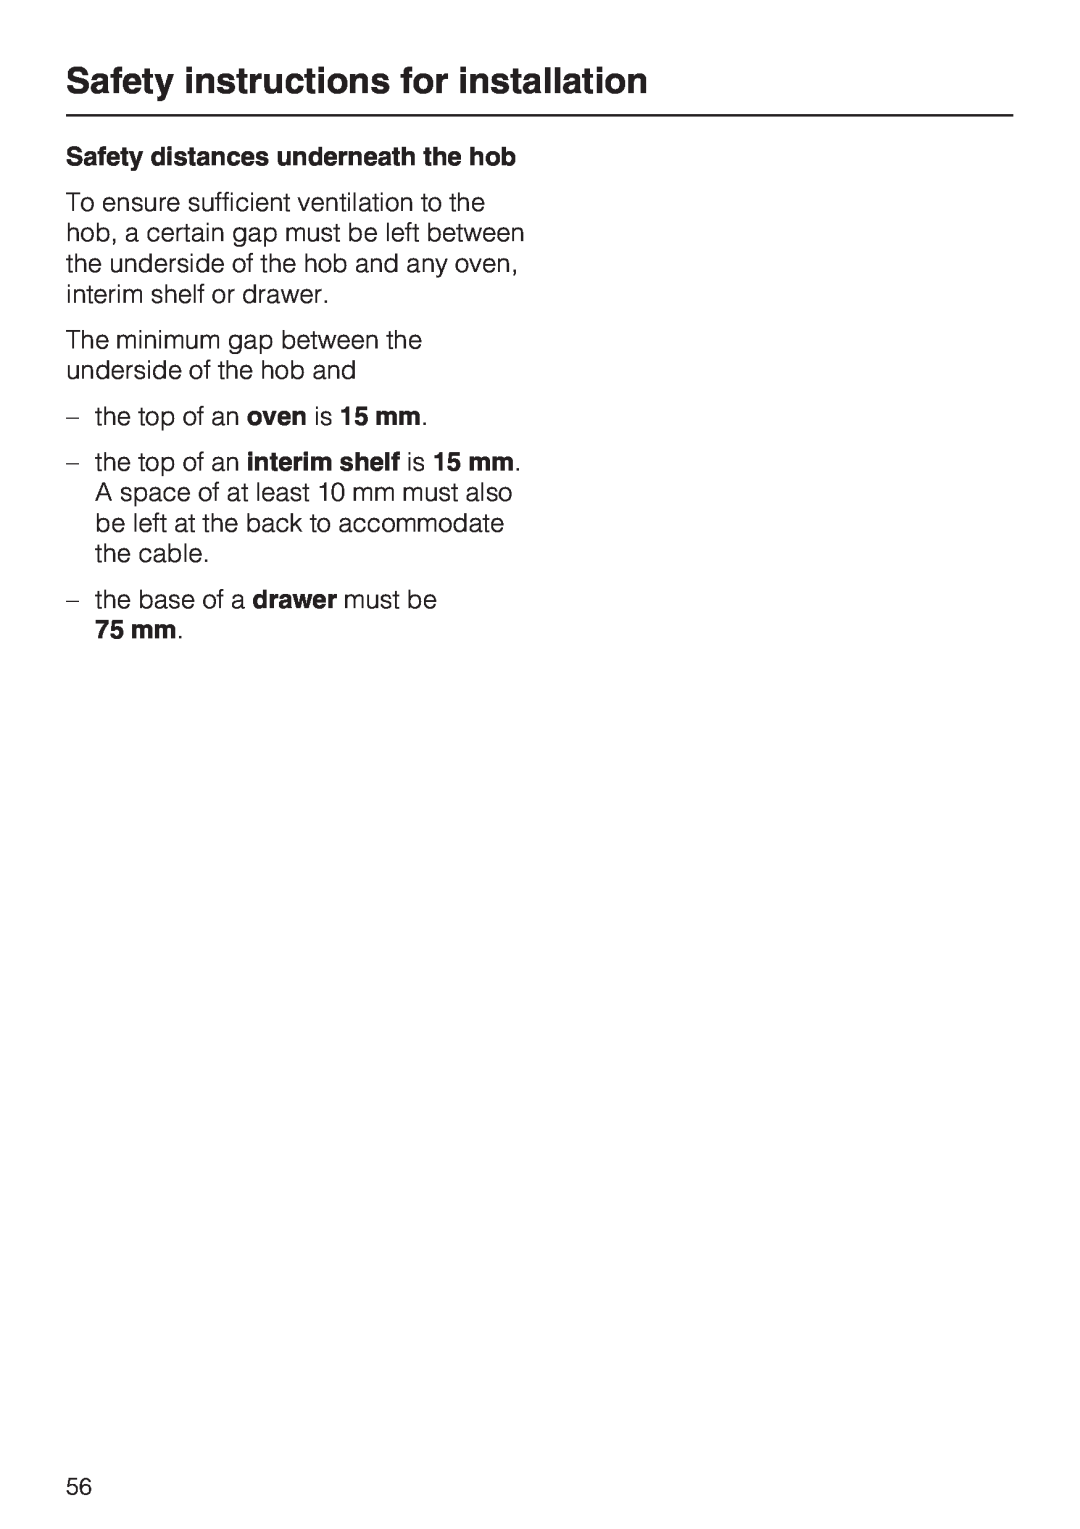
Safety instructions for installation
Safety distance above the appliance
Safety instructions for installation
Safety distances to the sides and back of the hob
Safety instructions for installation
Safety distances underneath the hob
Safety instructions for installation
Safety instructions for installation
Flush-fitted hobs
Hob with frame or bevelled edge
Building-in dimensions
Hob with frame or bevelled edge
Hob with frame or bevelled edge
a Front b Building-in depth c Mains connection cable, L = 1440 mm
ß R4
46,5
Hob with frame or bevelled edge
46,5
Hob with frame or bevelled edge
Hob with frame or bevelled edge
Hob with frame or bevelled edge
ß R4
a b d
Hob with frame or bevelled edge
ß R4
Hob with frame or bevelled edge
Hob with frame or bevelled edge
ß R4
Hob with frame or bevelled edge
a b d
ß R4
225
Hob with frame or bevelled edge
ß R4
Hob with frame or bevelled edge
Hob with frame or bevelled edge
ß R4
a b c
Hob with frame or bevelled edge
47,5
ß R4
Installation
Installing the hob
Preparing the worktop
Hob with frame or bevelled edge
General installation tips
Hob with frame or bevelled edge
Cut-out dimensions for granite or marble worktops
Please take careful note of the inset diagram
Flush-fitted hobs
KM 5944 / KM
496-1
Flush-fitted hobs
Flush-fitted hobs
Flush-fitted hobs
Installation
This appliance requires a 800 mm wide base unit for installation
Flush-fitted hobs
Making the worktop cut-out and building in the hob
Granite and marble worktops
Solid wood and tiled worktops
Flush-fitted hobs
Electrical connection
Important U.K
Wiring diagram
N.B. This appliance is supplied single phase only in the U.K. / AUS
THIS APPLIANCE MUST BE EARTHED
Electrical connection
After sales service, data plate
Page
Alteration rights reserved
M.-Nr. 07