From Miller to You
Thank you and congratulations on choosing Miller. Now you can get the job done and get it done right. We know you don’t have time to do it any other way.
That’s why when Niels Miller first started building arc welders in 1929, he made sure his products offered
Today, the people that build and sell Miller products continue the tradition. They’re just as committed to providing equipment and service that meets the high standards of quality and value established in 1929.
This Owner’s Manual is designed to help you get the most out of your Miller products. Please take time to read the Safety precautions. They will help you protect yourself against potential hazards on the worksite.
We’ve made installation and operation quick and easy. With Miller you can count on years of reliable service with proper maintenance. And if for some reason the unit needs repair, there’s a Troubleshooting section that will help you figure out what the problem is. The parts list will then help you to decide the exact part you may need to fix the problem. Warranty and service information for your particular model are also provided.
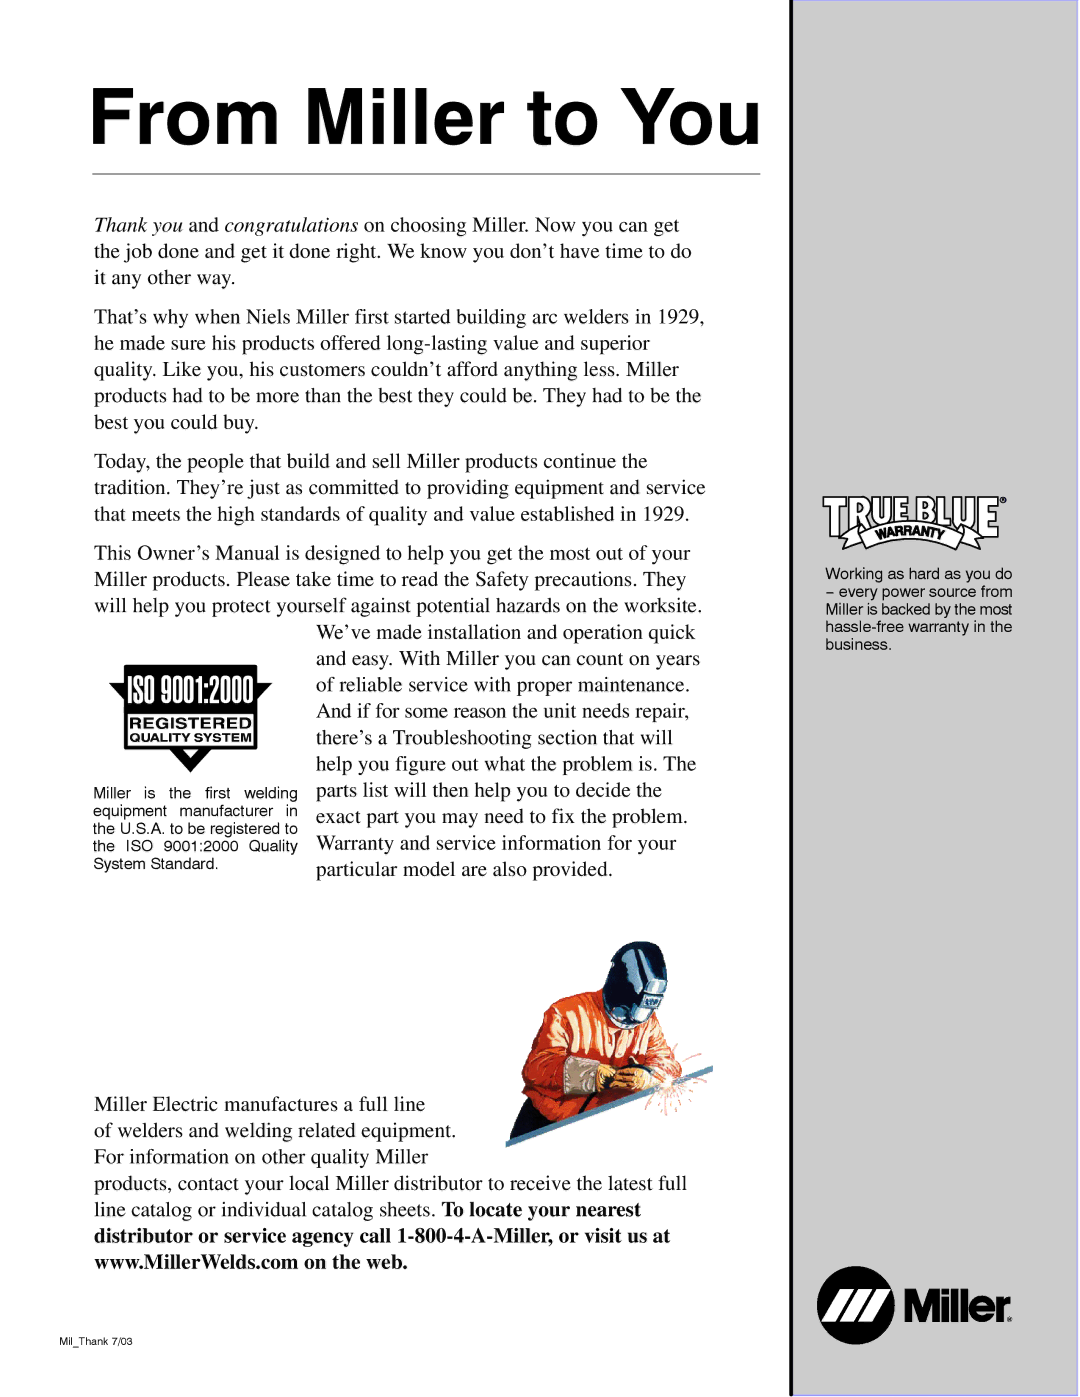
Miller Electric manufactures a full line
of welders and welding related equipment. For information on other quality Miller
products, contact your local Miller distributor to receive the latest full line catalog or individual catalog sheets. To locate your nearest distributor or service agency call
Mil_Thank 7/03
Working as hard as you do
−every power source from Miller is backed by the most