566. NetCommand Control of an A/V Receiver (837 Series)
Setting Up A/V Receiver Control, continued
4.If using an optional audio cable between the TV and A/V receiver, connect it.
5.Connect the IR emitter cable to the TV and position the IR emitter where it can send signals to the A/V receiver. See “IR Emitter Placement,” page 46.
Setup to Control Automatic Audio and Video Switching via HDMI
When this setup is complete, the “learned” A/V receiver input will appear in the TV’s Activity menu as a select- able input.
1.Power on the A/V receiver.
2.Set the TV’s remote control to TV mode using the side button.
3.Power on the TV.
4.When the New Device Found screen displays, select device name AVR if it is not recognized auto- matically.
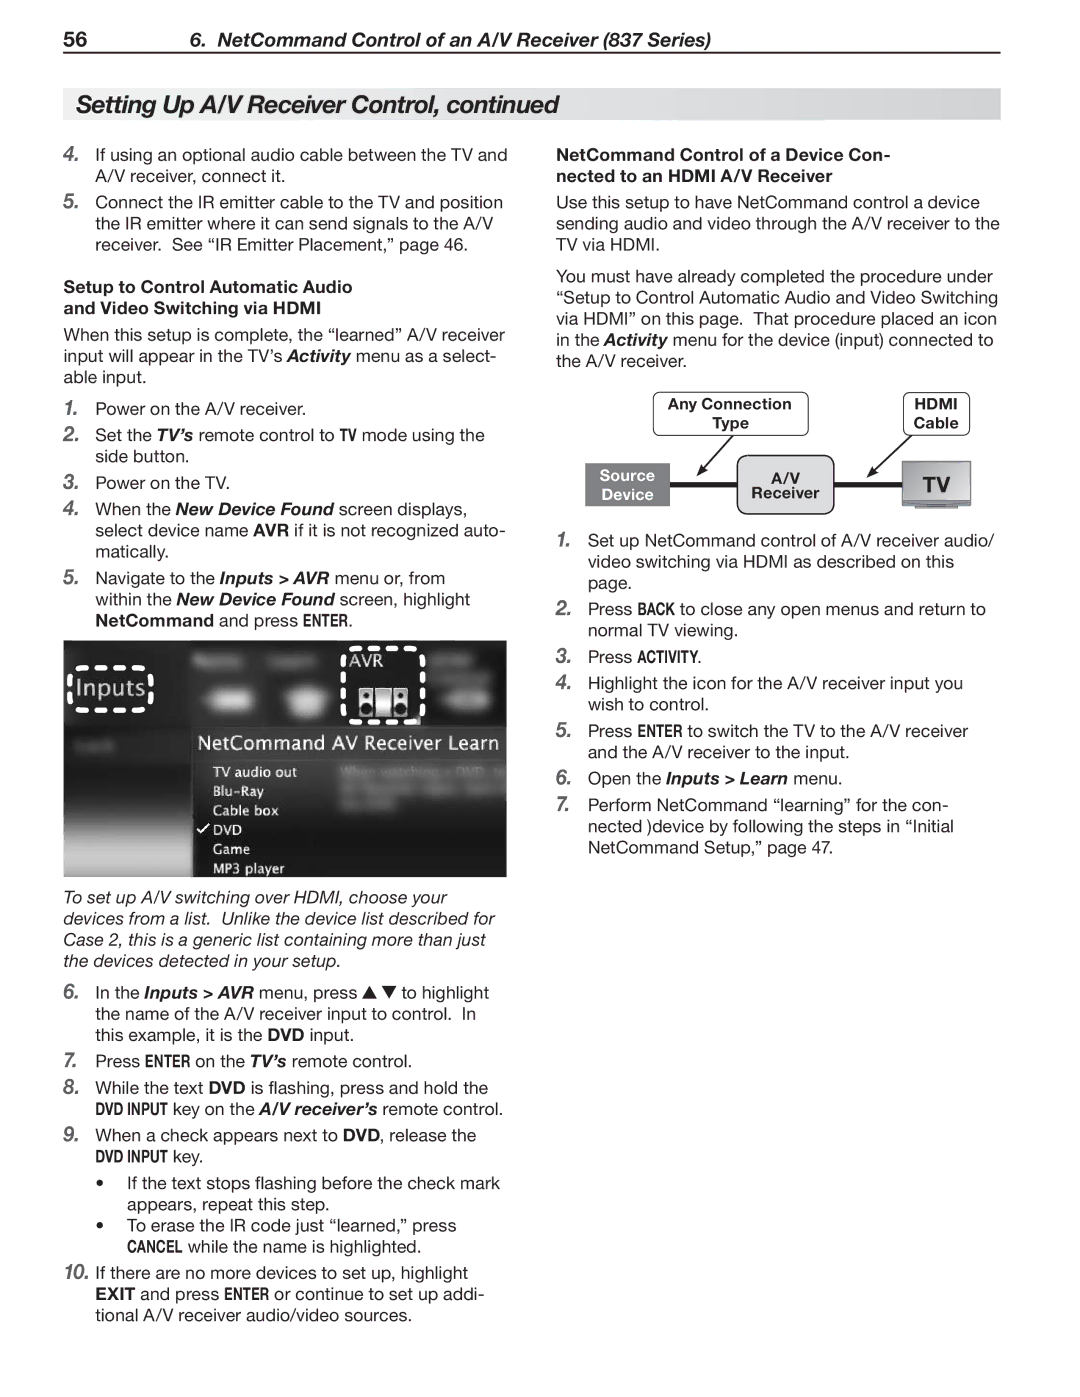
5.Navigate to the Inputs > AVR menu or, from within the New Device Found screen, highlight NetCommand and press ENTER.
To set up A/V switching over HDMI, choose your devices from a list. Unlike the device list described for Case 2, this is a generic list containing more than just the devices detected in your setup.
6.In the Inputs > AVR menu, press ![]()
![]() to highlight the name of the A/V receiver input to control. In this example, it is the DVD input.
to highlight the name of the A/V receiver input to control. In this example, it is the DVD input.
7.Press ENTER on the TV’s remote control.
8.While the text DVD is flashing, press and hold the DVD INPUT key on the A/V receiver’s remote control.
9.When a check appears next to DVD, release the DVD INPUT key.
•If the text stops flashing before the check mark appears, repeat this step.
•To erase the IR code just “learned,” press CANCEL while the name is highlighted.
10.If there are no more devices to set up, highlight EXIT and press ENTER or continue to set up addi- tional A/V receiver audio/video sources.
NetCommand Control of a Device Con- nected to an HDMI A/V Receiver
Use this setup to have NetCommand control a device sending audio and video through the A/V receiver to the TV via HDMI.
You must have already completed the procedure under “Setup to Control Automatic Audio and Video Switching via HDMI” on this page. That procedure placed an icon in the Activity menu for the device (input) connected to the A/V receiver.
Any Connection | HDMI | ||
Type |
| Cable | |
Source | A/V | TV | |
Device | Receiver | ||
| |||
1.Set up NetCommand control of A/V receiver audio/ video switching via HDMI as described on this page.
2.Press BACK to close any open menus and return to normal TV viewing.
3.Press aCTIVITY.
4.Highlight the icon for the A/V receiver input you wish to control.
5.Press ENTER to switch the TV to the A/V receiver and the A/V receiver to the input.
6.Open the Inputs > Learn menu.
7.Perform NetCommand “learning” for the con- nected )device by following the steps in “Initial NetCommand Setup,” page 47.