Setting up your projector
Setting up the screen
Install the screen perpendicularly to the projector. If the screen can not be installed in such a way, adjust the projection angle of the projector. (See page 11.)
•Install the screen and projector so that the projector’s lens is placed at the same height and horizontal position of the screen center.
•Do not install the screen where it is exposed to direct sunlight or lighting. Light directly reflecting on the screen makes the projected images
SCREEN SIZE
You can keep the image display area within the screen by setting SCREEN SIZE in the ADVANCED MENU of IMAGE menu according to the size of the actual screen.
When setting SCREEN SIZE to CINEMA SCOPE(2.35:1):
•CinemaScope size movies are projected in the full screen.
•Set ASPECT in the FEATURE menu to 16:9 when displaying
•When ASPECT in the FEATURE menu is set to AUTO and 480i/p, 576i/p, 720p, or 1080i/p signal is input, the part for displaying subtitles is not projected. To display subtitles, reset SCREEN SIZE to 16:9 and adjust the image position using VERTICAL LOCATION in the ADVANCED MENU of the IMAGE menu. (To display the menu on the screen, adjust SHUTTER(U) in the SIGNAL - USER menu to position the menu.)
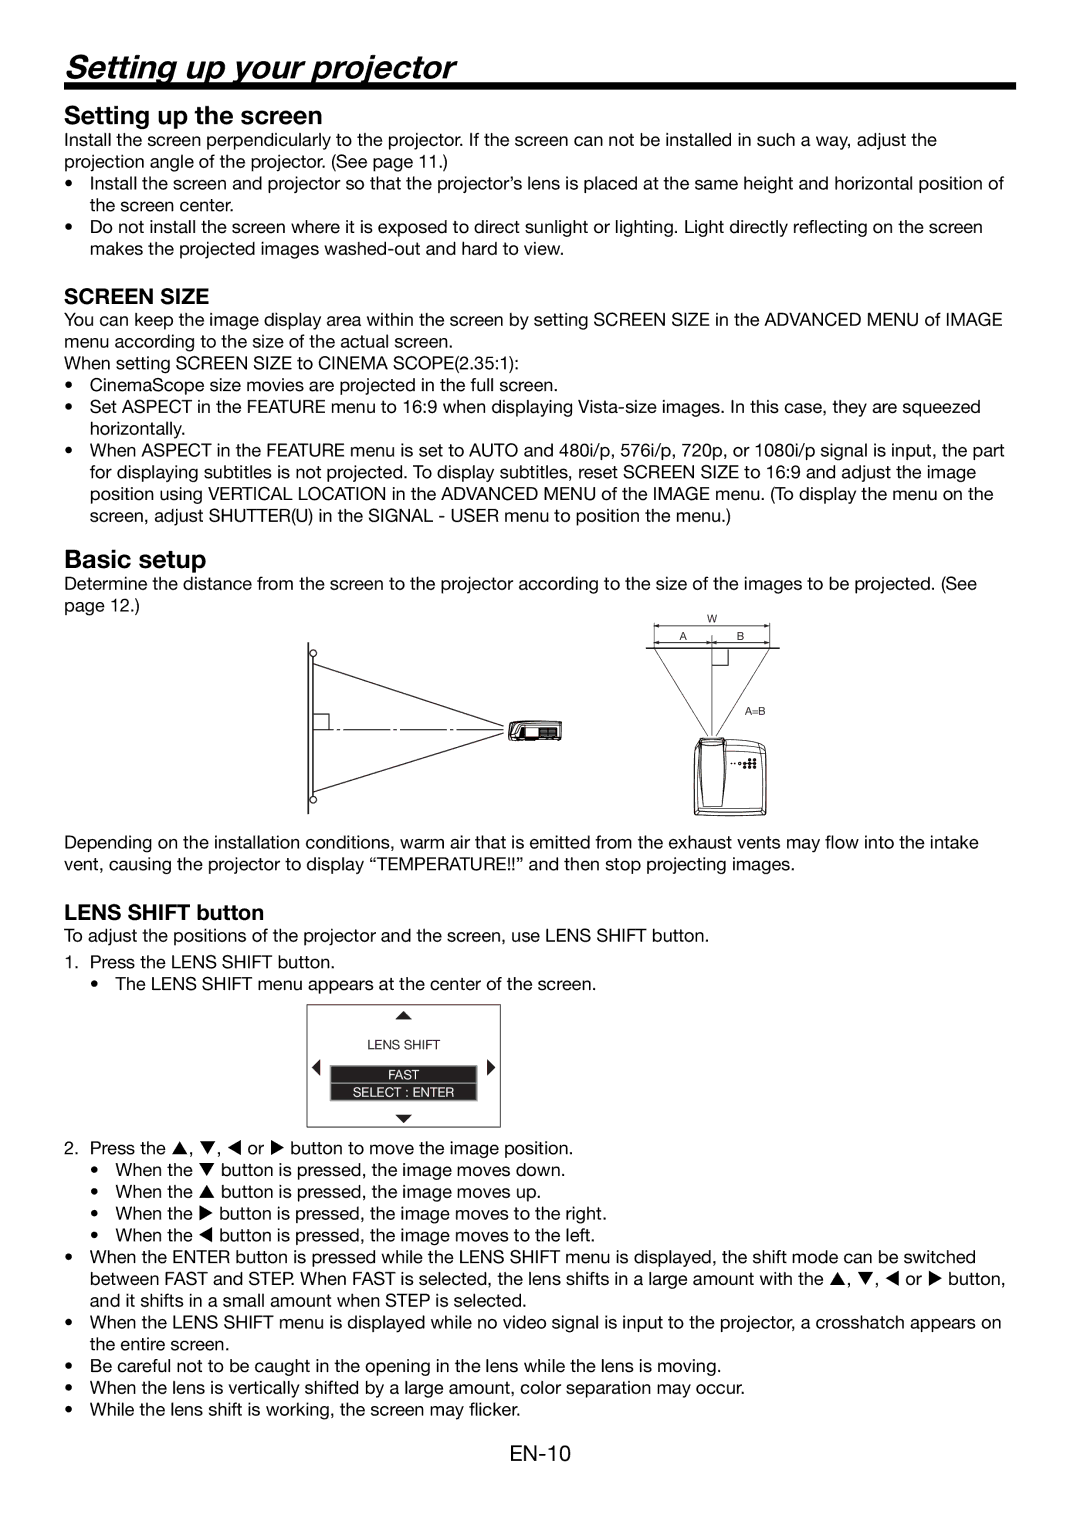
Basic setup
Determine the distance from the screen to the projector according to the size of the images to be projected. (See page 12.)
W
A B
A=B
Depending on the installation conditions, warm air that is emitted from the exhaust vents may flow into the intake vent, causing the projector to display “TEMPERATURE!!” and then stop projecting images.
LENS SHIFT button
To adjust the positions of the projector and the screen, use LENS SHIFT button.
1.Press the LENS SHIFT button.
• The LENS SHIFT menu appears at the center of the screen.
LENS SHIFT |
FAST |
SELECT : ENTER |
2.Press the S, T, W or X button to move the image position.
•When the T button is pressed, the image moves down.
•When the S button is pressed, the image moves up.
•When the X button is pressed, the image moves to the right.
•When the W button is pressed, the image moves to the left.
•When the ENTER button is pressed while the LENS SHIFT menu is displayed, the shift mode can be switched between FAST and STEP. When FAST is selected, the lens shifts in a large amount with the S, T, W or X button, and it shifts in a small amount when STEP is selected.
•When the LENS SHIFT menu is displayed while no video signal is input to the projector, a crosshatch appears on the entire screen.
•Be careful not to be caught in the opening in the lens while the lens is moving.
•When the lens is vertically shifted by a large amount, color separation may occur.
•While the lens shift is working, the screen may flicker.