Menu operation (continued) |
|
|
|
|
|
|
|
|
|
|
|
| |
How to set the menus: | 4. Press the S or T button to select an item to | |||||
The following describes how to set AUTO POWER | adjust. |
|
| |||
OFF time as an example. |
|
|
| AUTO POWER | OFF |
|
|
|
|
| |||
|
|
|
| ON |
| |
1. Press the MENU button. |
|
|
| OFF |
| |
|
|
| AUTO POWER |
| ||
|
|
|
| OFF |
|
|
|
|
|
|
|
| |
|
|
|
|
|
|
|
opt. |
| 5. Set the selected item by pressing the W or X | ||
|
| |||
IMAGE | AV MEMORY 1 | button. |
| |
2. Press the W or X button to select a menu to use. | AUTO POWER | OFF | ||
ON | ||||
| ||||
AUTO POWER | 30 min | |||
|
| |||
|
| OFF | ||
opt. |
|
| ||
|
|
| ||
|
| To cancel the menu: |
| |
INSTALLATION | AV MEMORY 1 | 6. Press the MENU button several times. | ||
|
| |||
3. Press the ENTER button (or T button). | Important: | ||||||||||||
|
|
|
|
|
|
|
|
|
|
| • When the MENU button doesn’t function, unplug | ||
|
|
| opt. |
|
|
|
|
|
|
| |||
|
|
|
|
|
|
|
|
|
|
| the power cord from the wall outlet. Wait about 10 | ||
|
|
|
|
|
|
|
|
|
|
| |||
| INSTALLATION | AV MEMORY 1 |
| minutes, plug the power cord in, and try again. | |||||||||
|
|
|
|
|
|
|
|
|
|
| • After selecting the items marked with |
| , press the |
|
| KEYSTONE |
| 0 |
|
| |||||||
|
|
|
|
|
|
|
|
|
|
|
|
|
|
ENTER button.
Available settings in the menus
Set the following items on their relevant menus.
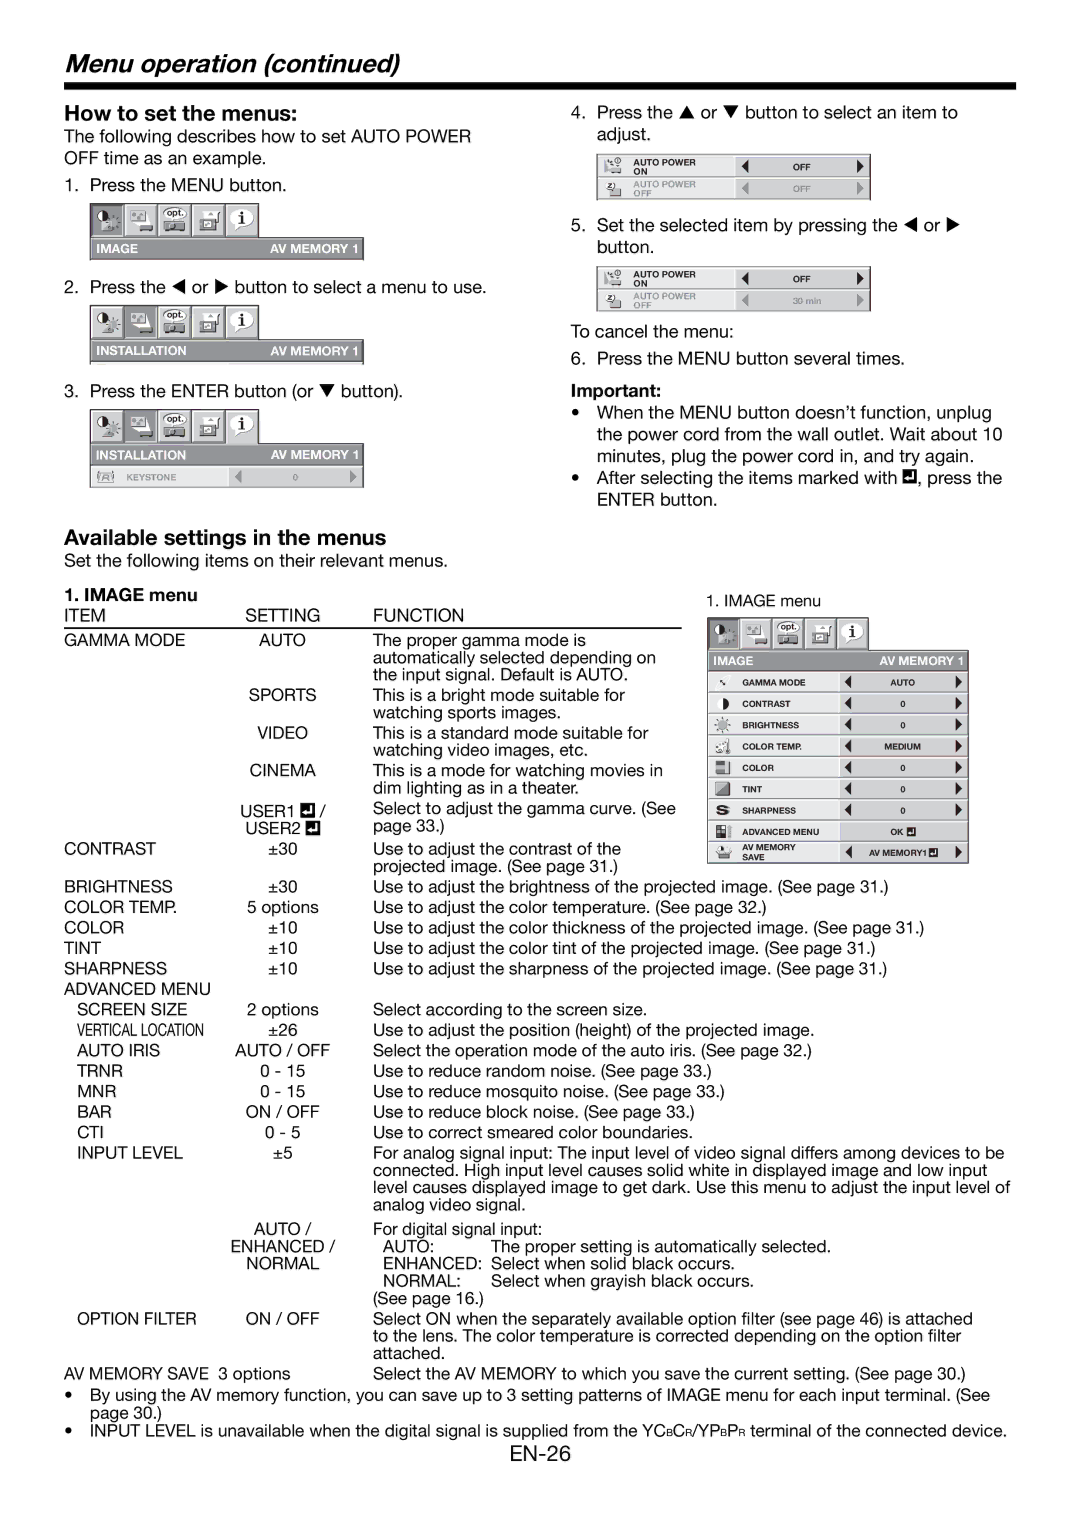
1. IMAGE menu | SETTING | FUNCTION | 1. IMAGE menu |
| |
ITEM | opt. |
| |||
GAMMA MODE | AUTO |
| The proper gamma mode is |
| |
|
|
| |||
|
|
| automatically selected depending on | IMAGE | AV MEMORY 1 |
|
|
| the input signal. Default is AUTO. | GAMMA MODE | AUTO |
| SPORTS |
| This is a bright mode suitable for | ||
|
| CONTRAST | 0 | ||
|
|
| watching sports images. | ||
|
|
| BRIGHTNESS | 0 | |
| VIDEO |
| This is a standard mode suitable for | ||
|
|
|
| ||
|
|
| watching video images, etc. | COLOR TEMP. | MEDIUM |
| CINEMA |
| This is a mode for watching movies in | COLOR | 0 |
| USER1 | / | dim lighting as in a theater. | TINT | 0 |
| Select to adjust the gamma curve. (See | SHARPNESS | 0 | ||
CONTRAST | USER2 |
| page 33.) | ADVANCED MENU | OK |
±30 |
| Use to adjust the contrast of the | AV MEMORY | AV MEMORY1 | |
|
|
| projected image. (See page 31.) | SAVE |
|
|
|
|
|
| |
BRIGHTNESS | ±30 | Use to adjust the brightness of the projected image. (See page 31.) | |
COLOR TEMP. | 5 options | Use to adjust the color temperature. (See page 32.) | |
COLOR | ±10 | Use to adjust the color thickness of the projected image. (See page 31.) | |
TINT | ±10 | Use to adjust the color tint of the projected image. (See page 31.) | |
SHARPNESS | ±10 | Use to adjust the sharpness of the projected image. (See page 31.) | |
ADVANCED MENU |
|
|
|
SCREEN SIZE | 2 options | Select according to the screen size. | |
VERTICAL LOCATION | ±26 | Use to adjust the position (height) of the projected image. | |
AUTO IRIS | AUTO / OFF | Select the operation mode of the auto iris. (See page 32.) | |
TRNR | 0 - 15 | Use to reduce random noise. (See page 33.) | |
MNR | 0 - 15 | Use to reduce mosquito noise. (See page 33.) | |
BAR | ON / OFF | Use to reduce block noise. (See page 33.) | |
CTI | 0 - 5 | Use to correct smeared color boundaries. | |
INPUT LEVEL | ±5 | For analog signal input: The input level of video signal differs among devices to be | |
|
| connected. High input level causes solid white in displayed image and low input | |
|
| level causes displayed image to get dark. Use this menu to adjust the input level of | |
|
| analog video signal. | |
| AUTO / | For digital signal input: | |
| ENHANCED / | AUTO: | The proper setting is automatically selected. |
| NORMAL | ENHANCED: Select when solid black occurs. | |
|
| NORMAL: | Select when grayish black occurs. |
|
| (See page 16.) |
|
OPTION FILTER | ON / OFF | Select ON when the separately available option filter (see page 46) is attached | |
|
| to the lens. The color temperature is corrected depending on the option filter | |
|
| attached. |
|
AV MEMORY SAVE 3 options | Select the AV MEMORY to which you save the current setting. (See page 30.) | ||
•By using the AV memory function, you can save up to 3 setting patterns of IMAGE menu for each input terminal. (See page 30.)
•INPUT LEVEL is unavailable when the digital signal is supplied from the YCBCR/YPBPR terminal of the connected device.