5. TV Menus | 39 |
Video Menu
Mitsubishi recommends you assign names to TV inputs before making video adjustments (use the Inputs > Name menu). Otherwise, adjustments will be reset to the defaults if you name inputs afterwards.
To make video adjustments:
•From the Video menu:
1.Press ![]()
![]() to highlight an option.
to highlight an option.
2.Press ![]()
![]() to display the submenu and adjust.
to display the submenu and adjust.
3.Press MENU to return to the AV menu.
•While watching TV: Press the VIDEO key repeatedly to display the video option you want to change. Press ![]()
![]() to change settings.
to change settings.
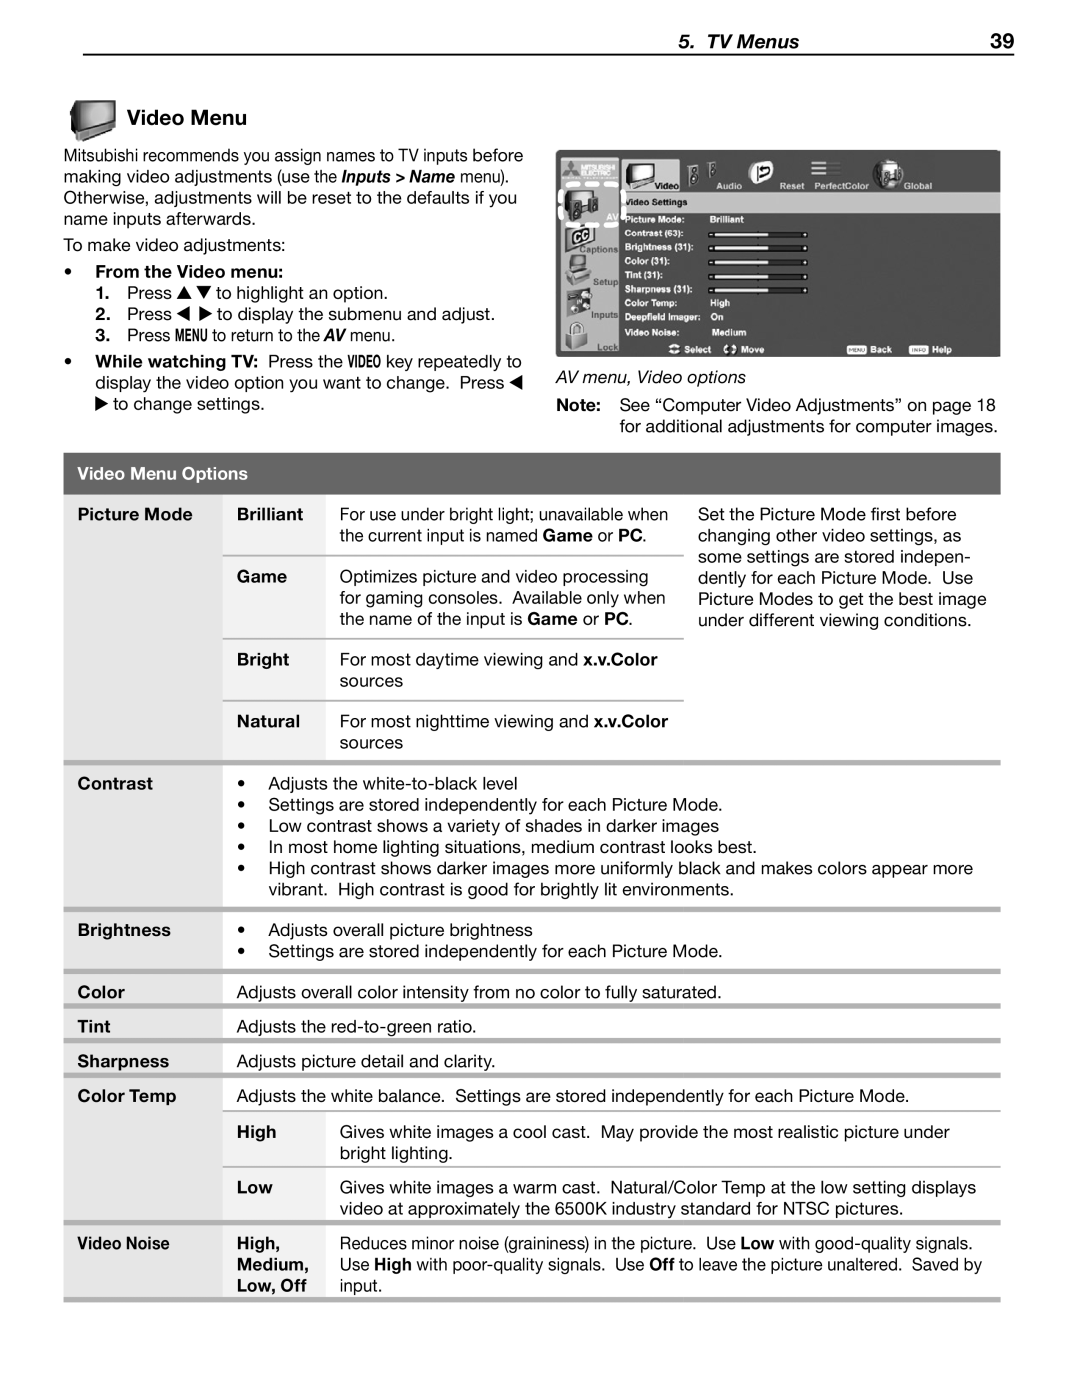
AV menu, Video options
Note: See “Computer Video Adjustments” on page 18 for additional adjustments for computer images.
Video Menu Options
Picture Mode | Brilliant | For use under bright light; unavailable when |
|
| the current input is named Game or PC. |
|
|
|
| Game | Optimizes picture and video processing |
|
| for gaming consoles. Available only when |
|
| the name of the input is Game or PC. |
|
|
|
| Bright | For most daytime viewing and x.v.Color |
|
| sources |
|
|
|
| Natural | For most nighttime viewing and x.v.Color |
|
| sources |
Set the Picture Mode first before changing other video settings, as some settings are stored indepen- dently for each Picture Mode. Use Picture Modes to get the best image under different viewing conditions.
Contrast | • Adjusts the | |
| • Settings are stored independently for each Picture Mode. | |
| • Low contrast shows a variety of shades in darker images | |
| • In most home lighting situations, medium contrast looks best. | |
| • High contrast shows darker images more uniformly black and makes colors appear more | |
| vibrant. High contrast is good for brightly lit environments. | |
|
| |
Brightness | • Adjusts overall picture brightness | |
| • Settings are stored independently for each Picture Mode. | |
|
| |
Color | Adjusts overall color intensity from no color to fully saturated. | |
|
| |
Tint | Adjusts the | |
|
| |
Sharpness | Adjusts picture detail and clarity. | |
|
| |
Color Temp | Adjusts the white balance. Settings are stored independently for each Picture Mode. | |
|
|
|
| High | Gives white images a cool cast. May provide the most realistic picture under |
|
| bright lighting. |
|
|
|
| Low | Gives white images a warm cast. Natural/Color Temp at the low setting displays |
|
| video at approximately the 6500K industry standard for NTSC pictures. |
|
|
|
Video Noise | High, | Reduces minor noise (graininess) in the picture. Use Low with |
| Medium, | Use High with |
| Low, Off | input. |
|
|
|