142. TV Setup
Setting Up TV Inputs, continued
Setup Procedure
Setup Procedure for TV Inputs
1.Power on the TV.
2.Connect your devices to the TV, making note of which TV input is used for each device. See chapter 3, “TV Connections.”
Note: If you wish to use an HDMI device’s CEC capa- bilities, follow the steps in Appendix E.
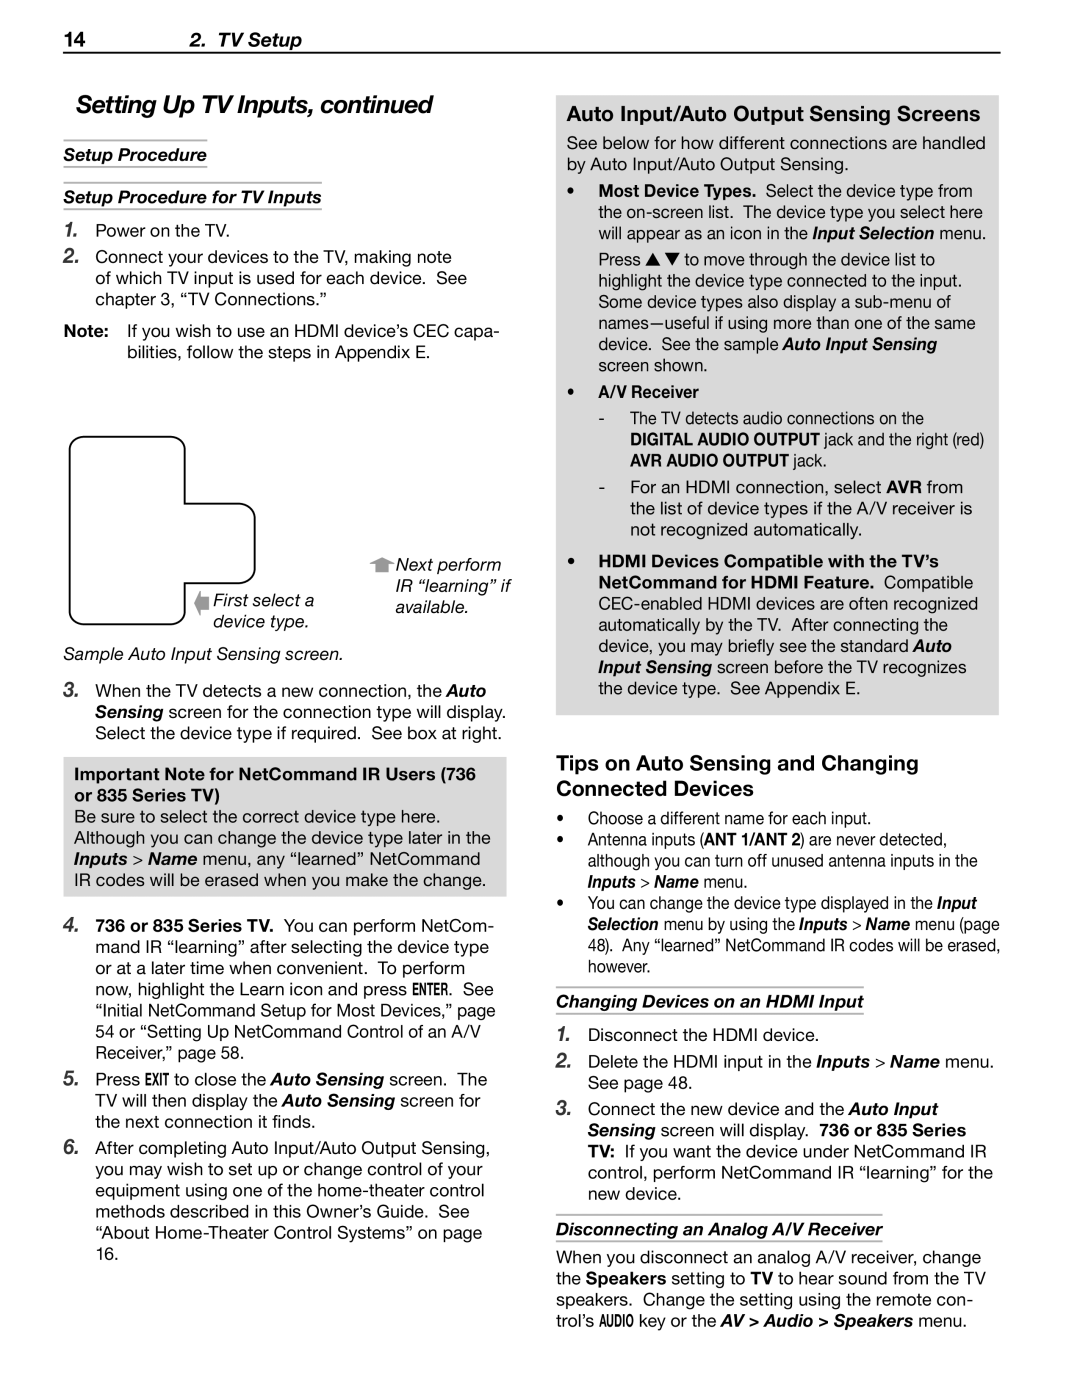
![]() Next perform
Next perform
IR “learning” if
First select a available. device type.
Sample Auto Input Sensing screen.
3.When the TV detects a new connection, the Auto Sensing screen for the connection type will display. Select the device type if required. See box at right.
Important Note for NetCommand IR Users (736 or 835 Series TV)
Be sure to select the correct device type here. Although you can change the device type later in the Inputs > Name menu, any “learned” NetCommand IR codes will be erased when you make the change.
4.736 or 835 Series TV. You can perform NetCom- mand IR “learning” after selecting the device type or at a later time when convenient. To perform now, highlight the Learn icon and press ENTER. See “Initial NetCommand Setup for Most Devices,” page 54 or “Setting Up NetCommand Control of an A/V Receiver,” page 58.
5.Press EXIT to close the Auto Sensing screen. The TV will then display the Auto Sensing screen for the next connection it finds.
6.After completing Auto Input/Auto Output Sensing, you may wish to set up or change control of your equipment using one of the
Auto Input/Auto Output Sensing Screens
See below for how different connections are handled by Auto Input/Auto Output Sensing.
•Most Device Types. Select the device type from the
Press ![]()
![]() to move through the device list to highlight the device type connected to the input. Some device types also display a
to move through the device list to highlight the device type connected to the input. Some device types also display a
•A/V Receiver
•HDMI Devices Compatible with the TV’s NetCommand for HDMI Feature. Compatible
Tips on Auto Sensing and Changing Connected Devices
•Choose a different name for each input.
•Antenna inputs (ANT 1/ANT 2) are never detected, although you can turn off unused antenna inputs in the Inputs > Name menu.
•You can change the device type displayed in the Input Selection menu by using the Inputs > Name menu (page 48). Any “learned” NetCommand IR codes will be erased, however.
Changing Devices on an HDMI Input
1.Disconnect the HDMI device.
2.Delete the HDMI input in the Inputs > Name menu. See page 48.
3.Connect the new device and the Auto Input Sensing screen will display. 736 or 835 Series TV: If you want the device under NetCommand IR control, perform NetCommand IR “learning” for the new device.
Disconnecting an Analog A/V Receiver
When you disconnect an analog A/V receiver, change the Speakers setting to TV to hear sound from the TV speakers. Change the setting using the remote con- trol’s AUDIO key or the AV > Audio > Speakers menu.