36 5 TV Menus
Main Menu
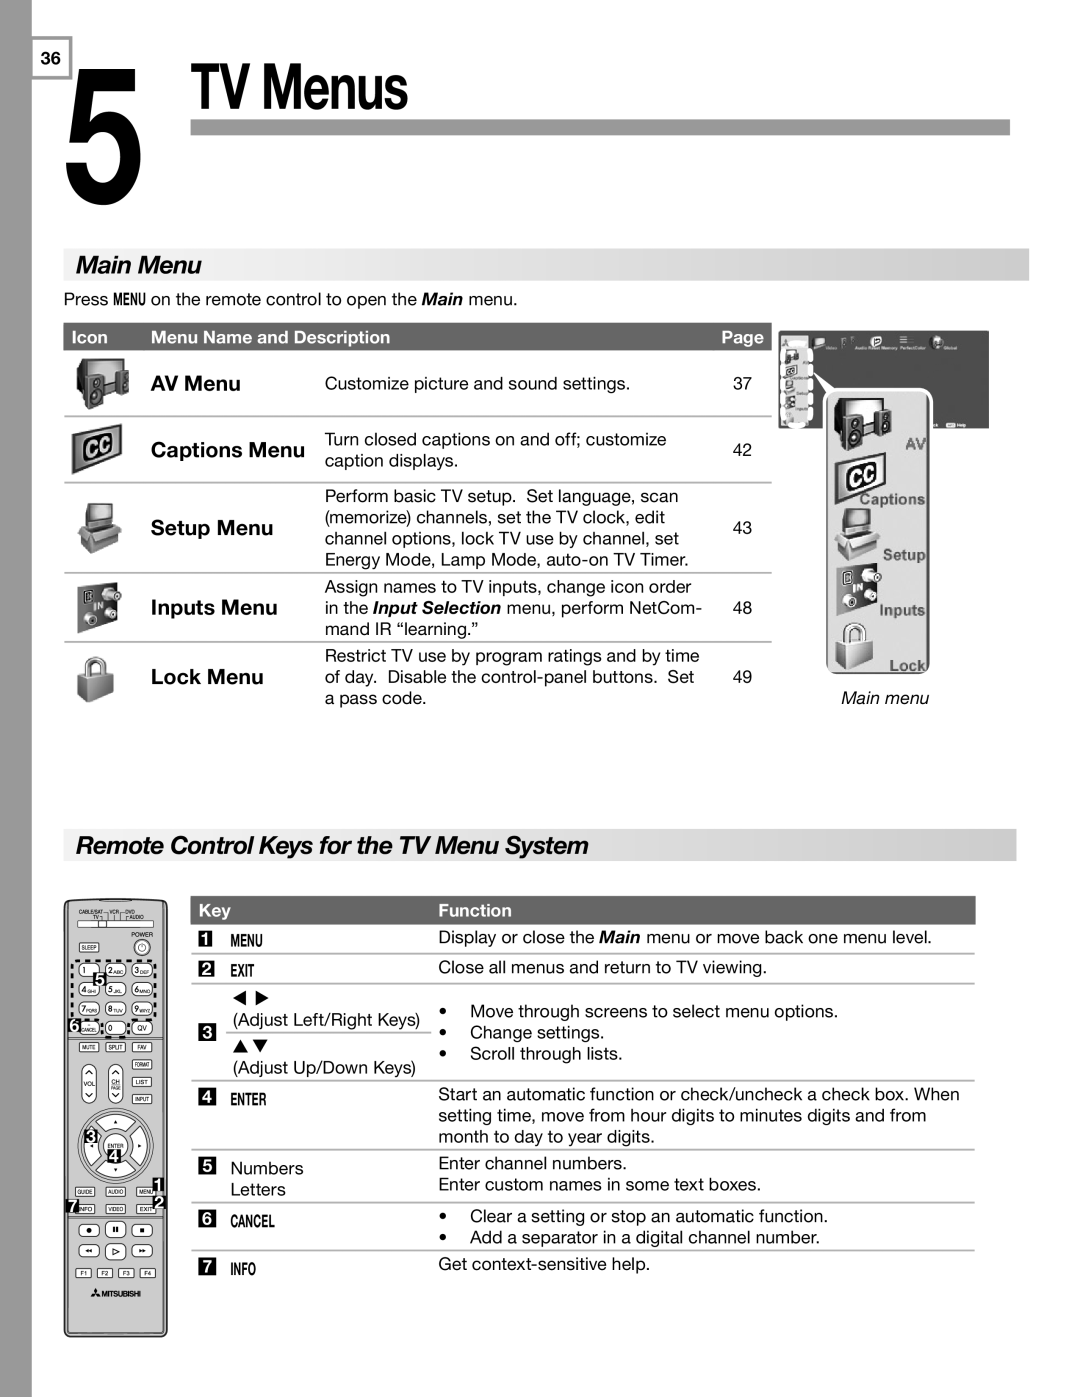
Press MENU on the remote control to open the Main menu.
Icon
Menu Name and Description
AV Menu | Customize picture and sound settings. |
Page
37
Captions Menu | Turn closed captions on and off; customize | 42 |
|
caption displays. |
| ||
|
|
| |
|
|
|
|
| Perform basic TV setup. Set language, scan |
|
|
Setup Menu | (memorize) channels, set the TV clock, edit | 43 |
|
channel options, lock TV use by channel, set |
| ||
|
|
| |
| Energy Mode, Lamp Mode, |
|
|
|
|
|
|
Inputs Menu | Assign names to TV inputs, change icon order |
|
|
in the Input Selection menu, perform NetCom- | 48 |
| |
| mand IR “learning.” |
|
|
|
|
|
|
Lock Menu | Restrict TV use by program ratings and by time |
|
|
of day. Disable the | 49 |
| |
| a pass code. |
| Main menu |
Remote Control Keys for the TV Menu System
![]()
![]() 5
5![]()
![]() 6
6![]()
![]()
![]()
3
![]() 4
4![]()
1
7![]()
![]()
![]() 2
2
| Key | Function | ||||
|
|
|
|
|
| |
|
|
|
| MENU | Display or close the Main menu or move back one menu level. | |
1 |
| |||||
|
|
|
|
|
|
|
|
|
|
| exit | Close all menus and return to TV viewing. | |
2 |
| |||||
|
|
|
|
|
|
|
|
|
|
| (Adjust Left/Right Keys) | • Move through screens to select menu options. | |
| 3 |
|
| • | Change settings. | |
| ||||||
|
|
|
| (Adjust Up/Down Keys) | • | Scroll through lists. |
|
|
|
|
|
| |
|
|
|
|
|
| |
|
|
| ENTER | Start an automatic function or check/uncheck a check box. When | ||
4 |
| |||||
|
| setting time, move from hour digits to minutes digits and from | ||||
|
|
|
|
| ||
|
|
|
|
| month to day to year digits. | |
|
|
| Numbers | Enter channel numbers. | ||
5 |
| |||||
|
| Enter custom names in some text boxes. | ||||
|
|
|
| Letters | ||
|
|
| CANCEL | • Clear a setting or stop an automatic function. | ||
6 |
| |||||
|
| • Add a separator in a digital channel number. | ||||
|
|
|
|
| ||
|
|
|
|
|
| |
|
|
| INFO | Get | ||
7 |
| |||||
|
|
|
| |||