Adjusting projected images

To adjust the brightness (CONTRAST and BRIGHTNESS):

You can make adjustments for the brightness of the projected image using the menu. (See page 26 for menu setting.)

1.Display the QUICK MENU or IMAGE menu.

2.Select CONTRAST or BRIGHTNESS by pressing the or button.

3.Adjust the selected item by pressing the or button.

To cancel the menu:

4. Press the MENU button.

CONTRAST

Select to adjust the contrast of the image. Every time the button is pressed, the image becomes brighter and more defined. Every time the button is pressed, the image becomes darker and less defined.

BRIGHTNESS

Every time the button is pressed, the image becomes brighter. Every time the button is pressed, the image becomes darker.

To adjust the color (COLOR and TINT):

You can adjust the color of the projected image using the menu. (See page 26 for menu setting.)

1.Display the QUICK MENU or IMAGE menu.

2.Select COLOR or TINT by pressing the or button.

COLOR or TINT is unavailable when COMPUTER1, COMPUTER2, DVI or HDMI is selected as the input source.

TINT is available only when the NTSC signal is input.

3.Adjust the selected item by pressing the or button.

To cancel the menu:

4. Press the MENU button.

COLOR

Use to adjust the color thickness of the projected image. Every time the button is pressed, the color becomes thicker. Every time the button is pressed, the color becomes lighter.

TINT

Use to adjust the tint of the projected image. Every time the button is pressed, the image appears more greenish. Every time the button is pressed, the image appears more reddish.

To sharpen or soften the projected image (SHARPNESS):

You can adjust the sharpness of the projected image using the menu. (See page 26 for menu setting.)

1.Display the QUICK MENU or IMAGE menu.

2.Select SHARPNESS by pressing the or button.

3.Adjust the selected item by pressing the or button.

To cancel the menu:

4. Press the MENU button.

To adjust the tone of white (COLOR TEMP.):

You can select a preset color temperature (white tone) using the menu. (See page 26 for menu setting.)

1.Display the QUICK MENU or IMAGE menu.

2.Select COLOR TEMP. by pressing the or button.

3.Select your desired color temperature by pressing the or button.

To cancel the menu:

4. Press the MENU button.

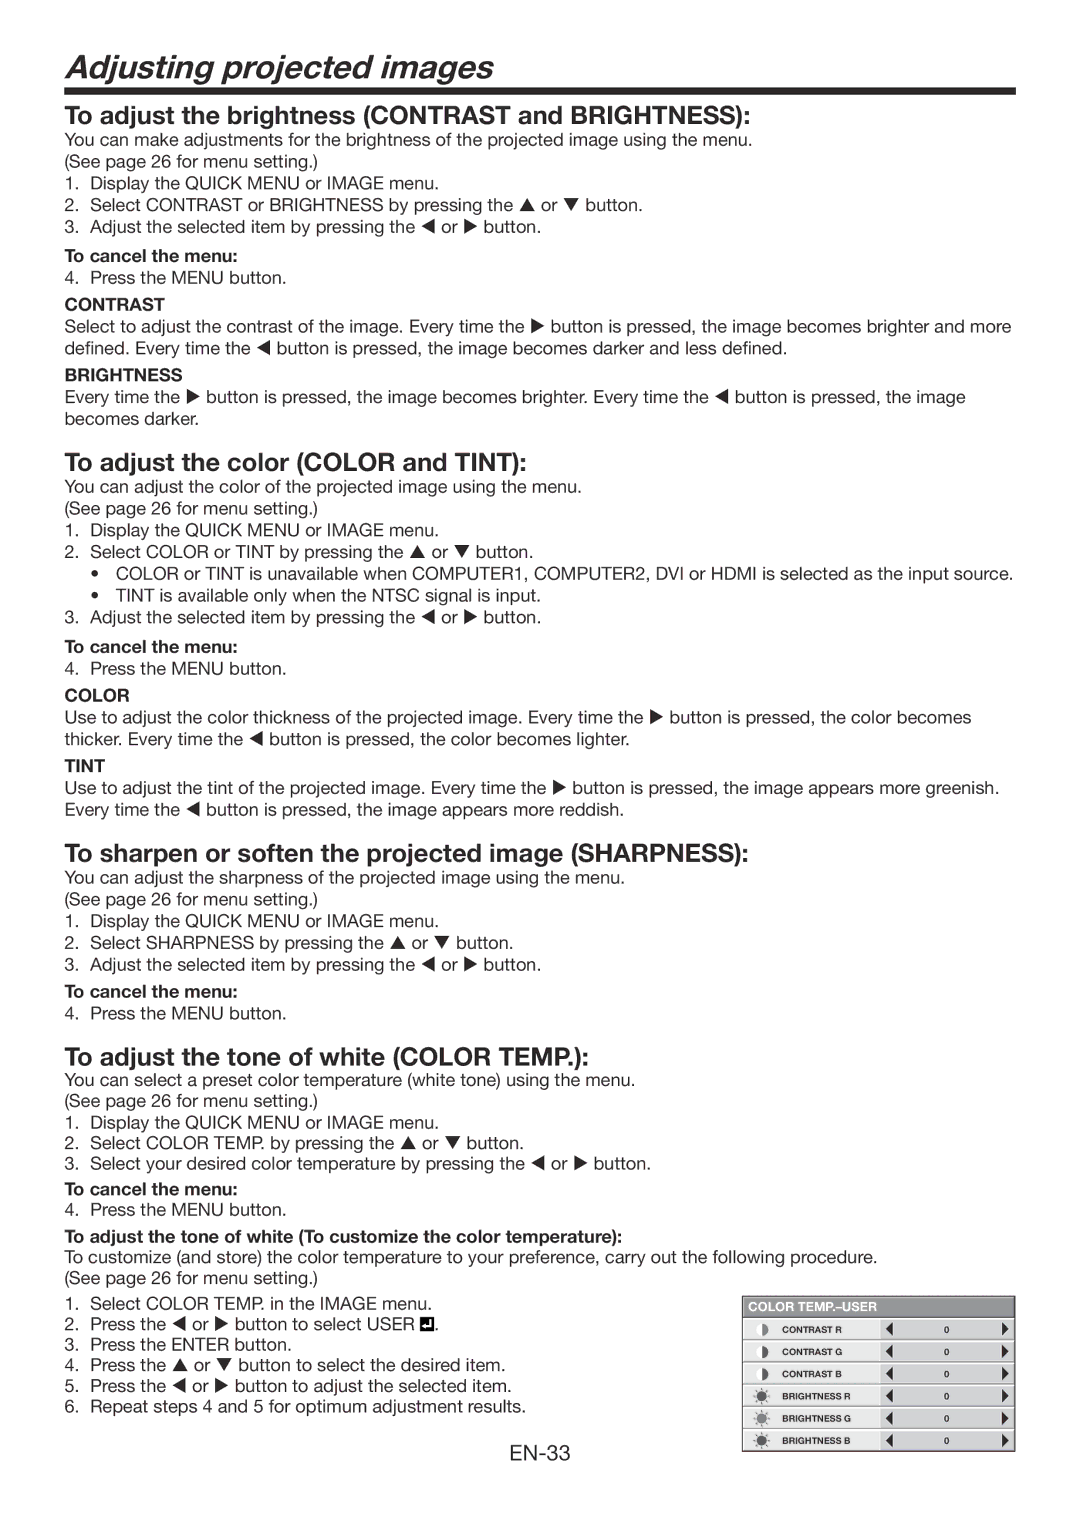
To adjust the tone of white (To customize the color temperature):

To customize (and store) the color temperature to your preference, carry out the following procedure. (See page 26 for menu setting.)

1.Select COLOR TEMP. in the IMAGE menu.

2.Press the or button to select USER .

3.Press the ENTER button.

4.Press the or button to select the desired item.

5.Press the or button to adjust the selected item.

6.Repeat steps 4 and 5 for optimum adjustment results.

EN-33

COLOR TEMP.–USER

CONTRAST R

0


CONTRAST G

0


CONTRAST B

0


BRIGHTNESS R

0


BRIGHTNESS G

0


BRIGHTNESS B

0


Page 33
Image 33
Mitsumi electronic WD3300U user manual Adjusting projected images, To adjust the brightness Contrast and Brightness

WD3300U specifications

The Mitsumi WD3300U is an advanced electronic device designed to meet the growing demands of modern audio and communication applications. Recognized for its robust construction and versatile functionality, the WD3300U serves as a solution for various electronic interfacing needs.

At the core of the WD3300U is its impressive performance specification. It features a high-speed USB interface, allowing for rapid data transfer rates essential for audio processing and multimedia applications. The device supports USB 2.0 technology, which ensures compatibility with a wide range of existing hardware while providing sufficient bandwidth for optimal operation.

The WD3300U delivers exceptional sound quality, thanks to its integrated high-fidelity audio processing capabilities. It utilizes advanced codecs to enhance audio playback and recording, minimizing distortion and ensuring clear sound reproduction. This feature makes it particularly suitable for professional audio applications, such as recording studios and live audio setups where sound integrity is paramount.

One of the standout characteristics of the Mitsumi WD3300U is its user-friendly design. The device offers plug-and-play functionality, allowing users to easily connect it to compatible systems without the need for complex installation processes. This feature is especially beneficial for professionals who require quick deployment in dynamic environments.

In terms of connectivity, the WD3300U is equipped with multiple input and output options, including standard audio jacks and MIDI connections, catering to a wide variety of devices and ensuring flexibility in setups. Its compact form factor makes it an ideal choice for mobile applications, enabling users to integrate it seamlessly into laptops and portable audio rigs.

The reliability of the Mitsumi WD3300U is further enhanced by its durable construction, designed to withstand the rigors of frequent use. The device is built to endure operational stresses, making it a dependable tool for both casual users and professionals in demanding environments.

Overall, the Mitsumi WD3300U combines cutting-edge technology with practical features, making it a valuable asset for anyone in the audio and communication field. Its blend of performance, ease of use, and durability cements its position as a competitive option in the market for electronic interfacing solutions.