Accessories
TRAVEL CHARGER
The NTN6197A Travel Charger allows a battery to be charged from an AC outlet. On one end of the travel charger, an accessory connector attaches to the bottom of the portable unit. At the other (AC outlet) end of the device is a compact housing containing the charging circuitry and a
A green LED on the accessory connector indicates that the Travel Charger is plugged in
Installing the Travel Charger
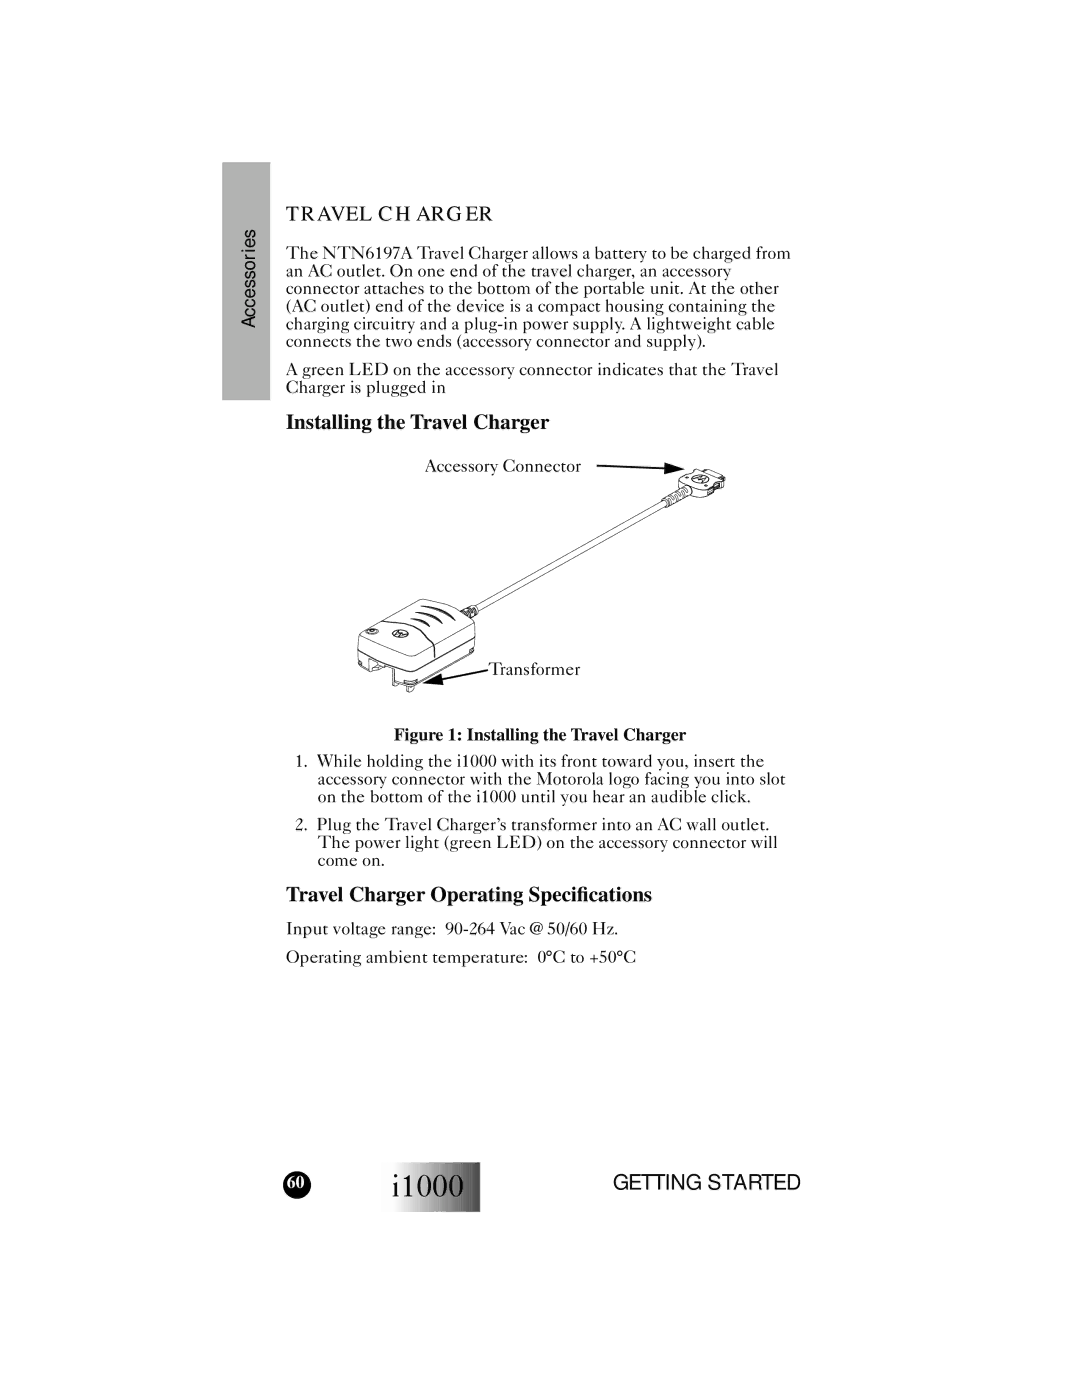
Accessory Connector
![]()
![]()
![]()
![]()
![]()
![]()
![]()
![]() Transformer
Transformer
Figure 1: Installing the Travel Charger
1.While holding the i1000 with its front toward you, insert the accessory connector with the Motorola logo facing you into slot on the bottom of the i1000 until you hear an audible click.
2.Plug the Travel Charger’s transformer into an AC wall outlet. The power light (green LED) on the accessory connector will come on.
Travel Charger Operating Specifications
Input voltage range:
Operating ambient temperature: 0°C to +50°C
60 | i1000 |
|
GETTING STARTED