Preheat Lamp

DCA-220SSJ/SSJU — GENERATOR START-UP PROCEDURE (MANUAL)

NOTICE

When the MPEC control switch is placed in the manual position, preheating of the glow plugs will begin automatically and the preheat lamp will

stay lit until the glow plugs are warmed. When the preheat lamp goes off this signals the completion of the preheating cycle and the starting of the engine.

8.To restart the engine due to error codes, place the MPEC Control Switch in the MANUAL position (Figure 42)

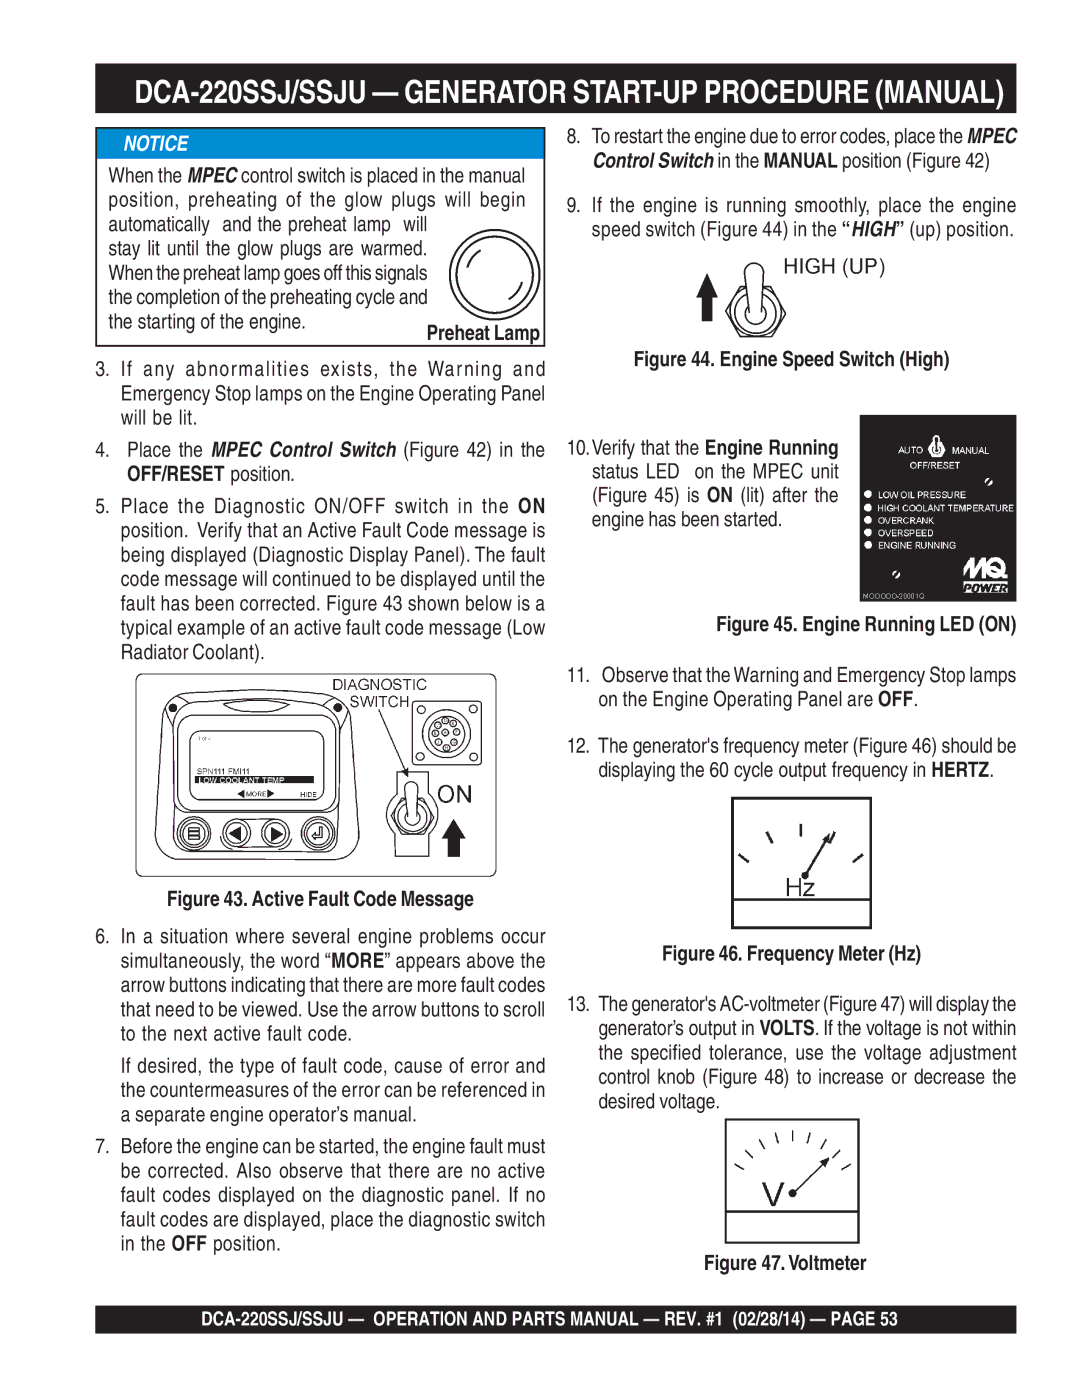
9.If the engine is running smoothly, place the engine speed switch (Figure 44) in the HIGH(up) position.

3.If any abnormalities exists, the Warning and Emergency Stop lamps on the Engine Operating Panel will be lit.

4.Place the MPEC Control Switch (Figure 42) in the OFF/RESET position.

5.Place the Diagnostic ON/OFF switch in the ON position. Verify that an Active Fault Code message is being displayed (Diagnostic Display Panel). The fault code message will continued to be displayed until the fault has been corrected. Figure 43 shown below is a typical example of an active fault code message (Low Radiator Coolant).

Figure 44. Engine Speed Switch (High)

10.Verify that the Engine Running status LED on the MPEC unit (Figure 45) is ON (lit) after the engine has been started.

Figure 45. Engine Running LED (ON)

11.Observe that the Warning and Emergency Stop lamps on the Engine Operating Panel are OFF.

12.The generator's frequency meter (Figure 46) should be displaying the 60 cycle output frequency in HERTZ.

Figure 43. Active Fault Code Message

6.In a situation where several engine problems occur simultaneously, the word “MORE” appears above the arrow buttons indicating that there are more fault codes that need to be viewed. Use the arrow buttons to scroll to the next active fault code.

If desired, the type of fault code, cause of error and the countermeasures of the error can be referenced in a separate engine operator’s manual.

7.Before the engine can be started, the engine fault must be corrected. Also observe that there are no active fault codes displayed on the diagnostic panel. If no fault codes are displayed, place the diagnostic switch in the OFF position.

Figure 46. Frequency Meter (Hz)

13.The generator's AC-voltmeter (Figure 47) will display the generator’s output in VOLTS. If the voltage is not within the specified tolerance, use the voltage adjustment control knob (Figure 48) to increase or decrease the desired voltage.

Figure 47. Voltmeter

DCA-220SSJ/SSJU — OPERATION AND PARTS MANUAL — REV. #1 (02/28/14) — PAGE 53

Page 53
Image 53
Multiquip C1870300404, M4870300104B operation manual Engine Speed Switch High

C1870300404, M4870300104B specifications

Multiquip, a leading manufacturer in the construction and industrial sectors, offers a wide range of durable and reliable products. Among its extensive portfolio, two notable models stand out: the M4870300104B and the C1870300404. These models are particularly praised for their efficiency, innovative technologies, and robust features that cater to various construction needs.

The Multiquip M4870300104B is a powerful multi-process welder, designed to tackle a wide variety of welding applications. This model is equipped with an advanced inverter technology that allows it to deliver smooth and stable arcs for TIG, MIG, and Stick welding. The inverter design also enhances energy efficiency, making it an ideal choice for both on-site and workshop use. Furthermore, the M4870300104B features a dual-voltage capability, supporting both 120V and 240V input, which provides flexibility for different job sites.

In terms of usability, the M4870300104B boasts an intuitive control panel that allows for easy adjustments. Its lightweight design ensures easy transport, while the rugged construction promises durability in demanding environments. With a duty cycle of 35% at 200 Amps, this welder is built for efficiency and long-lasting performance, making it suitable for both professional and DIY applications.

On the other hand, the C1870300404 is a high-performance concrete vibratory screed that plays a crucial role in ensuring smooth finishes on concrete surfaces. This model is engineered with advanced vibration technology which allows it to efficiently remove air pockets and stabilize the concrete. The C1870300404 features a robust aluminum frame, enhancing its durability while maintaining a lightweight structure for ease of handling.

Equipped with a powerful and reliable engine, the C1870300404 offers impressive runtime, allowing crews to work continuously without frequent interruptions. It also features adjustable vibration settings, enabling users to customize the intensity based on the specific requirements of the project at hand. The ergonomic design of the handle contributes to user comfort, reducing fatigue during extended periods of operation.

In conclusion, both the Multiquip M4870300104B and C1870300404 exemplify the brand’s commitment to quality, innovation, and user-centric design. These tools not only enhance productivity but also guarantee precision and efficiency in various construction tasks. Whether for welding or concrete finishing, Multiquip continues to deliver equipment that meets the evolving demands of the industry.