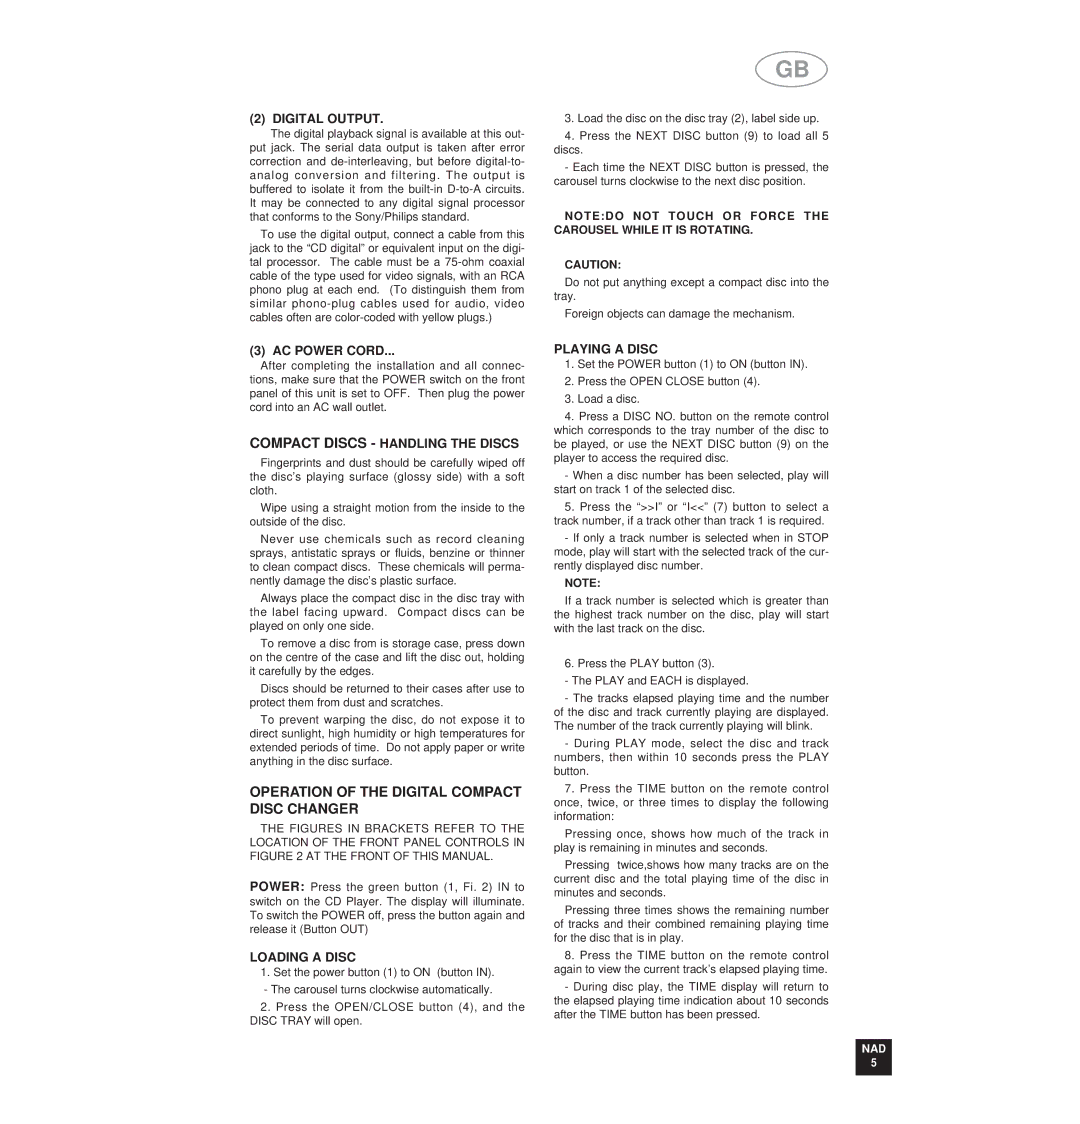
NAD NAD 517 owner manual Operation of the Digital Compact Disc Changer

Models: NAD 517

1 52
Download 52 pages 46.15 Kb
Page 5
Image 5

(2) DIGITAL OUTPUT.

The digital playback signal is available at this out- put jack. The serial data output is taken after error correction and de-interleaving, but before digital-to- analog conversion and filtering. The output is buffered to isolate it from the built-in D-to-A circuits. It may be connected to any digital signal processor that conforms to the Sony/Philips standard.

To use the digital output, connect a cable from this jack to the “CD digital” or equivalent input on the digi- tal processor. The cable must be a 75-ohm coaxial cable of the type used for video signals, with an RCA phono plug at each end. (To distinguish them from similar phono-plug cables used for audio, video cables often are color-coded with yellow plugs.)

GB

3.Load the disc on the disc tray (2), label side up.

4.Press the NEXT DISC button (9) to load all 5 discs.

-Each time the NEXT DISC button is pressed, the carousel turns clockwise to the next disc position.

NOTE:DO NOT TOUCH OR FORCE THE CAROUSEL WHILE IT IS ROTATING.

CAUTION:

Do not put anything except a compact disc into the tray.

Foreign objects can damage the mechanism.

(3) AC POWER CORD...

After completing the installation and all connec- tions, make sure that the POWER switch on the front panel of this unit is set to OFF. Then plug the power cord into an AC wall outlet.

COMPACT DISCS - HANDLING THE DISCS

Fingerprints and dust should be carefully wiped off the disc’s playing surface (glossy side) with a soft cloth.

Wipe using a straight motion from the inside to the outside of the disc.

Never use chemicals such as record cleaning sprays, antistatic sprays or fluids, benzine or thinner to clean compact discs. These chemicals will perma- nently damage the disc’s plastic surface.

Always place the compact disc in the disc tray with the label facing upward. Compact discs can be played on only one side.

To remove a disc from is storage case, press down on the centre of the case and lift the disc out, holding it carefully by the edges.

Discs should be returned to their cases after use to protect them from dust and scratches.

To prevent warping the disc, do not expose it to direct sunlight, high humidity or high temperatures for extended periods of time. Do not apply paper or write anything in the disc surface.

OPERATION OF THE DIGITAL COMPACT DISC CHANGER

THE FIGURES IN BRACKETS REFER TO THE LOCATION OF THE FRONT PANEL CONTROLS IN FIGURE 2 AT THE FRONT OF THIS MANUAL.

POWER: Press the green button (1, Fi. 2) IN to switch on the CD Player. The display will illuminate. To switch the POWER off, press the button again and release it (Button OUT)

LOADING A DISC

1.Set the power button (1) to ON (button IN). - The carousel turns clockwise automatically.

2.Press the OPEN/CLOSE button (4), and the DISC TRAY will open.

PLAYING A DISC

1.Set the POWER button (1) to ON (button IN).

2.Press the OPEN CLOSE button (4).

3.Load a disc.

4.Press a DISC NO. button on the remote control which corresponds to the tray number of the disc to be played, or use the NEXT DISC button (9) on the player to access the required disc.

-When a disc number has been selected, play will start on track 1 of the selected disc.

5.Press the “>>I” or “I<<” (7) button to select a track number, if a track other than track 1 is required.

-If only a track number is selected when in STOP mode, play will start with the selected track of the cur- rently displayed disc number.

NOTE:

If a track number is selected which is greater than the highest track number on the disc, play will start with the last track on the disc.

6. Press the PLAY button (3).

-The PLAY and EACH is displayed.

-The tracks elapsed playing time and the number of the disc and track currently playing are displayed. The number of the track currently playing will blink.

-During PLAY mode, select the disc and track numbers, then within 10 seconds press the PLAY button.

7.Press the TIME button on the remote control once, twice, or three times to display the following information:

Pressing once, shows how much of the track in play is remaining in minutes and seconds.

Pressing twice,shows how many tracks are on the current disc and the total playing time of the disc in minutes and seconds.

Pressing three times shows the remaining number of tracks and their combined remaining playing time for the disc that is in play.

8.Press the TIME button on the remote control again to view the current track’s elapsed playing time.

-During disc play, the TIME display will return to the elapsed playing time indication about 10 seconds after the TIME button has been pressed.

NAD

5

Page 5
Image 5
NAD NAD 517 owner manual Operation of the Digital Compact Disc Changer

NAD 517 specifications

NAD NAD 517 is a cutting-edge audio amplifier that has garnered attention in the audiophile community due to its impressive features and performance characteristics. As part of NAD's commitment to high-quality audio reproduction, the NAD 517 integrates modern technologies to deliver an exceptional listening experience.

One of the standout features of the NAD 517 is its Class D amplification. This technology not only significantly improves energy efficiency but also allows for a lighter, more compact design without compromising sound quality. The Class D architecture enables the amplifier to produce high power output with minimal heat generation, ensuring it runs cool even during extended listening sessions.

The NAD 517 employs a sophisticated digital signal processing (DSP) system that fine-tunes audio signals to match the specific characteristics of various audio sources. This adaptability enhances the overall listening experience, allowing users to discern subtle nuances in their favorite music tracks. The DSP enhances the amplifier’s performance, providing a cleaner, more detailed sound that resonates well across genres.

Moreover, the NAD 517 is equipped with advanced connectivity options, including Bluetooth and Wi-Fi streaming capabilities. This makes it easy for users to integrate the amplifier into modern smart home systems. Users can enjoy seamless connectivity with their devices, allowing them to stream music directly from smartphones, tablets, or computers without the hassle of wires.

Another remarkable characteristic of the NAD 517 is its robust build quality. The amplifier features an aluminum chassis that not only adds aesthetic appeal but also improves durability and reduces electromagnetic interference. The thoughtful design ensures that the performance remains consistent over time, driving the speaker systems with precision.

The NAD 517 also comes with user-friendly controls, simplifying the operation even for those who may not be tech-savvy. With an intuitive interface, users can easily adjust settings, switch inputs, and enhance their audio experience with a few simple taps.

In conclusion, the NAD NAD 517 amplifier stands out as a modern audio solution that merges innovative technology with exceptional sound quality. With its Class D amplification, advanced DSP, versatile connectivity, and durable build, it is an excellent choice for both casual listeners and devoted audiophiles seeking to elevate their listening experience.