Deleting all Cables
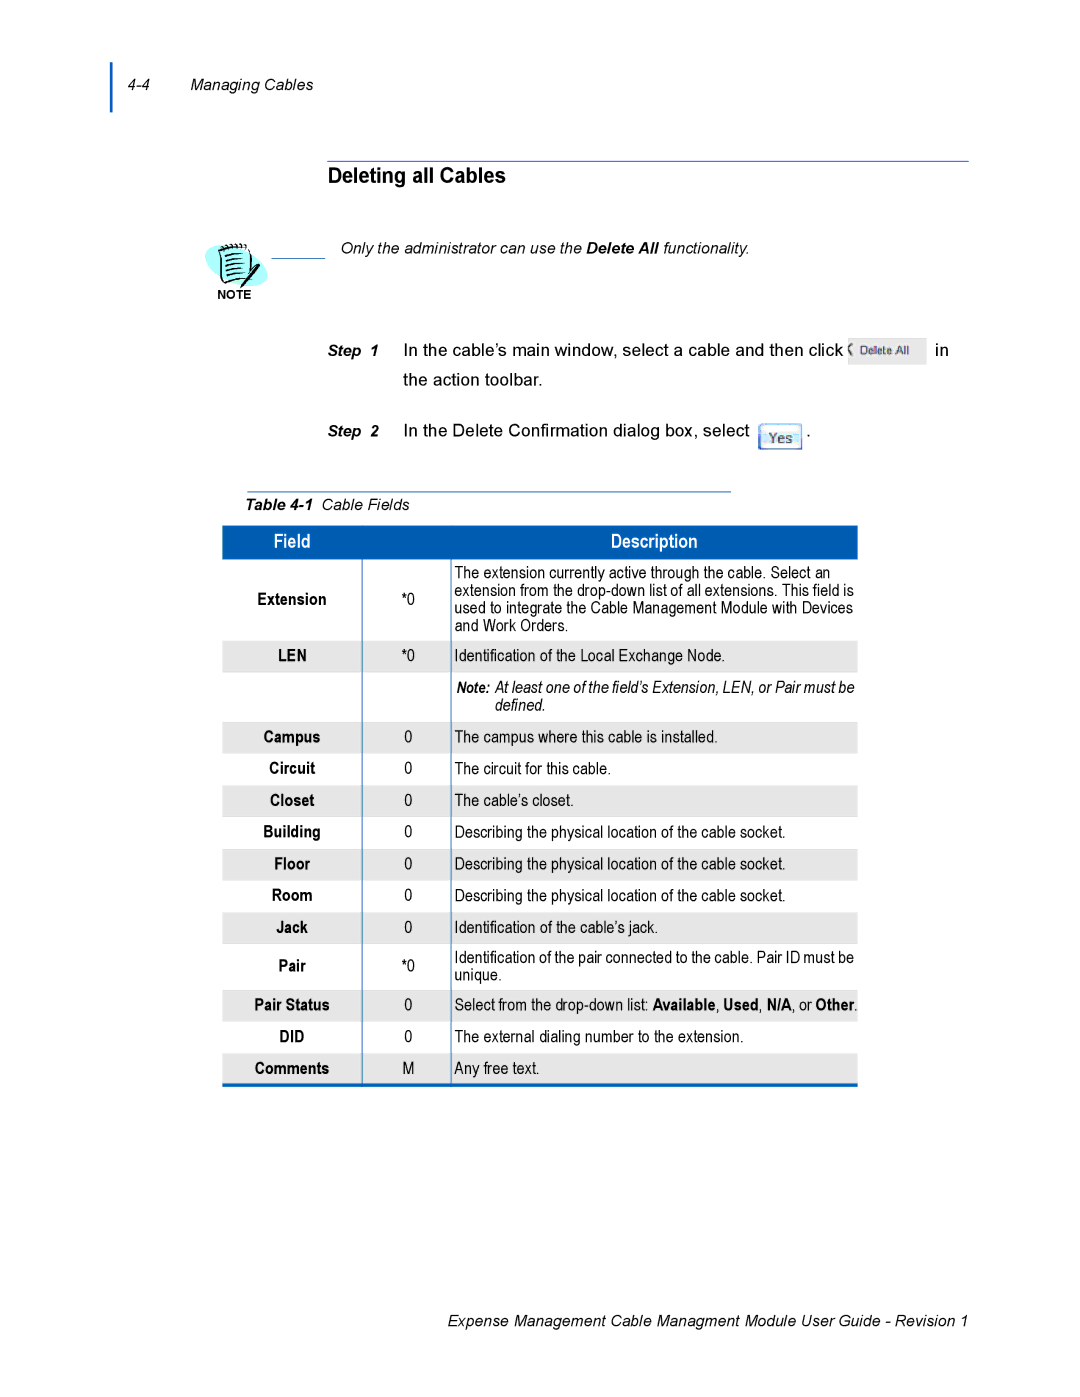
Only the administrator can use the Delete All functionality.
NOTE
Step 1 In the cable’s main window, select a cable and then click ![]() in the action toolbar.
in the action toolbar.
Step 2 In the Delete Confirmation dialog box, select ![]() .
.
Table
Field |
| Description | |
|
| The extension currently active through the cable. Select an | |
Extension | *0 | extension from the | |
used to integrate the Cable Management Module with Devices | |||
|
| ||
|
| and Work Orders. | |
|
|
| |
LEN | *0 | Identification of the Local Exchange Node. | |
|
|
| |
|
| Note: At least one of the field’s Extension, LEN, or Pair must be | |
|
| defined. | |
|
|
| |
Campus | 0 | The campus where this cable is installed. | |
|
|
| |
Circuit | 0 | The circuit for this cable. | |
|
|
| |
Closet | 0 | The cable’s closet. | |
|
|
| |
Building | 0 | Describing the physical location of the cable socket. | |
|
|
| |
Floor | 0 | Describing the physical location of the cable socket. | |
|
|
| |
Room | 0 | Describing the physical location of the cable socket. | |
|
|
| |
Jack | 0 | Identification of the cable’s jack. | |
|
|
| |
Pair | *0 | Identification of the pair connected to the cable. Pair ID must be | |
unique. | |||
|
| ||
Pair Status | 0 | Select from the | |
|
|
| |
DID | 0 | The external dialing number to the extension. | |
|
|
| |
Comments | M | Any free text. | |
|
|
|
Expense Management Cable Managment Module User Guide - Revision 1
