R6300v2 Smart WiFi Router
To set up Dynamic DNS:
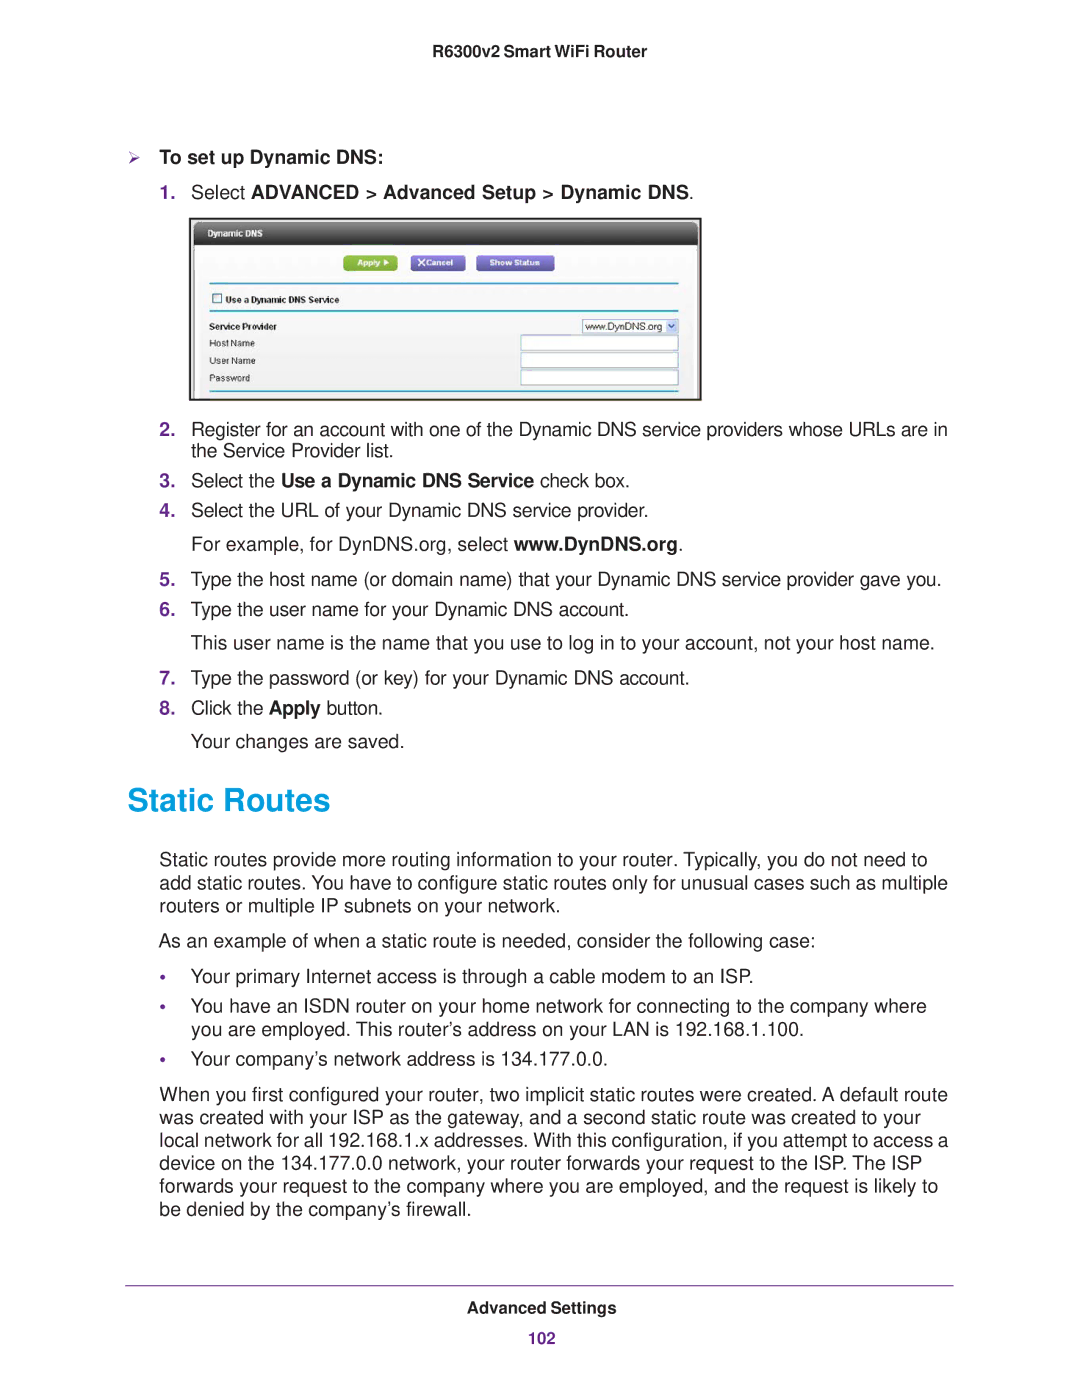
1. Select ADVANCED > Advanced Setup > Dynamic DNS.
2.Register for an account with one of the Dynamic DNS service providers whose URLs are in the Service Provider list.
3.Select the Use a Dynamic DNS Service check box.
4.Select the URL of your Dynamic DNS service provider. For example, for DynDNS.org, select www.DynDNS.org.
5.Type the host name (or domain name) that your Dynamic DNS service provider gave you.
6.Type the user name for your Dynamic DNS account.
This user name is the name that you use to log in to your account, not your host name.
7.Type the password (or key) for your Dynamic DNS account.
8.Click the Apply button. Your changes are saved.
Static Routes
Static routes provide more routing information to your router. Typically, you do not need to add static routes. You have to configure static routes only for unusual cases such as multiple routers or multiple IP subnets on your network.
As an example of when a static route is needed, consider the following case:
•Your primary Internet access is through a cable modem to an ISP.
•You have an ISDN router on your home network for connecting to the company where you are employed. This router’s address on your LAN is 192.168.1.100.
•Your company’s network address is 134.177.0.0.
When you first configured your router, two implicit static routes were created. A default route was created with your ISP as the gateway, and a second static route was created to your local network for all 192.168.1.x addresses. With this configuration, if you attempt to access a device on the 134.177.0.0 network, your router forwards your request to the ISP. The ISP forwards your request to the company where you are employed, and the request is likely to be denied by the company’s firewall.
Advanced Settings
102