R6300v2 Smart WiFi Router
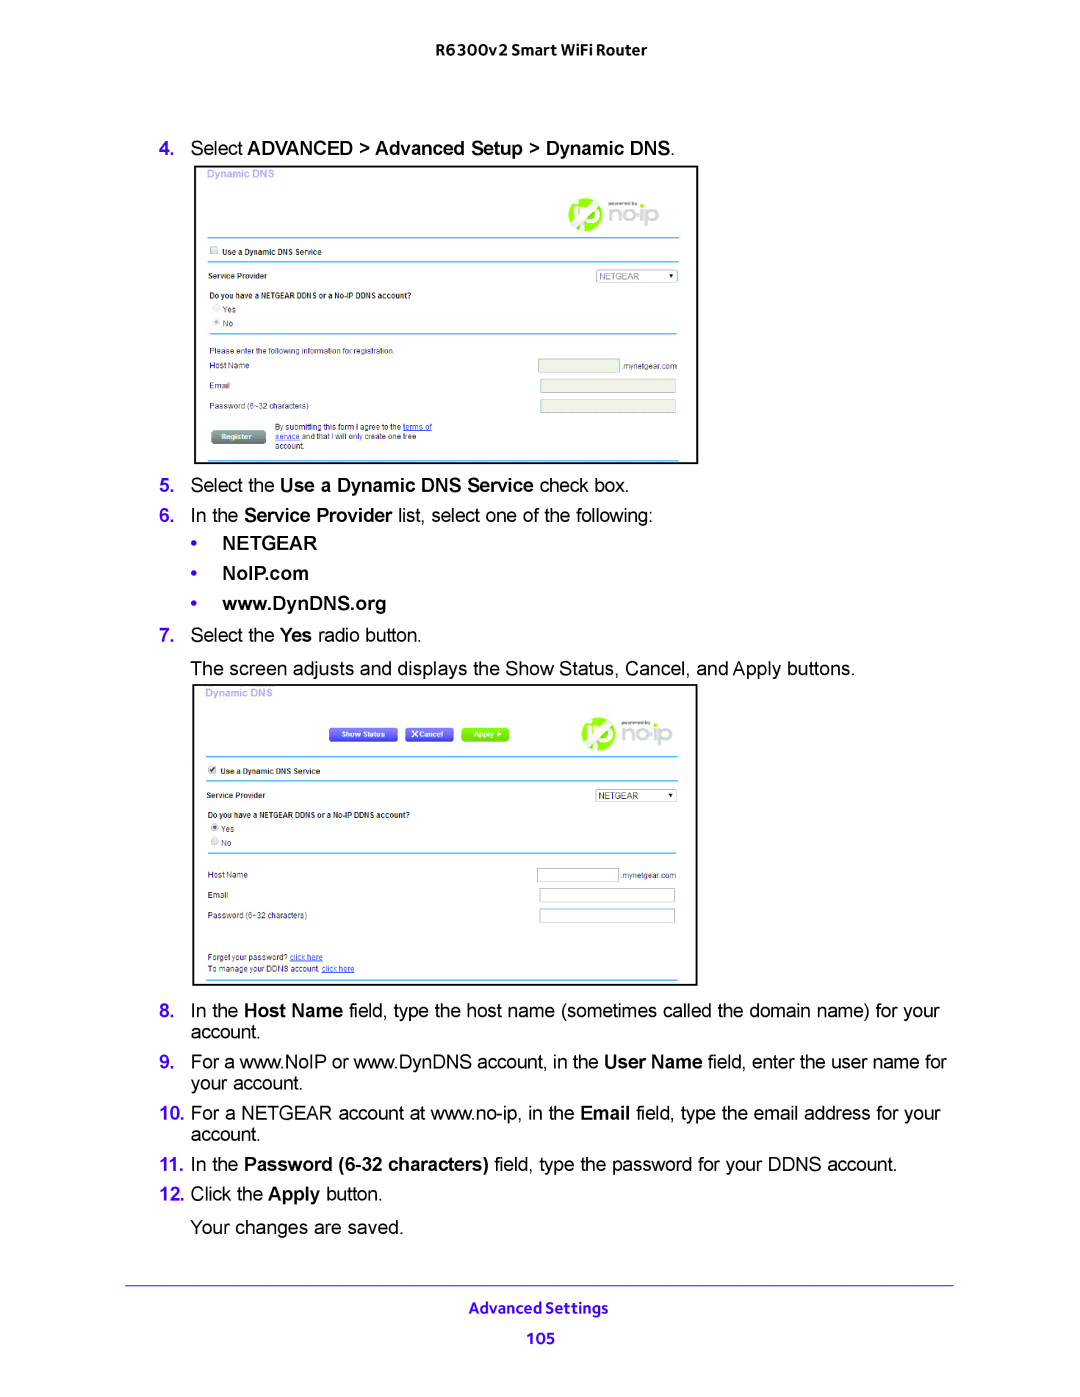
4.Select ADVANCED > Advanced Setup > Dynamic DNS.
5.Select the Use a Dynamic DNS Service check box.
6.In the Service Provider list, select one of the following:
•NETGEAR
•NoIP.com
•www.DynDNS.org
7.Select the Yes radio button.
The screen adjusts and displays the Show Status, Cancel, and Apply buttons.
8.In the Host Name field, type the host name (sometimes called the domain name) for your account.
9.For a www.NoIP or www.DynDNS account, in the User Name field, enter the user name for your account.
10.For a NETGEAR account at
11.In the Password
12.Click the Apply button. Your changes are saved.
Advanced Settings
105