Uploading Your Runs to nikeplus.com
After recording one run, or many, you can send your workout info to nikeplus.com, where you can track your progress, set goals, challenge others and much more.
1.After recording a run or runs, remove the SportBand Link and connect it the to a USB port on a computer installed with the Nike+ Utility.
2.The Nike+ Utility will automatically launch and upload your run info to nikeplus.com
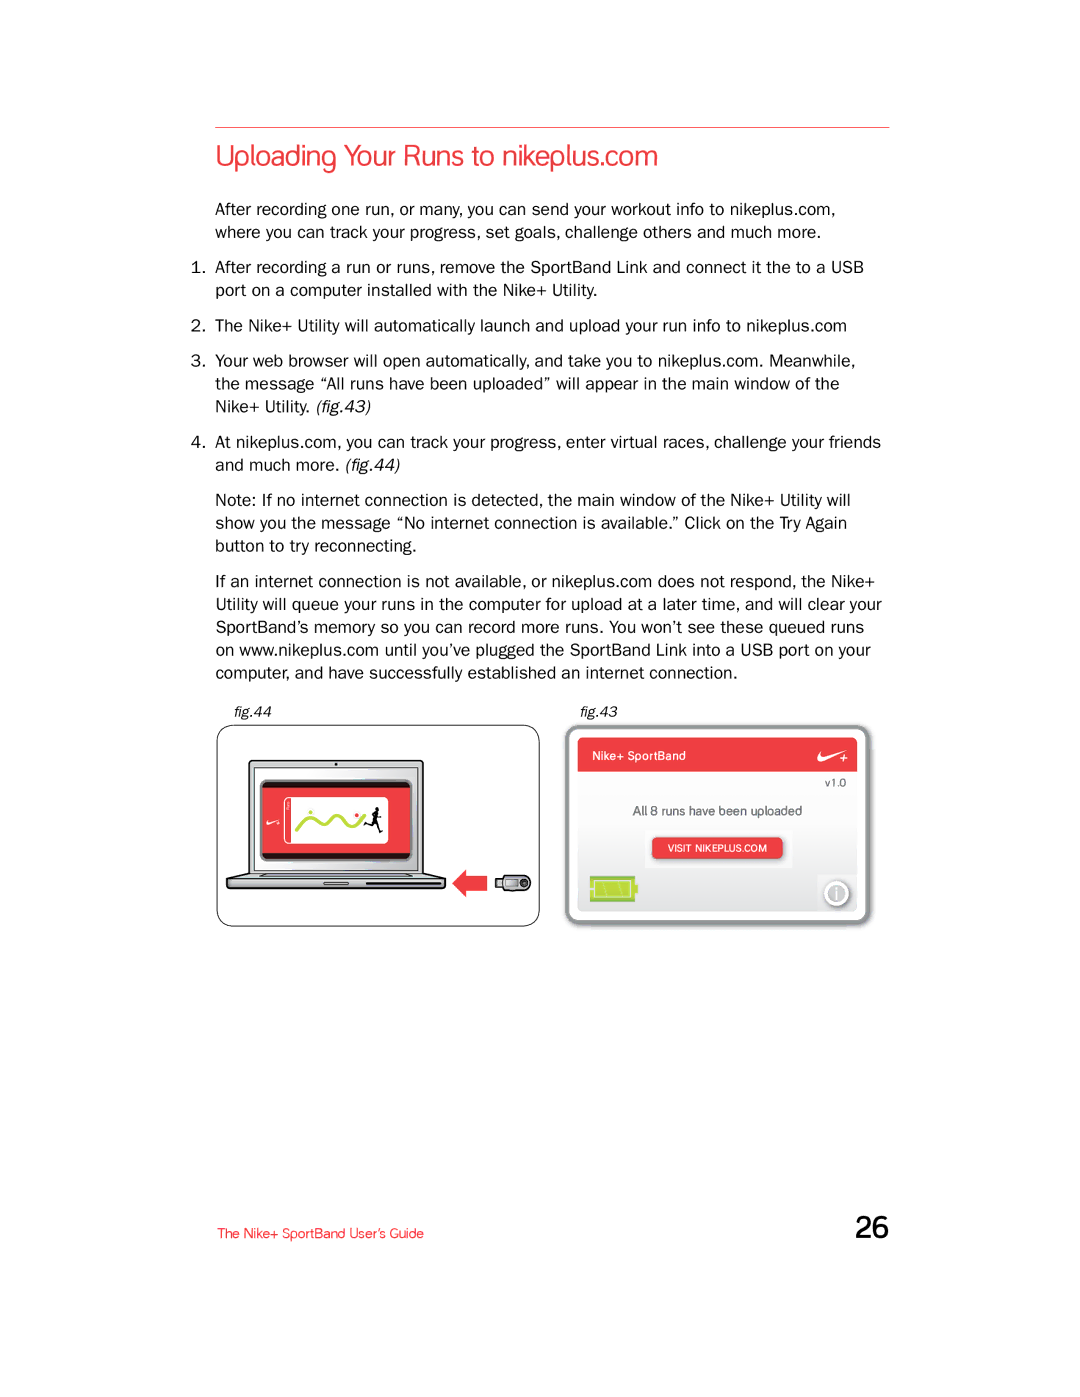
3.Your web browser will open automatically, and take you to nikeplus.com. Meanwhile, the message “All runs have been uploaded” will appear in the main window of the Nike+ Utility. (fig.43)
4.At nikeplus.com, you can track your progress, enter virtual races, challenge your friends and much more. (fig.44)
Note: If no internet connection is detected, the main window of the Nike+ Utility will show you the message “No internet connection is available.” Click on the Try Again button to try reconnecting.
If an internet connection is not available, or nikeplus.com does not respond, the Nike+
Utility will queue your runs in the computer for upload at a later time, and will clear your SportBand’s memory so you can record more runs. You won’t see these queued runs on www.nikeplus.com until you’ve plugged the SportBand Link into a USB port on your computer, and have successfully established an internet connection.
fig.44
Runs
fig.43
Nike+ SportBand
v1.0
All 8 runs have been uploaded
VISIT NIKEPLUS.COM
i
The Nike+ SportBand User’s Guide | 26 |