Step 2 - Frame the Picture
1 Ready the camera
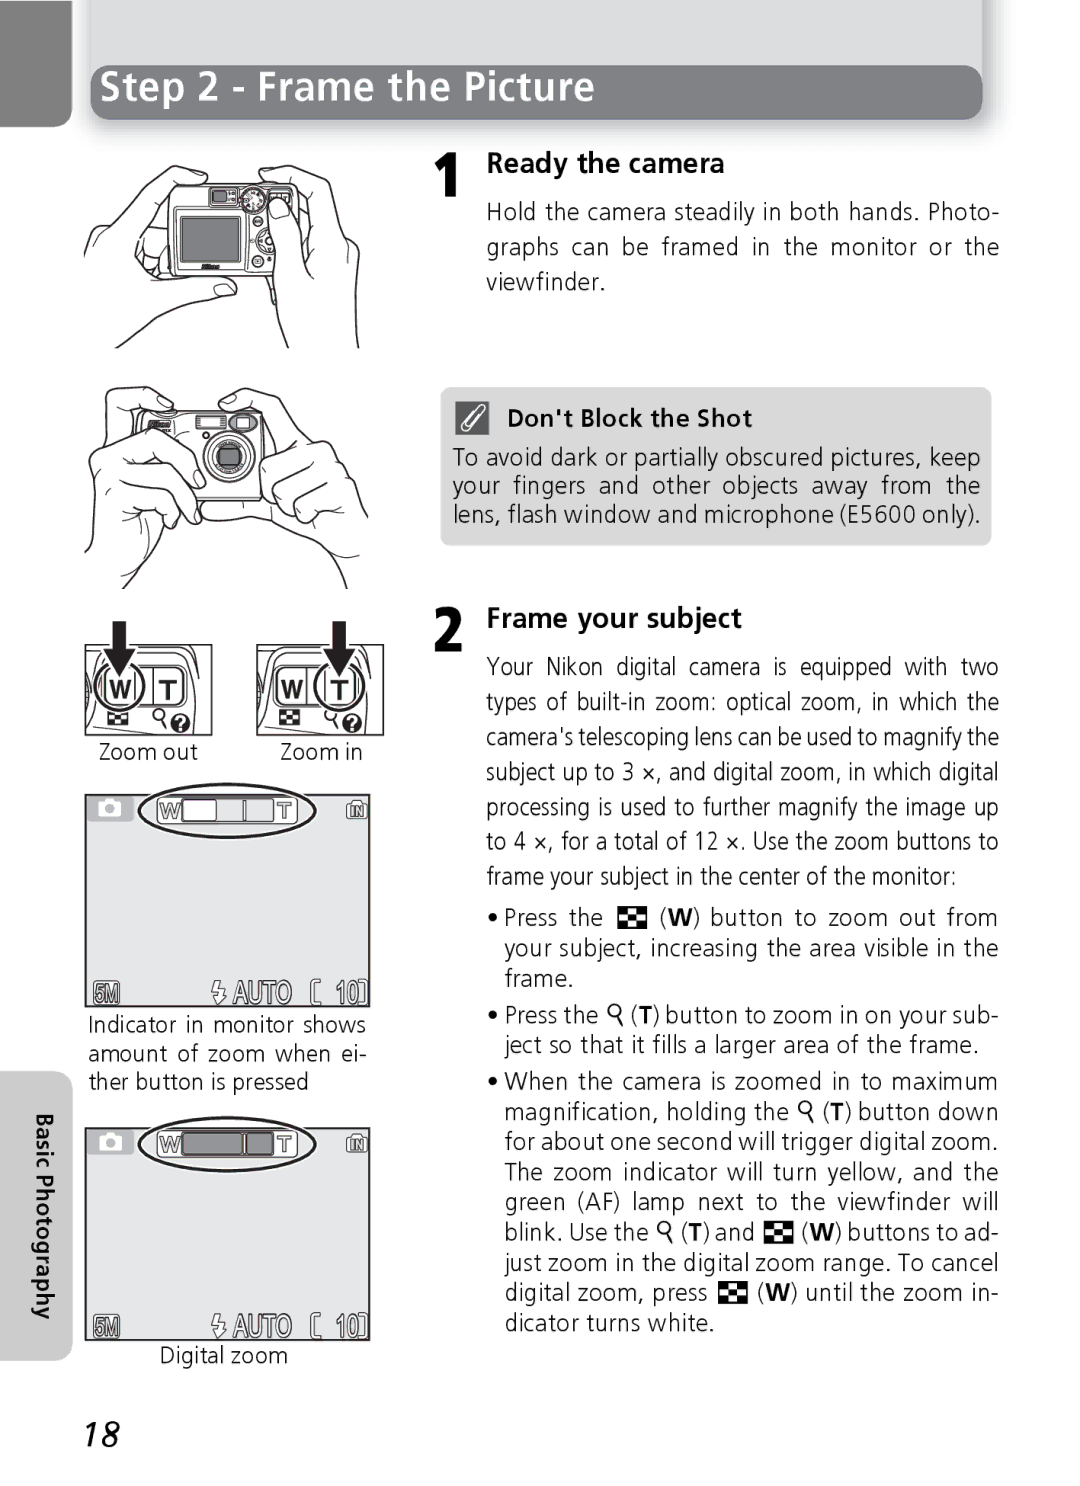
Hold the camera steadily in both hands. Photo- graphs can be framed in the monitor or the viewfinder.
Don't Block the Shot
To avoid dark or partially obscured pictures, keep your fingers and other objects away from the lens, flash window and microphone (E5600 only).
Zoom out | Zoom in |
5M  AUTO
AUTO  10
10
Indicator in monitor shows amount of zoom when ei- ther button is pressed
Basic Photography | AUTO 10 |
5M | |
| Digital zoom |
2 Frame your subject
Your Nikon digital camera is equipped with two types of
•Press the l (W) button to zoom out from your subject, increasing the area visible in the frame.
•Press the O(T) button to zoom in on your sub- ject so that it fills a larger area of the frame.
•When the camera is zoomed in to maximum magnification, holding the O(T) button down for about one second will trigger digital zoom. The zoom indicator will turn yellow, and the green (AF) lamp next to the viewfinder will blink. Use the O(T) and l(W) buttons to ad- just zoom in the digital zoom range. To cancel digital zoom, press l (W) until the zoom in- dicator turns white.
18