The Shooting Menu
Using the Shooting Menu
In P (auto) mode, the following settings can be adjusted from the SHOOTING MENU:
Option | Description | Q | |
Image mode | Choose image size and quality. | ||
|
|
| |
White balance | Match white balance to your light source. | 69 | |
|
|
| |
Exp. +/- | Adjust exposure for very bright, very dark, or high- | 71 | |
contrast subjects. | |||
|
| ||
|
|
| |
Continuous | Take pictures one at a time or in a sequence. | 72 | |
|
|
| |
BSS | Turn the Best Shot Selector (BSS) on or off. | 73 | |
|
|
| |
Color Options | Choose a standard color, vivid color, | 74 | |
sepia, or cyanotype effect for your pictures. | |||
|
| ||
|
|
|
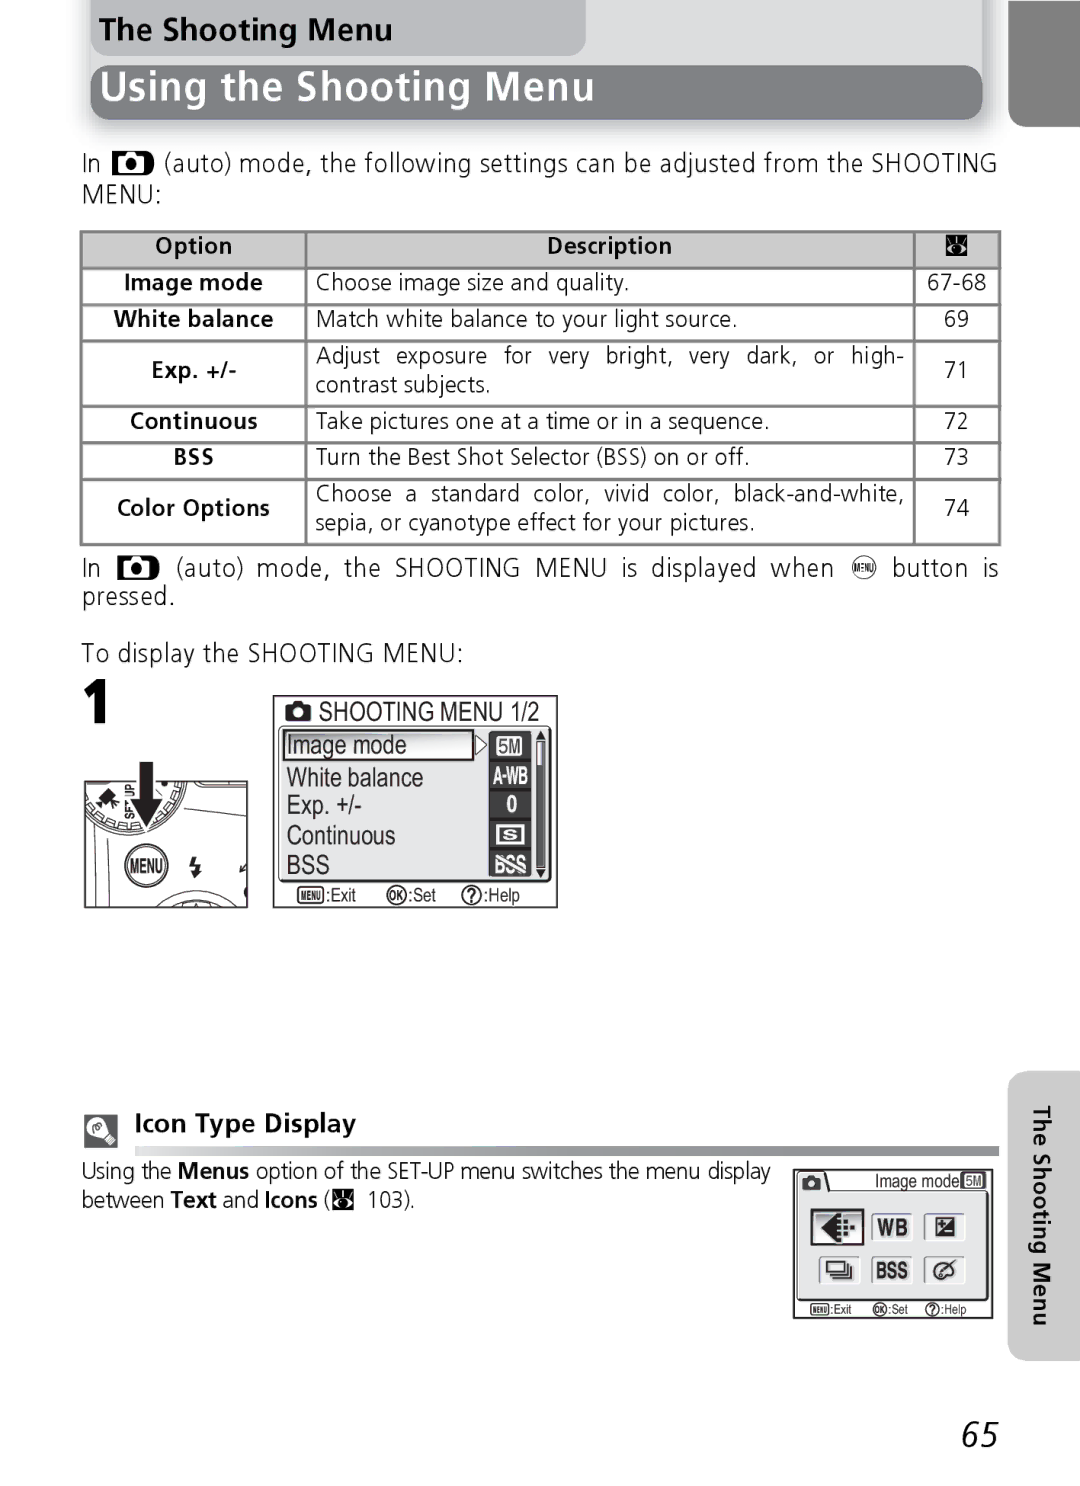
In P (auto) mode, the SHOOTING MENU is displayed when ^ button is pressed.
To display the SHOOTING MENU:
1
SHOOTING MENU 1/2 | ||
Image mode |
|
|
White balance |
| |
Exp. +/- |
|
|
Continuous |
|
|
BSS |
|
|
:Exit | :Set | :Help |
Icon Type Display
Using the Menus option of the | Image mode | |
between Text and Icons (Q 103). | ||
| ||
| :Exit :Set :Help |
The Shooting Menu
65