2.5Starting up/running in
Prior to starting up the customer engineer should be fully confident with sections 3.4 - 3.6 of the Operation Manual describing the instrument panel, settings and starting up/operation.
If any faults appear during the starting up and running in, sect. 3.10 on
2.5.1 Oil control
Check the oil level in the oil glas (cf. Fig. 6).
Fig. 6
If the oil level gets too low, the machine will automatically shut down.
will light up.
In the case of repeated low oil level (oil waste) please contact a
2.5.2 Start
Turn the main switch to position - I
Turn the operation switch to position - I
The water tank will now be filled up. Press the starting switch when the system has been made ready for venting of the pumps.
2.5.3 Venting of pumps
Venting should be carried out on each pump individually (cf. sect. 3.5.2) as power is only con- nected to the water tank module and the relevant pump during the venting process.
The pump should be vented in the following way:
1.Make sure that only the pump to be vented is switched on (cf. Fig. 3.5.2).
2.Open the cabinet.
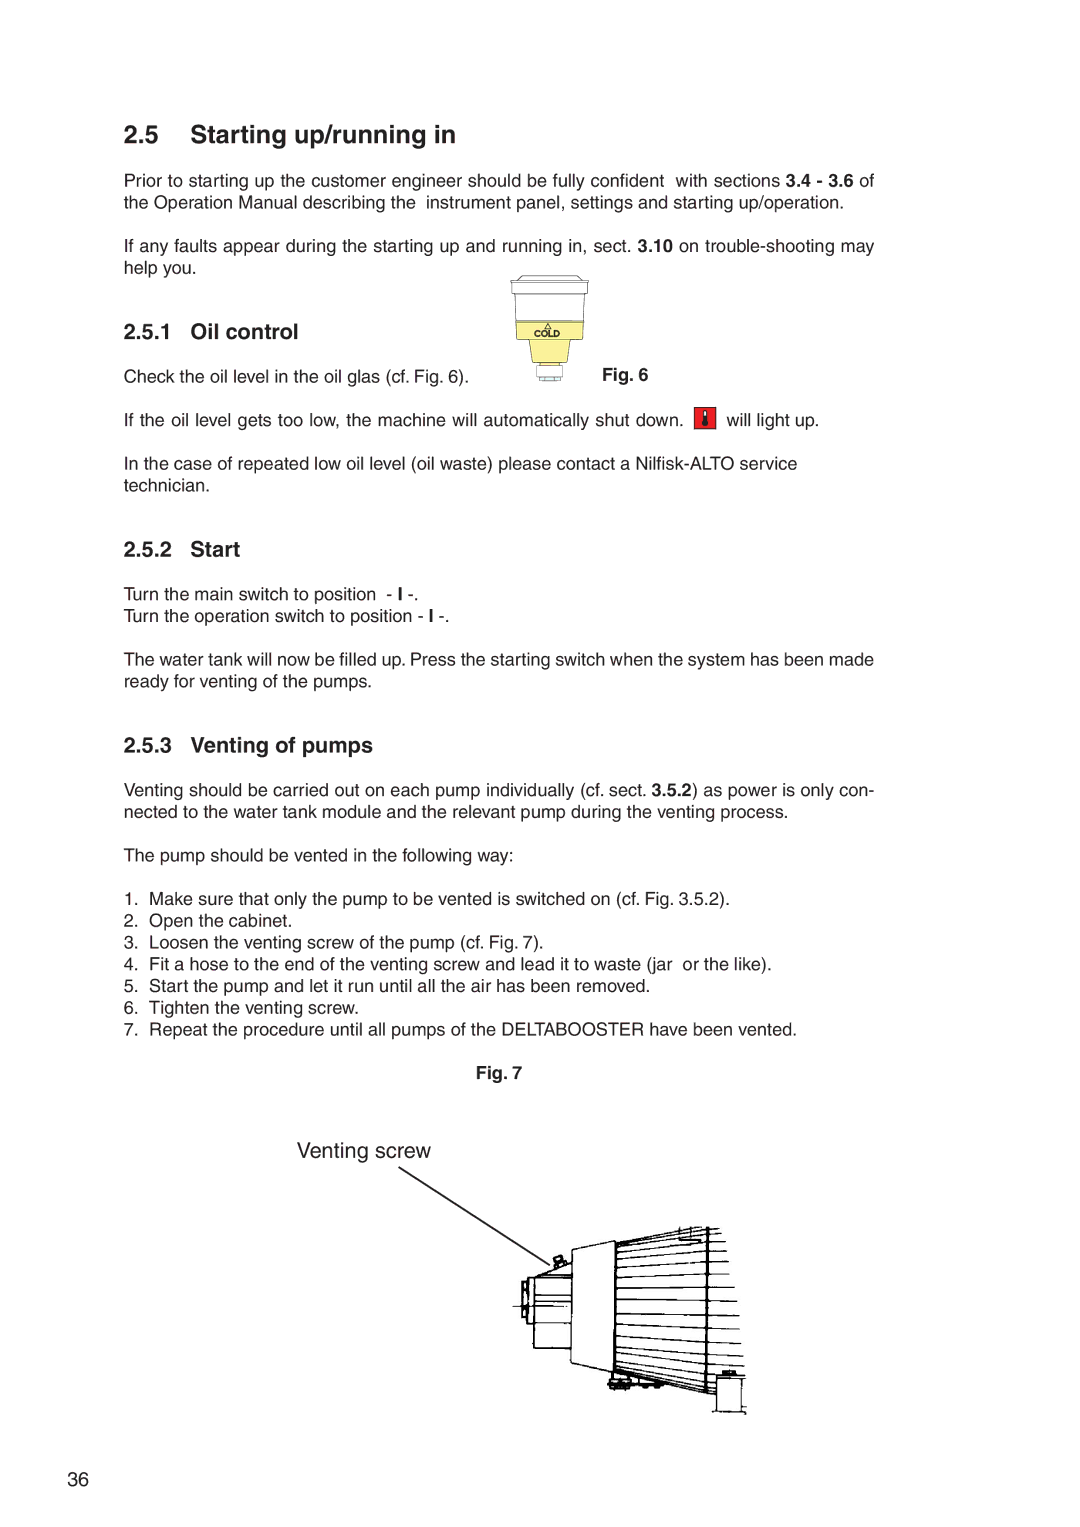
3.Loosen the venting screw of the pump (cf. Fig. 7).
4.Fit a hose to the end of the venting screw and lead it to waste (jar or the like).
5.Start the pump and let it run until all the air has been removed.
6.Tighten the venting screw.
7.Repeat the procedure until all pumps of the DELTABOOSTER have been vented.
Fig. 7
Venting screw
36
