SMART ANTENNA specifications
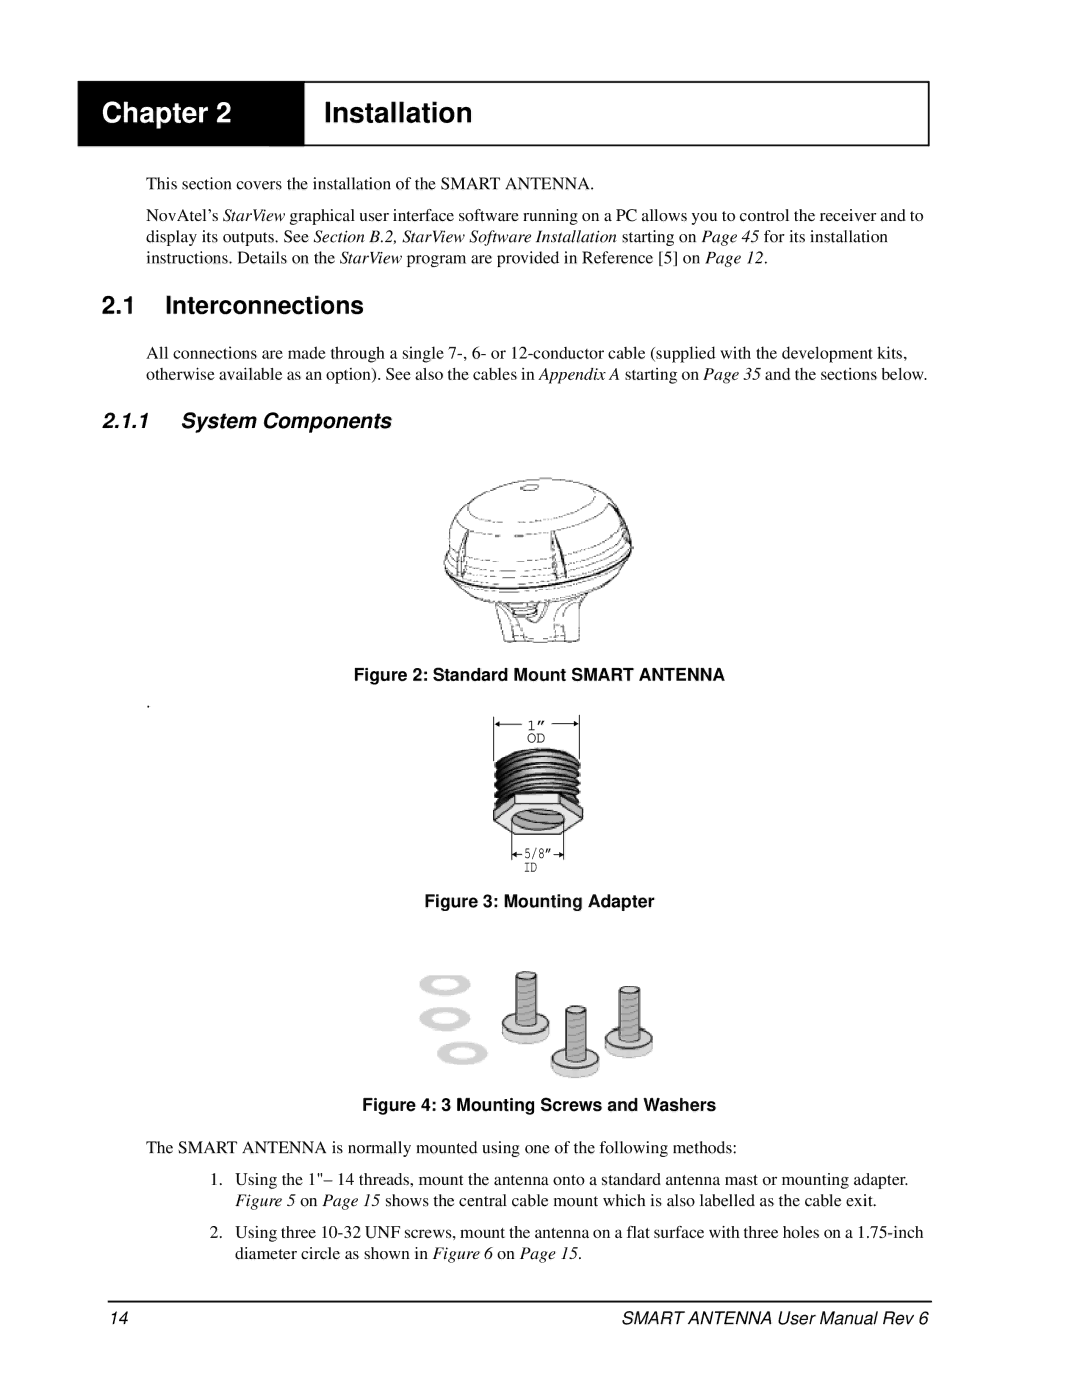
The Novatel SMART ANTENNA represents a significant advancement in positioning technology, designed to meet the growing demands of various applications, including surveying, agriculture, and autonomous vehicles. Its compact, all-in-one design integrates GNSS (Global Navigation Satellite System) antennas, a GNSS receiver, and advanced signal processing capabilities into a single unit, thereby streamlining deployment and operation.One of the standout features of the Novatel SMART ANTENNA is its multi-frequency capability, which allows it to utilize signals from various GNSS constellations, including GPS, GLONASS, Galileo, and BeiDou. This multi-constellation approach enhances reliability and accuracy, even in challenging environments where signal obstructions may occur. The ability to process signals across multiple frequencies significantly reduces the impact of multipath interference and improves positional precision.
The SMART ANTENNA employs sophisticated technologies, such as Real-Time Kinematic (RTK) positioning, which provides centimeter-level accuracy. This makes it ideal for applications that require high precision, such as land surveying or precision agriculture, where slight positional errors can lead to significant discrepancies in output.
Another important characteristic of the Novatel SMART ANTENNA is its rugged, weather-resistant design, making it suitable for a variety of outdoor environments. It has been engineered to withstand harsh weather conditions, ensuring operational reliability and longevity. This durability is crucial for industries that rely on continuous and accurate positioning data.
Moreover, the device features an easy-to-use interface, simplifying setup and operation for users of all experience levels. Its robust connectivity options, including Bluetooth and serial communications, enable seamless integration with various devices and systems, allowing for versatile usage across multiple platforms.
The Novatel SMART ANTENNA is also equipped with built-in monitoring and diagnostic tools, providing users with real-time feedback on performance metrics. This empowers users to maintain optimal operation and troubleshoot issues as they arise.
In summary, the Novatel SMART ANTENNA is a cutting-edge solution that combines advanced GNSS technology, accurate RTK positioning, and a rugged design. It is an unparalleled choice for industries that demand reliable and precise positioning data, driving efficiency and enhancing workflow across various applications.

