Powering Up & Setting Up the DV-CP701
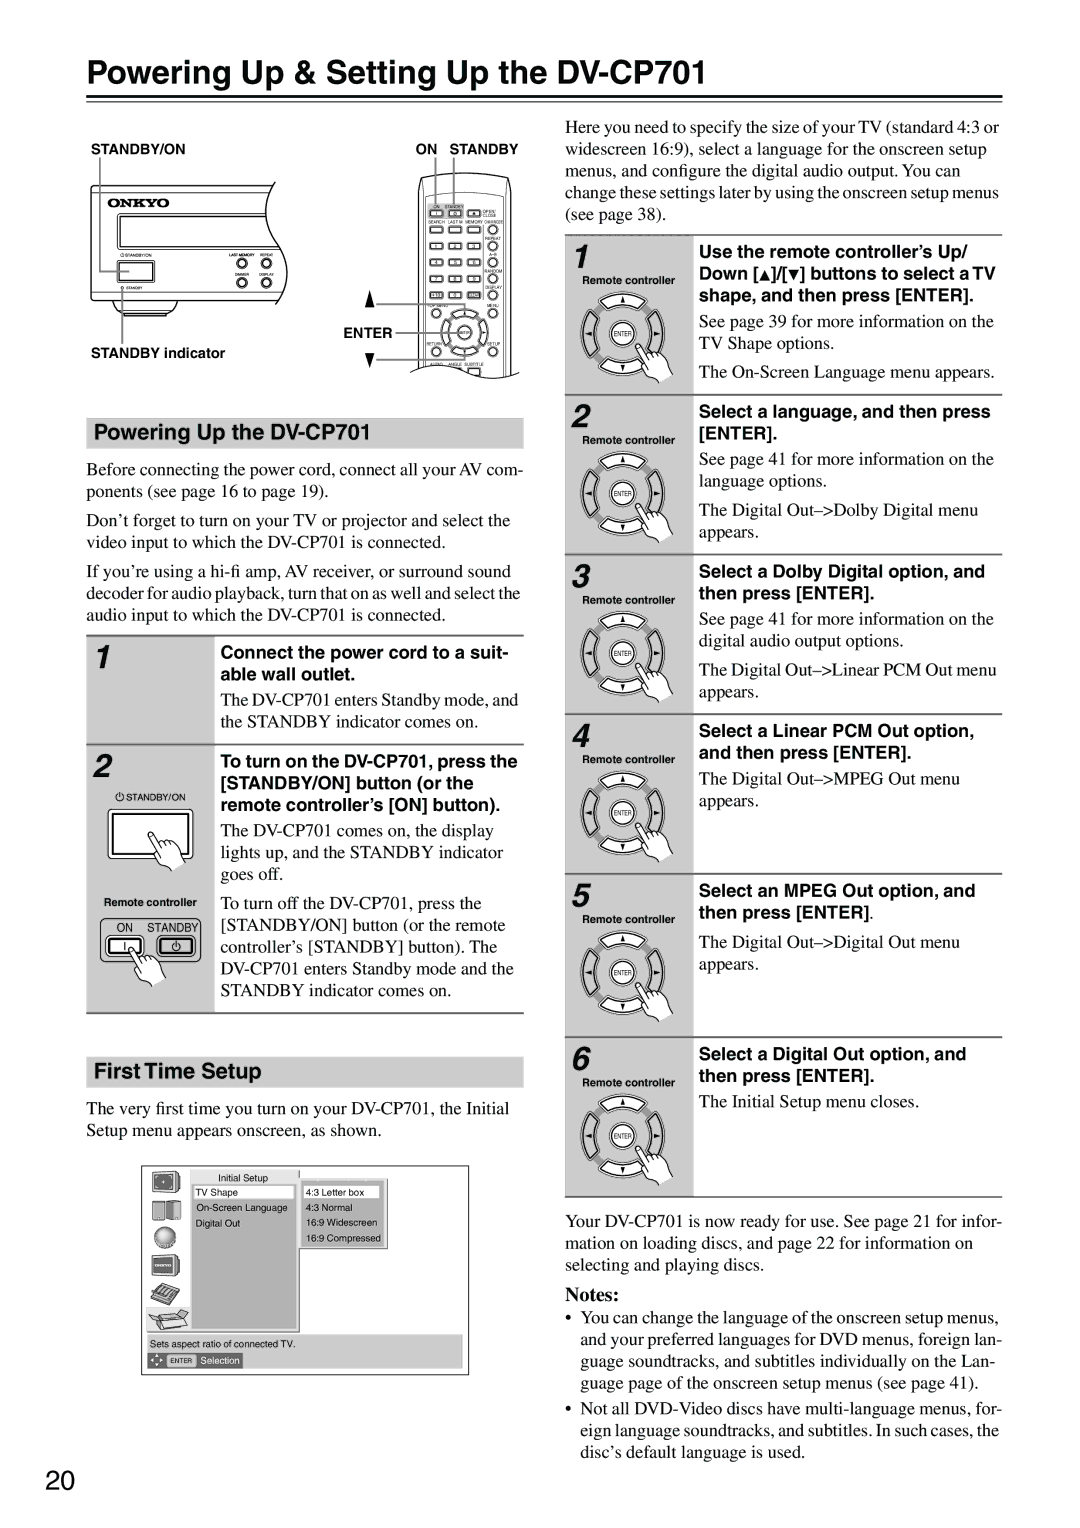
STANDBY/ON | ON | STANDBY | |
| ON STANDBY | ||
|
|
| OPEN/ |
|
|
| CLOSE |
| SEARCH | LAST M MEMORY CHAIN MODE | |
|
|
| REPEAT |
| 1 | 2 | 3 |
|
|
| |
| 4 | 5 | 6 |
|
|
| RANDOM |
| 7 | 8 | 9 |
|
|
| DISPLAY |
| +10 | 0 | CLEAR |
| TOP MENU |
| MENU |
| ENTER |
| ENTER |
STANDBY indicator | RETURN |
| SETUP |
|
|
| |
| AUDIO | ANGLE SUBTITLE | |
Powering Up the DV-CP701
Before connecting the power cord, connect all your AV com- ponents (see page 16 to page 19).
Don’t forget to turn on your TV or projector and select the video input to which the
If you’re using a
1 | Connect the power cord to a suit- |
| |
| able wall outlet. |
| The |
| the STANDBY indicator comes on. |
Here you need to specify the size of your TV (standard 4:3 or widescreen 16:9), select a language for the onscreen setup menus, and configure the digital audio output. You can change these settings later by using the onscreen setup menus (see page 38).
1 | Use the remote controller’s Up/ | |
Down [ ]/[ ] buttons to select a TV | ||
Remote controller | ||
| shape, and then press [ENTER]. | |
ENTER | See page 39 for more information on the | |
TV Shape options. | ||
| ||
| The | |
2 | Select a language, and then press | |
[ENTER]. | ||
Remote controller | ||
| See page 41 for more information on the | |
ENTER | language options. | |
| ||
| The Digital | |
| appears. | |
3 | Select a Dolby Digital option, and | |
then press [ENTER]. | ||
Remote controller | ||
| See page 41 for more information on the | |
ENTER | digital audio output options. | |
| ||
| The Digital | |
| appears. | |
4 | Select a Linear PCM Out option, | |
and then press [ENTER]. |
2
Remote controller
ON STANDBY
To turn on the
The
To turn off the
Remote controller |
| |
| The Digital | |
ENTER | appears. | |
| ||
5 | Select an MPEG Out option, and | |
then press [ENTER]. | ||
Remote controller | ||
| The Digital | |
ENTER | appears. | |
| ||
6 | Select a Digital Out option, and | |
|
First Time Setup
The very first time you turn on your
Initial Setup |
|
|
TV Shape |
| 4:3 Letter box |
| 4:3 Normal | |
Digital Out |
| 16:9 Widescreen |
|
| 16:9 Compressed |
|
|
|
Sets aspect ratio of connected TV.
ENTER Selection
Remote controller then press [ENTER]. |
The Initial Setup menu closes. |
ENTER |
Your
Notes:
•You can change the language of the onscreen setup menus, and your preferred languages for DVD menus, foreign lan- guage soundtracks, and subtitles individually on the Lan- guage page of the onscreen setup menus (see page 41).
•Not all
20