Configuring the
|
| |
4 | 5 | 6 |
|
| RANDOM |
7 | 8 | 9 |
|
| DISPLAY |
+10 | 0 | CLEAR |
TOP MENU |
| MENU |
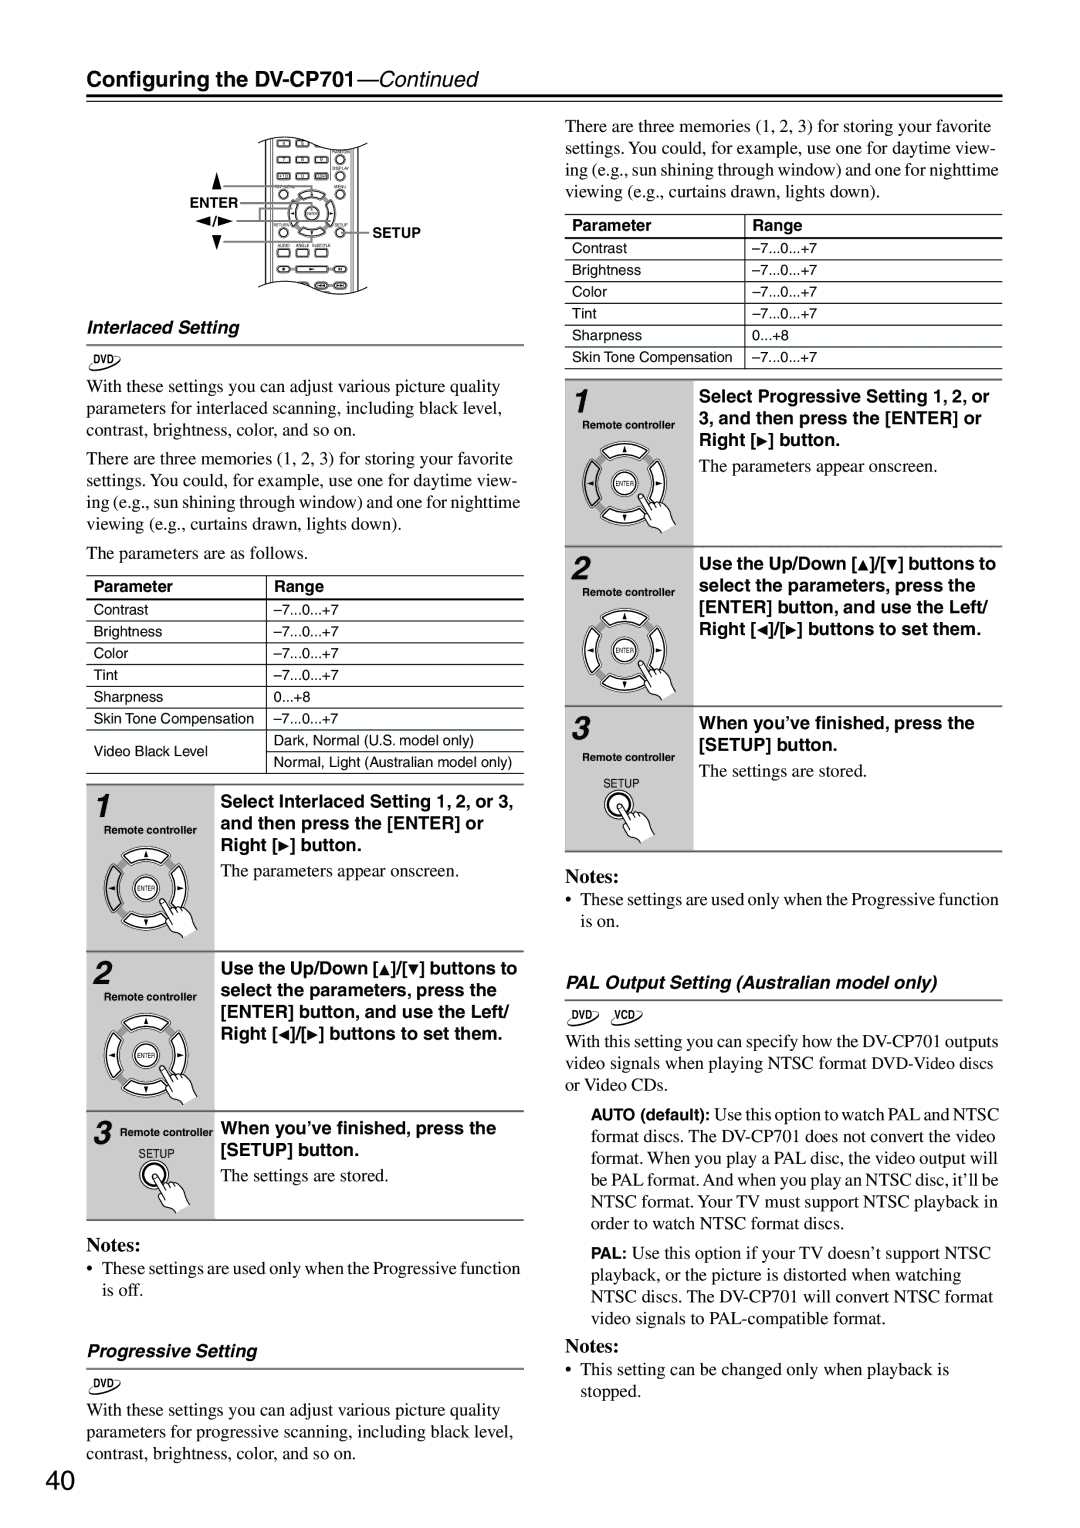
ENTER |
|
|
/ |
| ENTER |
RETURN | SETUP | |
|
| SETUP |
| AUDIO | ANGLE SUBTITLE |
| DISC 1 | DISC 2 DISC 3 STEP/SLOW |
Interlaced Setting
DVD
With these settings you can adjust various picture quality parameters for interlaced scanning, including black level, contrast, brightness, color, and so on.
There are three memories (1, 2, 3) for storing your favorite settings. You could, for example, use one for daytime view- ing (e.g., sun shining through window) and one for nighttime viewing (e.g., curtains drawn, lights down).
The parameters are as follows.
Parameter | Range | |
Contrast | ||
|
| |
Brightness | ||
|
| |
Color | ||
|
| |
Tint | ||
|
| |
Sharpness | 0...+8 | |
|
| |
Skin Tone Compensation | ||
|
| |
Video Black Level | Dark, Normal (U.S. model only) | |
| ||
Normal, Light (Australian model only) | ||
| ||
|
| |
|
|
1 | Select Interlaced Setting 1, 2, or 3, |
| |
Remote controller | and then press the [ENTER] or |
| Right [ ] button. |
| The parameters appear onscreen. |
ENTER |
|
2 | Use the Up/Down [ ]/[ ] buttons to |
| |
Remote controller | select the parameters, press the |
| [ENTER] button, and use the Left/ |
| Right [ ]/[ ] buttons to set them. |
ENTER |
|
3 Remote controller When you’ve finished, press the
SETUP [SETUP] button.
The settings are stored.
Notes:
•These settings are used only when the Progressive function is off.
Progressive Setting
DVD
With these settings you can adjust various picture quality parameters for progressive scanning, including black level, contrast, brightness, color, and so on.
There are three memories (1, 2, 3) for storing your favorite settings. You could, for example, use one for daytime view- ing (e.g., sun shining through window) and one for nighttime viewing (e.g., curtains drawn, lights down).
Parameter | Range |
|
|
Contrast | |
|
|
Brightness | |
|
|
Color | |
|
|
Tint | |
|
|
Sharpness | 0...+8 |
|
|
Skin Tone Compensation | |
|
|
|
|
1 | Select Progressive Setting 1, 2, or | |
| ||
Remote controller | 3, and then press the [ENTER] or | |
| Right [ ] button. | |
| The parameters appear onscreen. | |
ENTER |
| |
2 | Use the Up/Down [ ]/[ ] buttons to | |
| ||
Remote controller | select the parameters, press the | |
| [ENTER] button, and use the Left/ | |
| Right [ ]/[ ] buttons to set them. | |
ENTER |
| |
3 | When you’ve finished, press the | |
| ||
Remote controller | [SETUP] button. | |
The settings are stored. | ||
SETUP | ||
|
Notes:
•These settings are used only when the Progressive function is on.
PAL Output Setting (Australian model only)
DVD VCD
With this setting you can specify how the
AUTO (default): Use this option to watch PAL and NTSC format discs. The
PAL: Use this option if your TV doesn’t support NTSC playback, or the picture is distorted when watching NTSC discs. The
Notes:
•This setting can be changed only when playback is stopped.
40