Connecting the MB-S1
Connecting to other components
Here is detailed explanation of how to connect the main components to the
1. Connecting to an amplifier
Connect the analog terminals on the
Notice:
When you connect the
2.Connecting an external CD or DVD player
When connecting a CD player, DVD player, CS tuner, or DAT deck equipped with digital output terminals (OPTICAL/COAXIAL), you can record the input source digitally using the
Connect the digital output terminals on a CD player, DVD player or others to the DIGITAL INPUT (OPTICAL/COAXIAL) terminals using audio digital cables. Use the optical digital cable for OPTICAL terminal and the coaxial digital cable for COAXIAL terminal.
When connecting devices, be sure to use the optical digital cable commercially available.
3.Connecting a digital audio recorder such as MD recorder or CD recorder
When connecting a CD recorder, MD recorder or DAT deck equipped with digital input terminals (OPTICAL), you can perform digital recording on the external digital audio recorder.
Connect the DIGITAL OUTPUT terminal (OPTCAL) on the MB- S1 to the digital audio recorder such as CD recorder or MD recorder. Use an optical digital audio cable.
When connecting devices, be sure to use an optical digital cable commercially available.
Notes
•When you copy the audio source digitally, certain restrictions will be applied. (page 14)
•Do not bundle the audio cables together with power cords or speaker cables. Doing so may cause deterioration of the audio signal.
•When you place the
•When you connect the digital audio output on a DVD player to the DIGITAL INPUT terminals on the
However, the PCM output setting is not available on some DVD players. In this case, the audio signal will not be output even if the DVD player and the
4.Connecting an analog audio device such as AM/FM tuner or cassette tape deck
When connecting the audio output from an analog audio device such as AM/FM tuner, cassette tape deck, or video deck to the MB- S1, you can record the audio signal onto the HDD.
Connect the analog output terminals on the analog audio device to the ANALOG INPUT terminal on the
Notes:
•Insert the plugs and connectors securely. Remember that improper connection can result in noise, or malfunctions.
•Do not bundle the audio cables together with power cords or speaker cables. Doing so may cause deterioration of the audio signal.
•When you place the
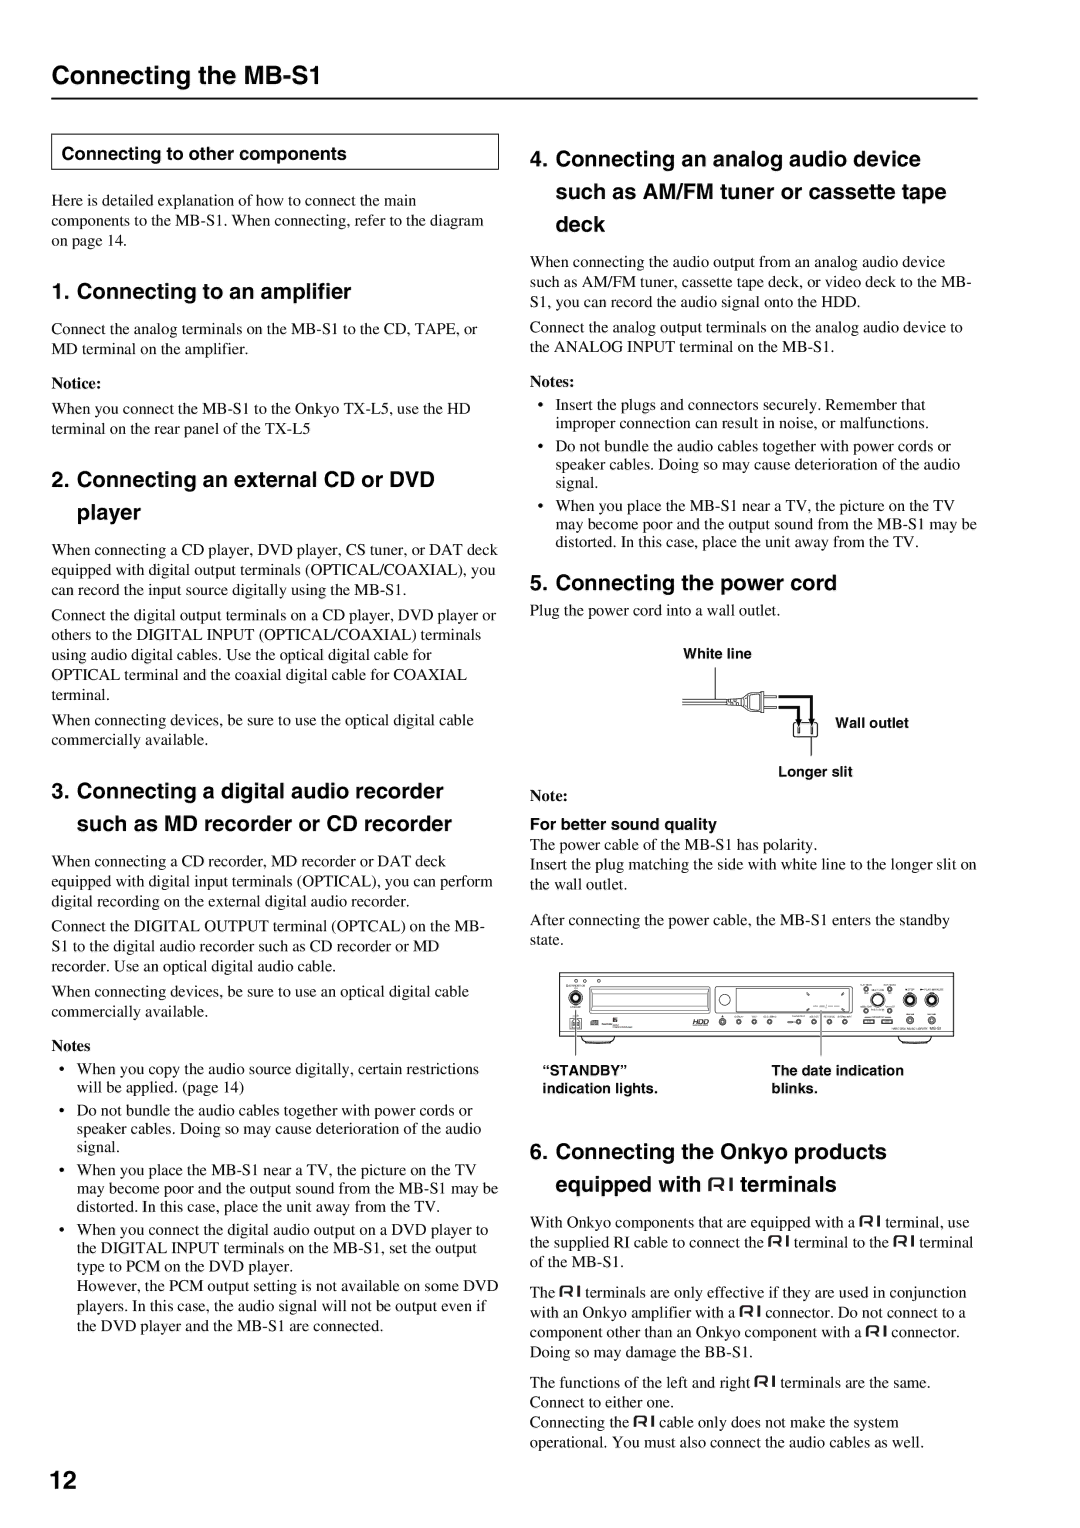
5. Connecting the power cord
Plug the power cord into a wall outlet.
White line
Wall outlet
Longer slit
Note:
For better sound quality
The power cable of the
Insert the plug matching the side with white line to the longer slit on the wall outlet.
After connecting the power cable, the
STANDBY/ON |
|
|
|
|
|
|
| PLAY MODE | EDIT/CLEAR |
|
| |
ON |
|
|
|
|
|
|
|
| MULTI JOG | STOP | PLAY/ | PAUSE |
|
|
|
|
|
|
|
| YES |
| NO |
|
|
STANDBY |
|
|
|
|
|
|
| MENU/EXIT |
| PLAY LIST |
|
|
|
|
|
|
|
|
|
| PUSH TO ENTER |
|
|
| |
USB | DISPLAY | TEXT | CD DUBBING | FAVORITE IT | HDD REC | REC MODE | EXTERNAL INPUT | OPERATION |
|
|
| |
|
|
|
|
|
|
|
| C D |
| HDD |
|
|
|
|
|
|
|
|
|
|
|
| HARD DISK MUSIC LIBRARY | ||
“STANDBY” | The date indication |
indication lights. | blinks. |
6.Connecting the Onkyo products equipped with  terminals
With Onkyo components that are equipped with a ![]() terminal, use
terminal, use
the supplied RI cable to connect the ![]() terminal to the
terminal to the ![]() terminal of the
terminal of the
The ![]() terminals are only effective if they are used in conjunction
terminals are only effective if they are used in conjunction
with an Onkyo amplifier with a ![]() connector. Do not connect to a
connector. Do not connect to a
component other than an Onkyo component with a ![]() connector. Doing so may damage the
connector. Doing so may damage the
The functions of the left and right ![]() terminals are the same. Connect to either one.
terminals are the same. Connect to either one.
Connecting the ![]() cable only does not make the system operational. You must also connect the audio cables as well.
cable only does not make the system operational. You must also connect the audio cables as well.
12