TX-8050 specifications
The Onkyo TX-8050 is a standout model in the world of integrated stereo receivers, designed to deliver exceptional audio performance and a wide array of features for both music lovers and home theater enthusiasts. This versatile receiver is known for its powerful amplification, robust connectivity, and user-friendly interface, making it an ideal choice for enhancing any audio system.One of the main features of the TX-8050 is its impressive amplification capabilities. With a power output of 100 watts per channel, it can drive even the most demanding speakers, providing clear and dynamic sound across a variety of music genres. The use of advanced circuitry and high-quality components ensures low distortion, delivering a pure and immersive listening experience.
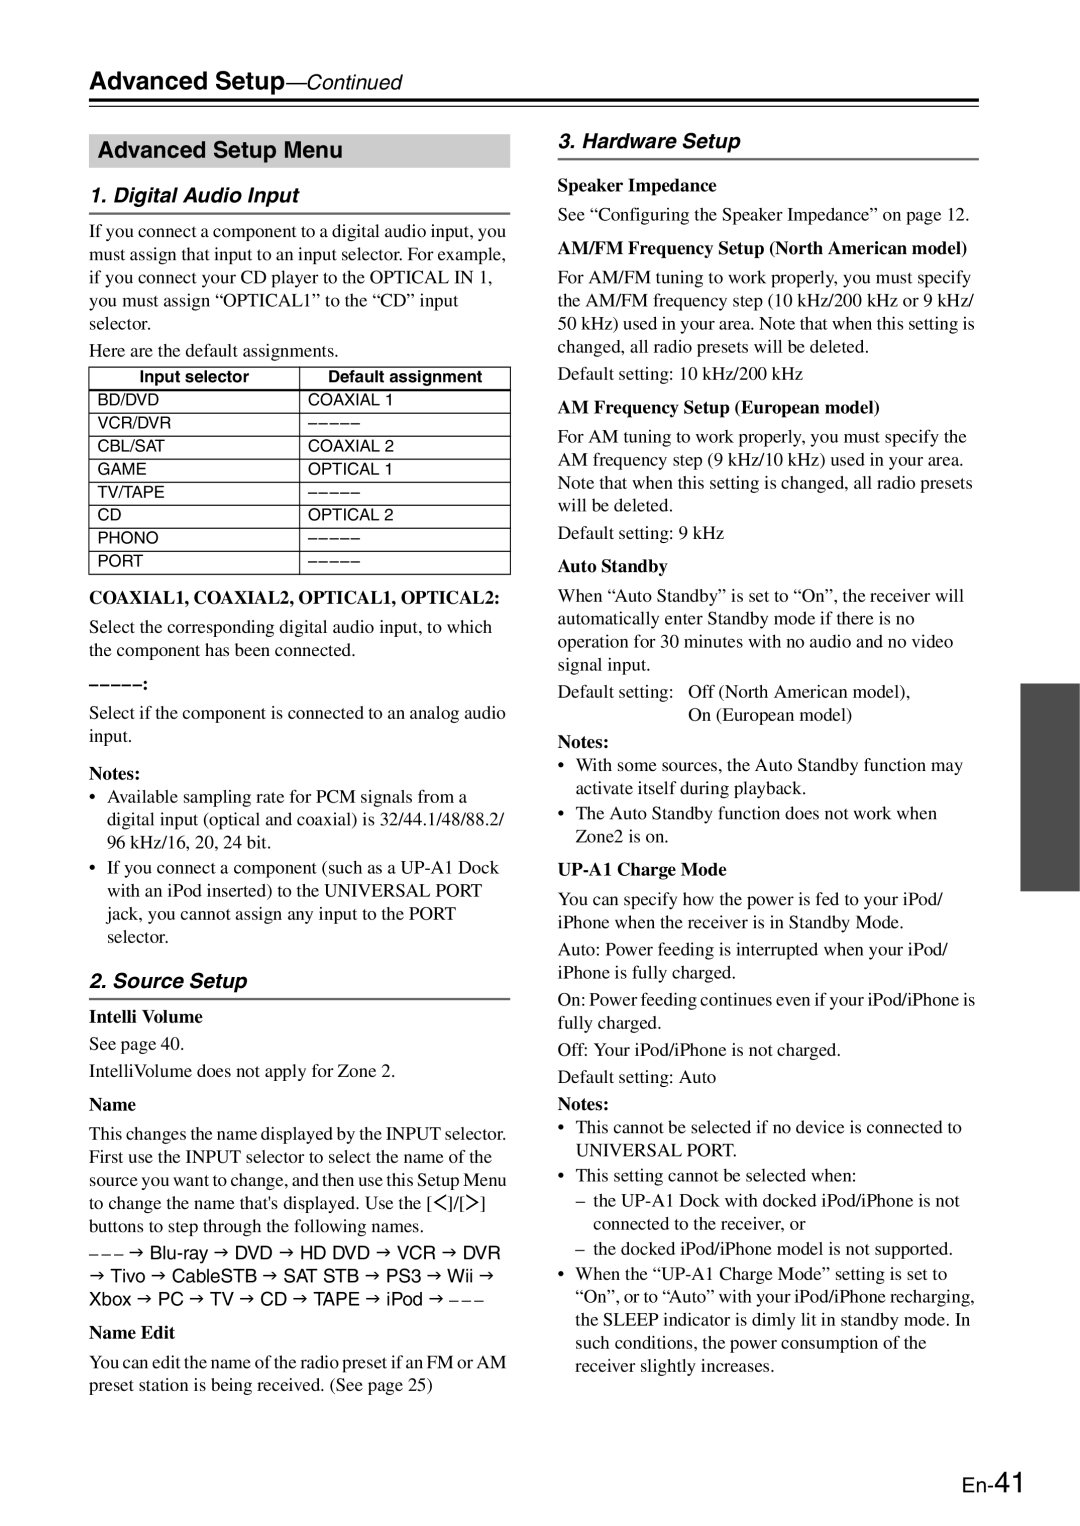
In terms of connectivity, the TX-8050 is well-equipped to handle all your audio sources. It offers multiple inputs, including six line-level inputs, a phono input for vinyl enthusiasts, and a digital audio input section featuring coaxial and optical connections. This ensures compatibility with various devices, including CD players, turntables, and digital streaming units.
A key highlight of the Onkyo TX-8050 is its built-in streaming capabilities, allowing users to access a wide range of online music services, including Pandora and Spotify. With the ability to connect to a home network via Ethernet, the receiver supports high-resolution audio streaming, ensuring that your digital music files are played back with remarkable fidelity. The inclusion of USB inputs further facilitates playback of music files stored on external drives, making it easy to enjoy your favorite tracks.
The TX-8050 also features Onkyo's proprietary technologies, such as IntelliFlo and Wide Range Amplification Technology (WRAT), which work together to provide optimal sound quality and performance. IntelliFlo optimizes the audio output based on the frequency response of the connected speakers, while WRAT reduces distortion during playback, especially at high volumes.
In terms of usability, the TX-8050 comes with an intuitive remote control and an easy-to-navigate on-screen display, making it simple for users to manage their audio settings and source selections. The receiver is also designed to be energy-efficient, featuring an eco mode that reduces power consumption while maintaining performance.
Overall, the Onkyo TX-8050 is a feature-rich and versatile stereo receiver that combines power, connectivity, and advanced audio technologies, making it an excellent choice for anyone looking to elevate their home audio setup. Its commitment to delivering superior sound quality and user-friendly functionality makes it a compelling option in the competitive audio market.

