Using the Listening Modes—Continued
Selecting Listening Modes
See “About the Listening Modes” on page 42 for detailed information about the listening modes.
•The Dolby Digital and DTS listening modes can only be selected if your DVD player is connected to the
•Listening mode availability depends on the format of the current input signal.
•While speaker set B is on or a pair of head- phones are connected, you can only select the Pure Audio, Direct or Stereo listening mode.
•While the multichannel input is being used, only the Pure Audio and Direct listening modes can be selected.
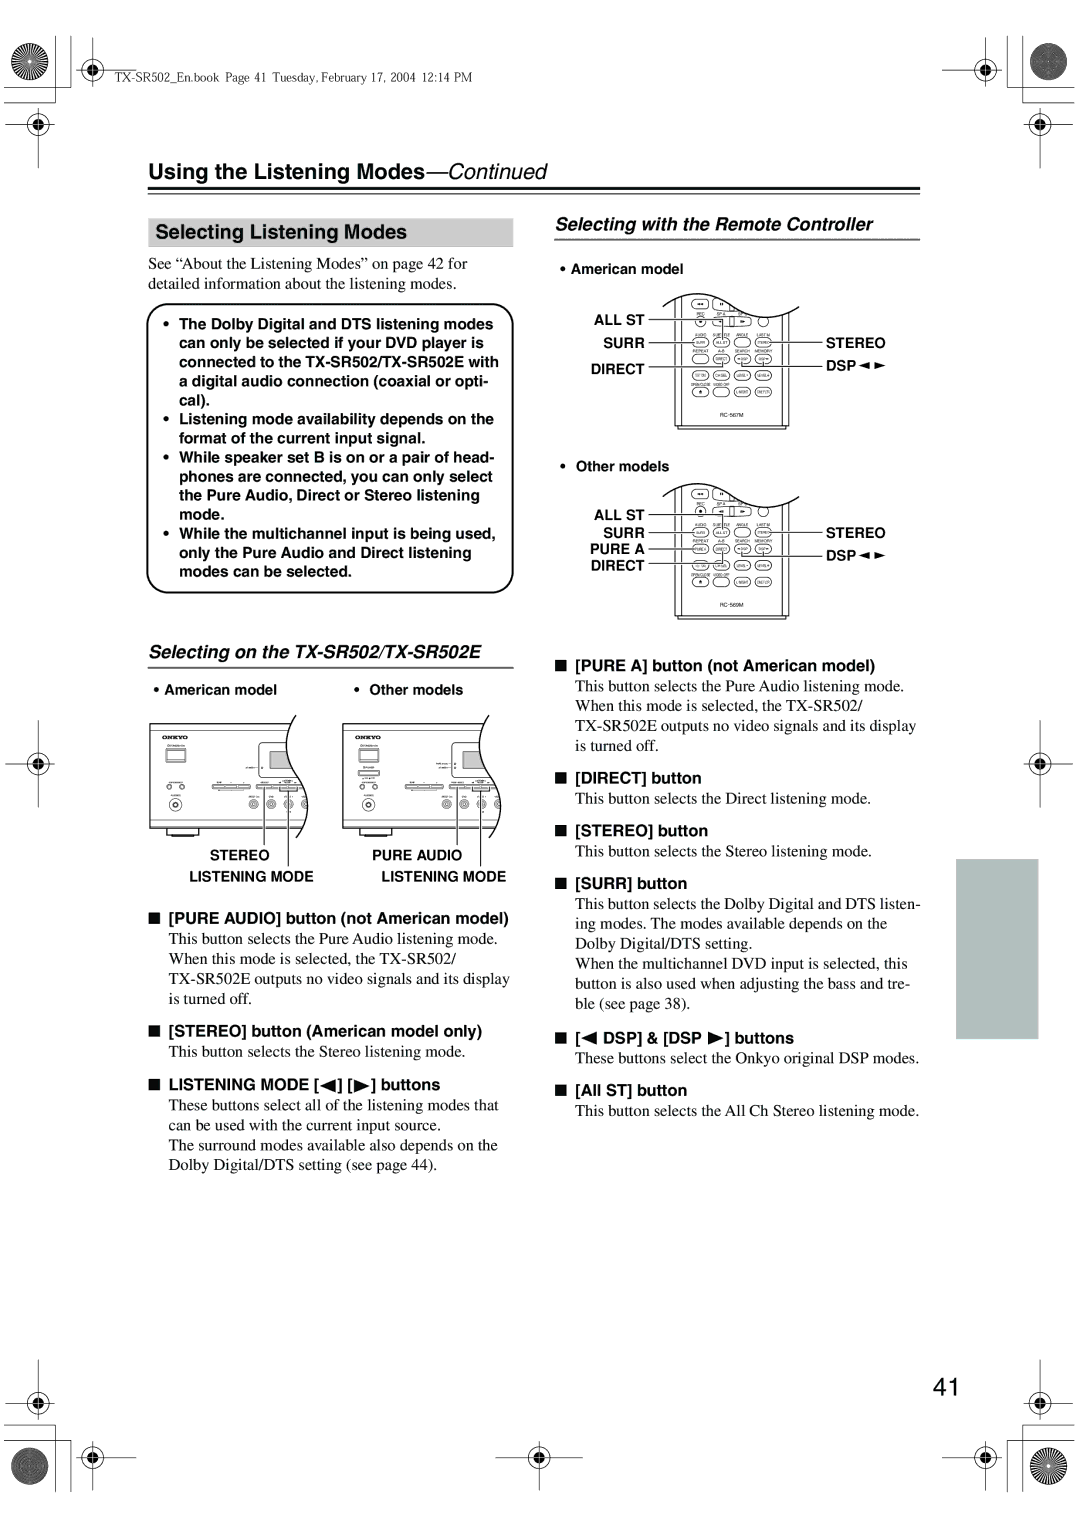
Selecting with the Remote Controller
• American model
ALL ST | REC | SP A | SP B | RANDOM |
|
|
|
|
|
| |
SURR | AUDIO | SUBTITLE ANGLE | LAST M | STEREO | |
SURR | ALL ST |
| STEREO | ||
| REPEAT | SEARCH MEMORY |
| ||
DIRECT |
| DIRECT | DSP | DSP | DSP |
TEST TONE | CH SEL | LEVEL- | LEVEL+ | ||
| OPEN/CLOSE VIDEO OFF |
|
|
| |
|
|
| L NIGHT | CINE FLTR |
|
|
|
|
|
| ||
• | Other models |
|
|
|
|
|
| ALL ST | REC | SP A | SP B | RANDOM |
|
| AUDIO | SUBTITLE ANGLE | LAST M |
| ||
| SURR | STEREO | ||||
| SURR | ALL ST |
| STEREO | ||
| PURE A | REPEAT | SEARCH MEMORY |
| ||
| PURE A | DIRECT | DSP | DSP | DSP | |
| DIRECT | TEST TONE | CH SEL | LEVEL- | LEVEL+ | |
|
| |||||
|
| OPEN/CLOSE VIDEO OFF |
|
|
| |
|
|
|
| L NIGHT | CINE FLTR |
|
|
|
|
|
| ||
Selecting on the TX-SR502/TX-SR502E
• American model | • Other models |
■ [PURE A] button (not American model) |
This button selects the Pure Audio listening mode. |
When this mode is selected, the |
|
STANDBY/ON
| STANDBY |
|
|
|
|
A SPEAKERS B | TONE | STEREO | LISTENING | DISPLAY | DIGITAL INPUT |
MODE | |||||
PHONES | MULTI CH | DVD | VIDEO 1 | VIDEO 2 | VIDEO 3 |
|
|
| VCR |
|
|
STEREO
LISTENING MODE
STANDBY/ON
|
| PURE AUDIO |
|
|
|
|
POWER |
| STANDBY |
|
|
|
|
ON OFF |
|
|
|
|
|
|
A SPEAKERS B | TONE | PURE AUDIO | LISTENING | DISPLAY | DIGITA | |
MODE | ||||||
PHONES |
| MULTI CH | DVD | VIDEO 1 | VIDEO 2 | VIDEO |
|
|
|
| VCR |
|
|
PURE AUDIO
LISTENING MODE
is turned off. |
■ [DIRECT] button |
This button selects the Direct listening mode. |
■ [STEREO] button |
This button selects the Stereo listening mode. |
■ [SURR] button |
This button selects the Dolby Digital and DTS listen- |
■[PURE AUDIO] button (not American model)
This button selects the Pure Audio listening mode. When this mode is selected, the
■[STEREO] button (American model only)
This button selects the Stereo listening mode.
■LISTENING MODE [![]() ] [
] [![]() ] buttons
] buttons
These buttons select all of the listening modes that can be used with the current input source.
The surround modes available also depends on the Dolby Digital/DTS setting (see page 44).
ing modes. The modes available depends on the |
Dolby Digital/DTS setting. |
When the multichannel DVD input is selected, this |
button is also used when adjusting the bass and tre- |
ble (see page 38). |
■ [ DSP] & [DSP ] buttons |
These buttons select the Onkyo original DSP modes. |
■ [All ST] button |
This button selects the All Ch Stereo listening mode. |
41