17
3.Before removing the keyboard entirely, carefully release the black clip securing the flat cable and disconnect the cable from the header on the main board.
Fig. 34 Releasing the keyboard flat cable.
4. Remove the keyboard.
LCD Bezel
You can complete this procedure with the LCD assembly connected to the notebook. The LCD assembly shown in the following pictures has been removed from the notebook for clarity. To remove the LCD bezel, first remove the keyboard cover (see Keyboard Cover on page 13), and then do the following:
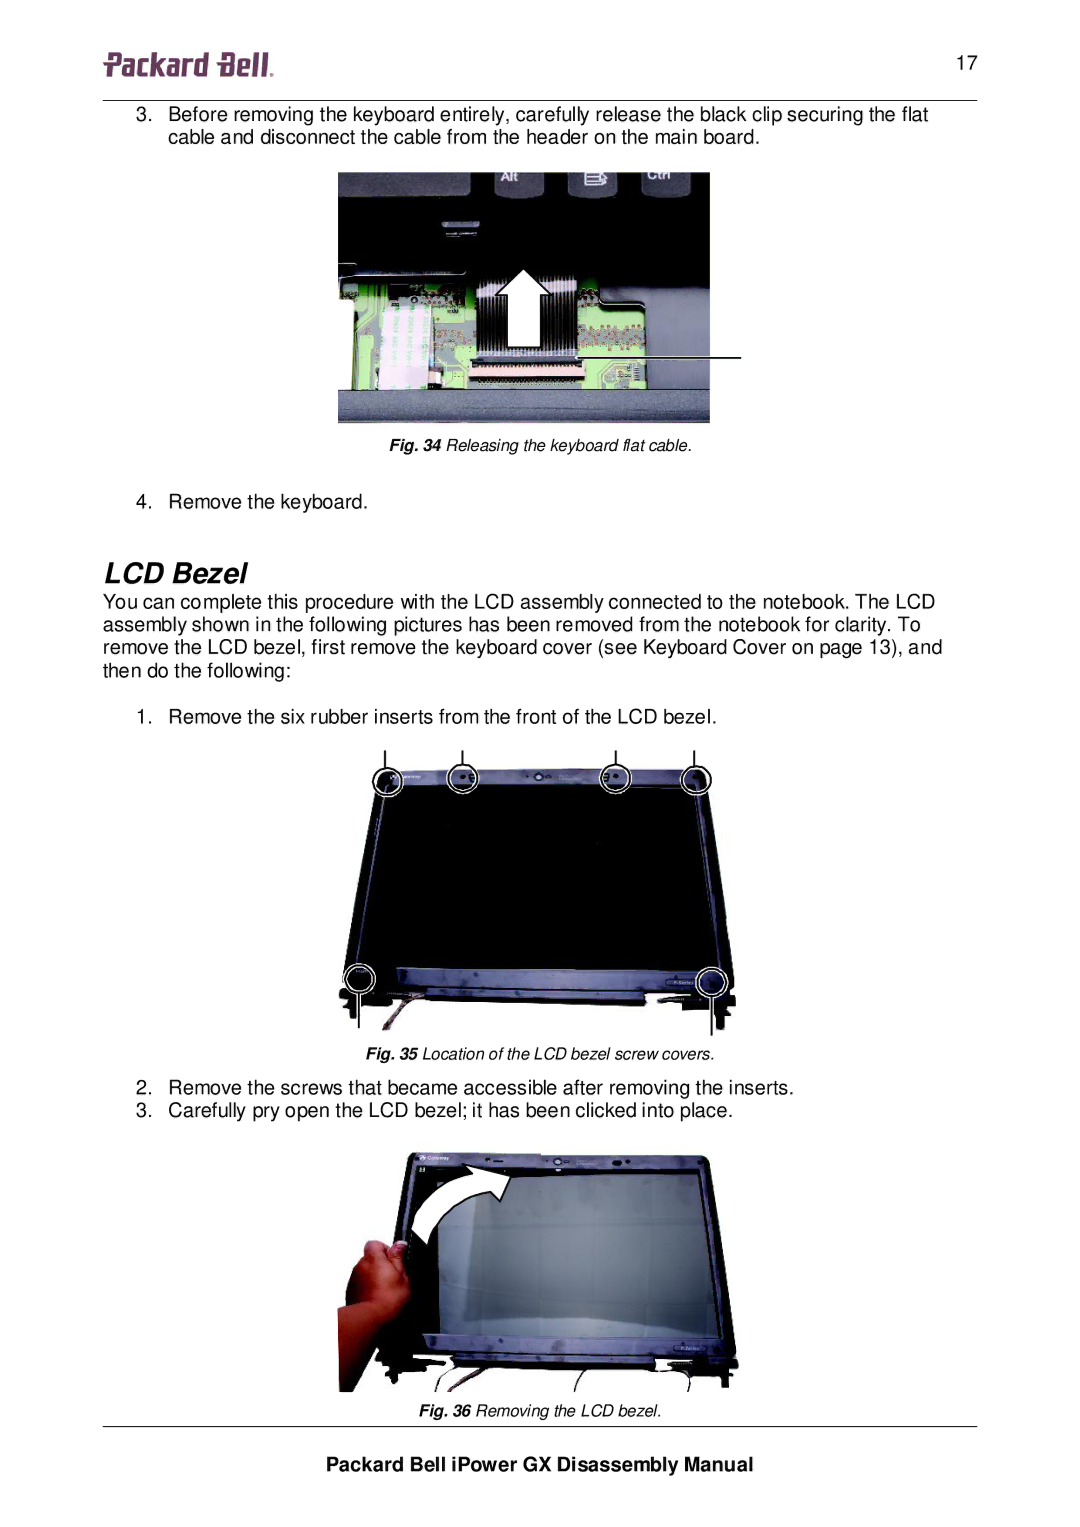
1. Remove the six rubber inserts from the front of the LCD bezel.
Fig. 35 Location of the LCD bezel screw covers.
2.Remove the screws that became accessible after removing the inserts.
3.Carefully pry open the LCD bezel; it has been clicked into place.
Fig. 36 Removing the LCD bezel.
Packard Bell iPower GX Disassembly Manual