Recording
14. Insert a
It should be borne in mind that the
Note that when the cassette tape is inserted, it is not possible to change the system frequency which was set using the F1 (FREQ) key on the SYSTEM SET UP menu of the previous page.
15. Press the F13 (REC INH) key on the HOME menu to set to “FREE”.
REC INH
FREE
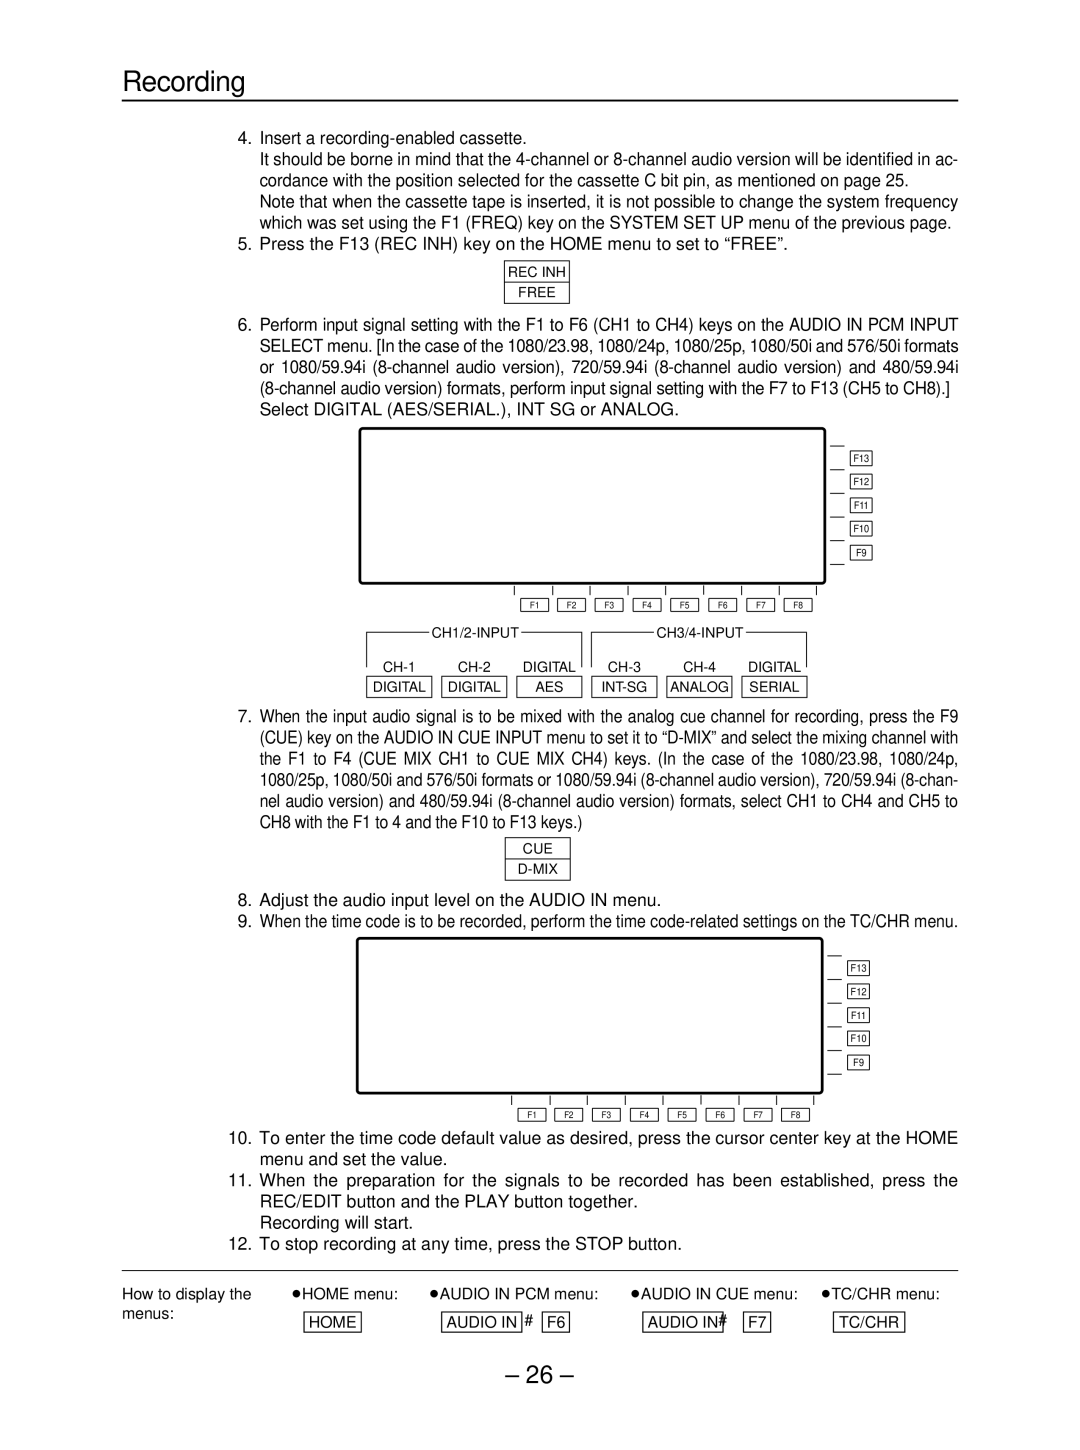
16. Perform input signal setting with the F1 to F6 (CH1 to CH4) keys on the AUDIO IN PCM INPUT SELECT menu. [In the case of the 1080/23.98, 1080/24p, 1080/25p, 1080/50i and 576/50i formats or 1080/59.94i
F13
F12
F11
F10
F9
F1 | F2 | F3 | F4 | F5 | F6 | F7 | F8 |
|
|
|
|
|
| ||||
|
|
|
|
|
| ||||
|
| DIGITAL |
|
| |||||
|
|
| |||||||
| DIGITAL |
| DIGITAL |
|
| AES |
| ||
|
|
|
|
|
|
|
|
|
|
|
|
|
|
| |||||
|
|
|
| ||||||
|
|
| DIGITAL |
|
| ||||
|
|
|
| ||||||
|
|
| ANALOG |
|
| SERIAL |
| ||
|
|
|
|
|
|
|
|
|
|
17. When the input audio signal is to be mixed with the analog cue channel for recording, press the F9 (CUE) key on the AUDIO IN CUE INPUT menu to set it to
CUE
18. Adjust the audio input level on the AUDIO IN menu.
19. When the time code is to be recorded, perform the time
F13
F12
F11
F10
F9
F1 | F2 | F3 | F4 | F5 | F6 | F7 | F8 |
10.To enter the time code default value as desired, press the cursor center key at the HOME menu and set the value.
11.When the preparation for the signals to be recorded has been established, press the REC/EDIT button and the PLAY button together.
Recording will start.
12.To stop recording at any time, press the STOP button.
How to display the ≥HOME menu: | ≥AUDIO IN PCM menu: | ≥AUDIO IN CUE menu: | ≥TC/CHR menu: | ||||||||
menus: |
|
|
|
| # F6 |
|
| # F7 |
|
|
|
HOME |
|
| AUDIO IN |
| AUDIO IN |
| TC/CHR |
| |||
|
|
|
|
|
| ||||||
– 26 –
