Status Displays Inside the Viewfinder Screen
Changing the Display Mode
The display mode setting appears on the “VF DISPLAY” SUB menu page of MAIN menu screen 2 of 4.
1 Set the MENU SET/OFF switch to the SET position while the SHIFT/ITEM button and UP button are held down together.
2
3
4
Press the PAGE button to display the MAIN menu screen 2 of 4.
Press the SHIFT/ITEM button to move the cursor to the “VF DISPLAY” position.
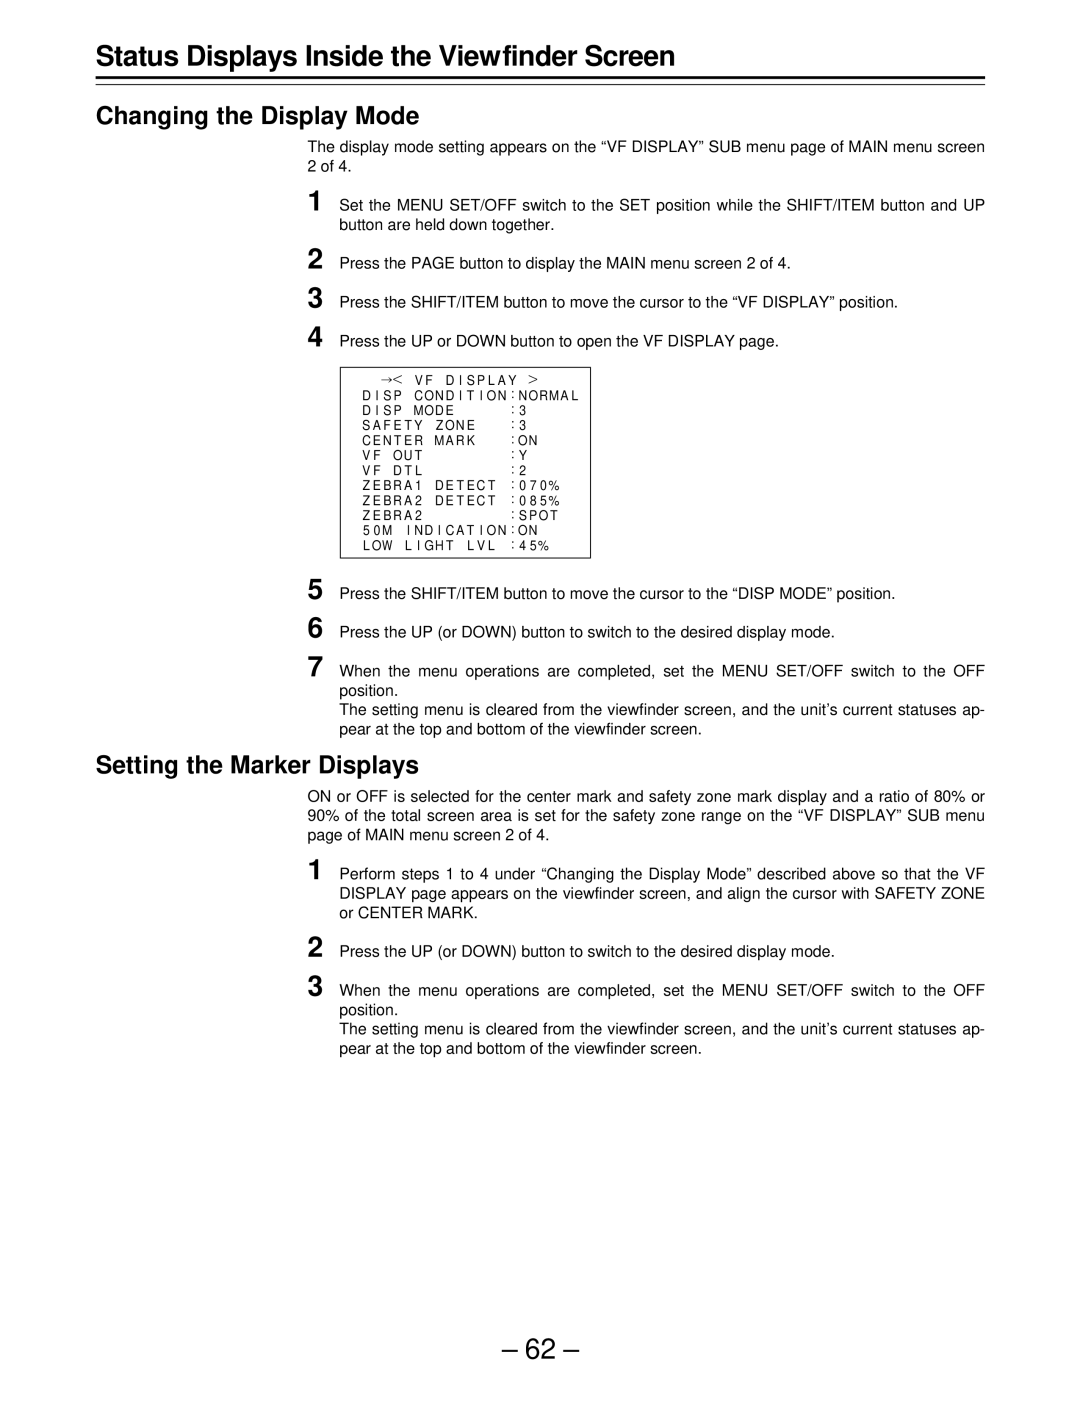
Press the UP or DOWN button to open the VF DISPLAY page.
¢ V F D I S P L A Y {
D I S P CON D I T I ON : NORMA L
D I S P MOD E | : 3 | |
S A F E T Y Z ON E | : 3 | |
C E N T E R MA R K | : ON | |
V F | OU T | : Y |
V F | D T L | : 2 |
Z E B R A 1 D E T E C T | : 0 7 0 % | |
Z E B R A 2 D E T E C T | : 0 8 5 % | |
Z E B R A 2 | : S P O T | |
5 0 M I N D I C A T I ON : ON | ||
L OW L I GH T L V L | : 4 5 % | |
5
6
7 When the menu operations are completed, set the MENU SET/OFF switch to the OFF position.
The setting menu is cleared from the viewfinder screen, and the unit’s current statuses ap- pear at the top and bottom of the viewfinder screen.
Setting the Marker Displays
ON or OFF is selected for the center mark and safety zone mark display and a ratio of 80% or 90% of the total screen area is set for the safety zone range on the “VF DISPLAY” SUB menu page of MAIN menu screen 2 of 4.
1 Perform steps 1 to 4 under “Changing the Display Mode” described above so that the VF DISPLAY page appears on the viewfinder screen, and align the cursor with SAFETY ZONE or CENTER MARK.
2 Press the UP (or DOWN) button to switch to the desired display mode.
3 When the menu operations are completed, set the MENU SET/OFF switch to the OFF position.
The setting menu is cleared from the viewfinder screen, and the unit’s current statuses ap- pear at the top and bottom of the viewfinder screen.
– 62 –